Connecting Sauce Mobile App Distribution (TestFairy) to JIRA Cloud
Creating a Jira API Token
To connect Sauce Mobile App Distribution to Jira Cloud, you'll need to create an API token in Jira. This token will be used to authenticate Sauce Mobile App Distribution when accessing your Jira account. Follow these steps to create the API token:
-
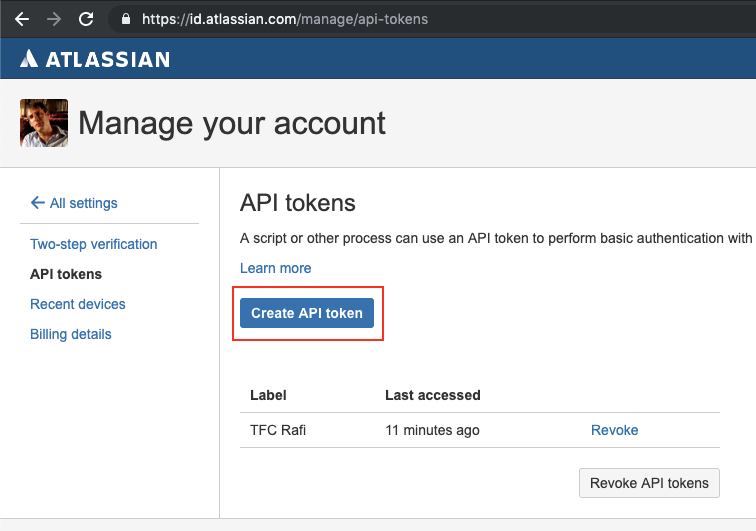
Log in to https://id.atlassian.com/manage/api-tokens# and click on Create API token.
-
Label the new token
TestFairy.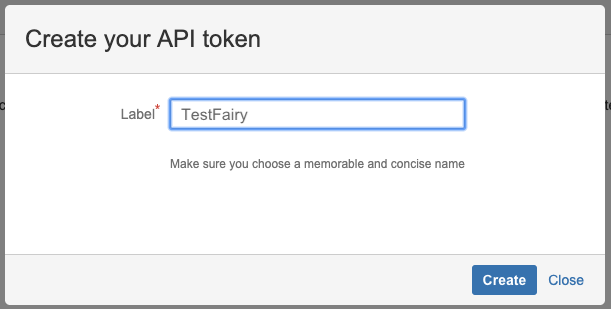
-
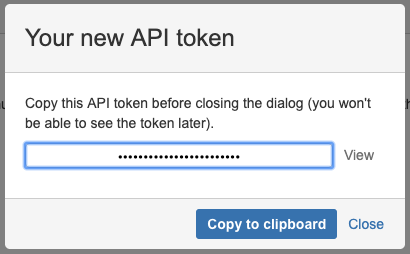
Copy the API Token.
Configuring Jira in Your Sauce Mobile App Distribution Settings
To connect Sauce Mobile App Distribution to Jira, you'll need to configure Jira settings in your Sauce Mobile App Distribution account. Follow these steps to complete the configuration:
-
Open your Sauce Mobile App Distribution account Preferences .

-
Choose Integrations, scroll to Jira and press Add integration.

-
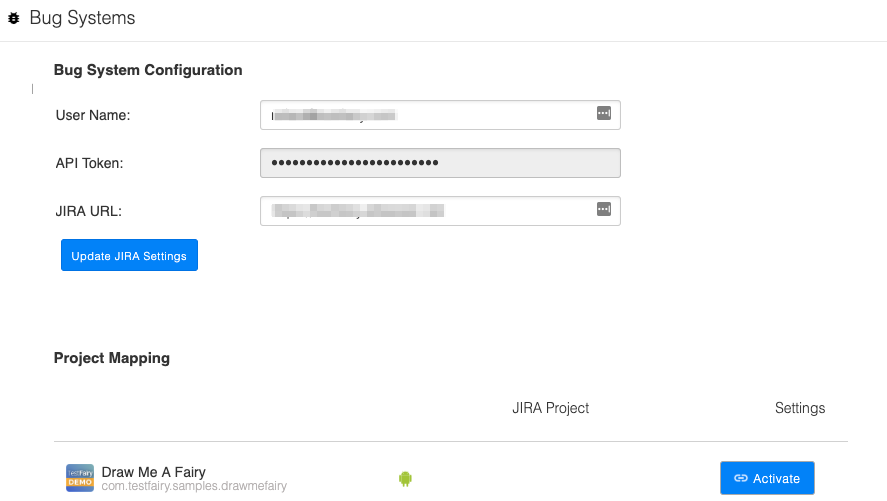
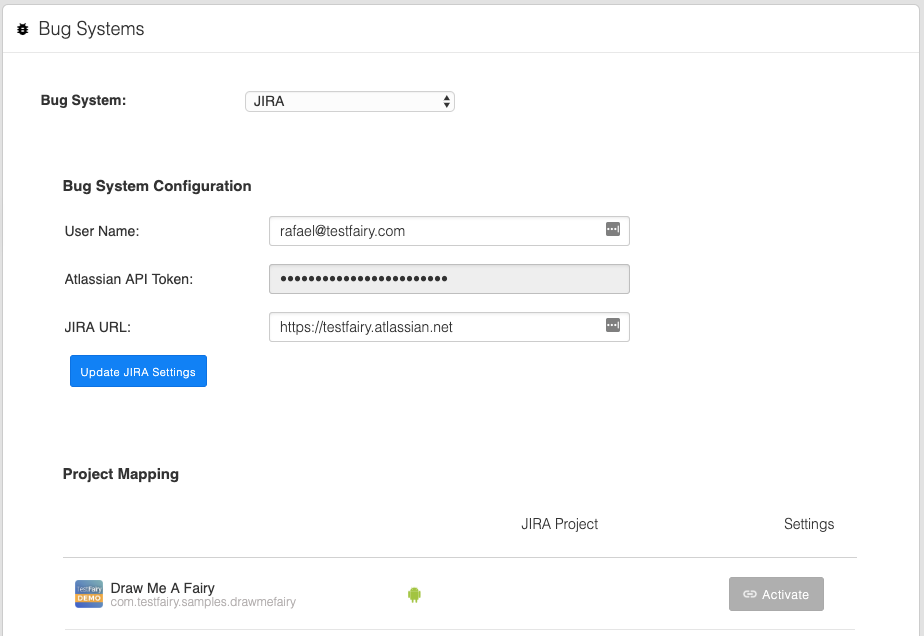
Enter your Jira Username, API Token, and JIRA URL in the next screen and press Update Jira Settings.
(Optional) Installing the Sauce Mobile App Distribution Chrome Extension
The Sauce Mobile App Distribution Chrome Extension is available at https://chrome.google.com/webstore/detail/testfairy-for-jira/joaafaemekbkgekhjbaldlllcnjifcee. With this Chrome extension, every JIRA issue that has a link to a Sauce Mobile App Distribution session will contain the proper Sauce Mobile App Distribution session, timeline, logs, and crash reports embedded in the Jira issue. Follow these steps to install the Chrome extension:
(Optional) Adding the Sauce Mobile App Distribution Jira Add-on to Your Jira Account
If you choose not to use the Sauce Mobile App Distribution Chrome Extension, you can add the Sauce Mobile App Distribution Jira Add-on to your Jira account. This add-on allows you to include Sauce Mobile App Distribution videos in Jira issues. Follow these steps to add the Sauce Mobile App Distribution Jira Add-on:
-
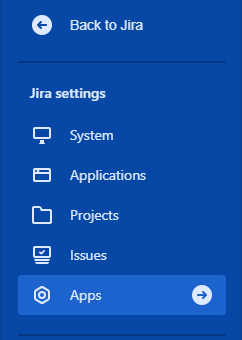
Open Jira Settings.

-
Open Apps.
-
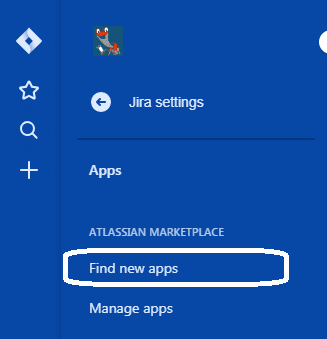
In the Apps menu, press Find new apps.
-
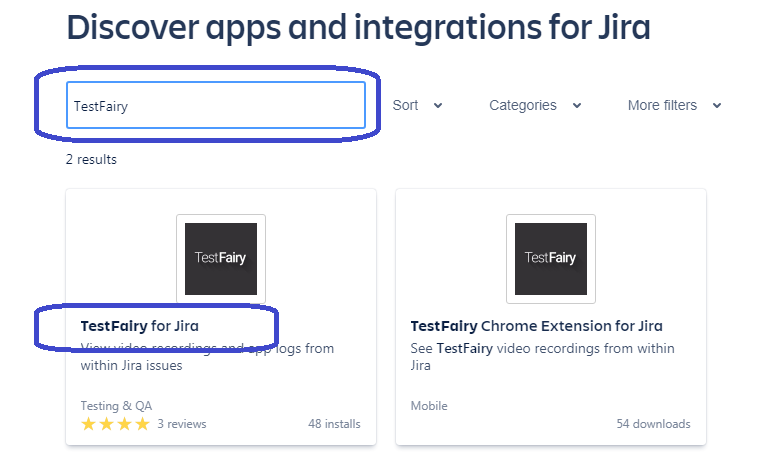
Add Sauce Mobile App Distribution for Jira to your account.
-
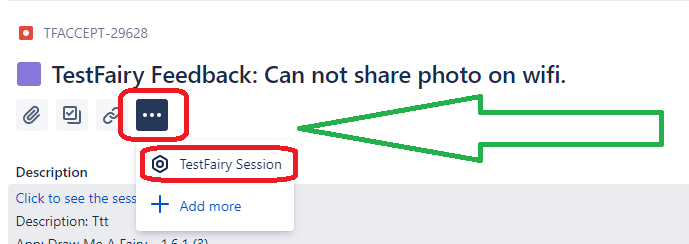
On the first issue created, click on the "3 dots" icon and choose Sauce Mobile App Distribution Session.
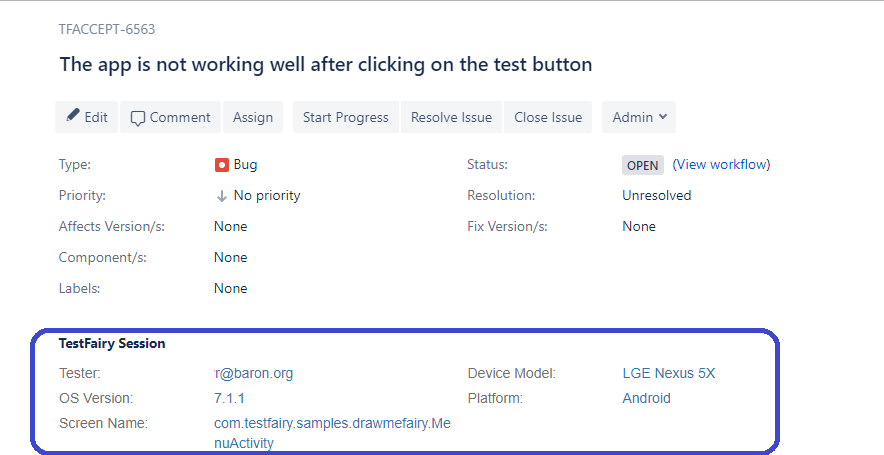
After the installation, the Jira issue looks like the following:
(Optional) Mapping Jira Custom Fields
Highly Recommended
To leverage the full capabilities of the Sauce Mobile App Distribution Jira integration, it's recommended to map Jira custom fields. This feature allows you to automatically populate any field in Jira when creating a new issue, using standard Sauce Mobile App Distribution data or your custom session attributes. Follow these steps to map Jira custom fields:
-
First, you need to connect a Jira account. Follow the instructions above.
-
Choose one of the apps you want to connect to and press Activate.
You can configure the Jira fields:
-
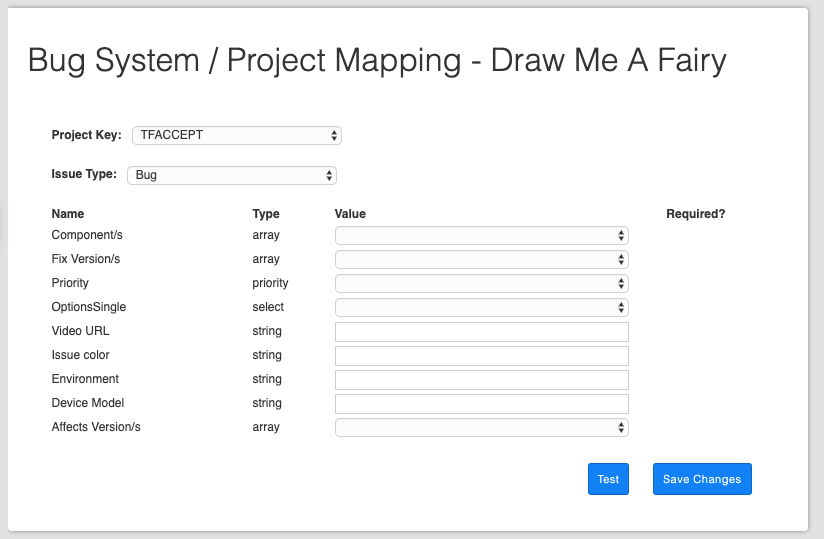
In the Jira configuration screen, choose the Project Key you want to connect.

-
Next, select the issue type you want to configure.
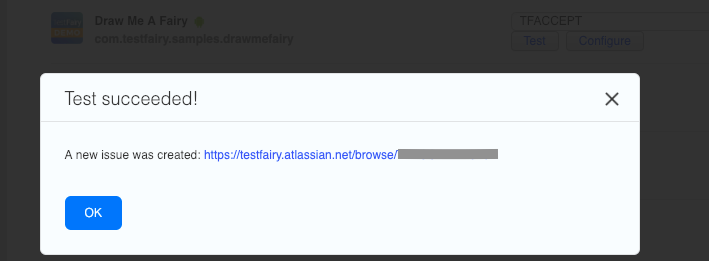
 tip
tipIf you want first to test the connection to the Jira project, you can press TEST to validate the Jira issue creation. You will get a pop-up window with the response. Make sure you get a valid Jira link. In case you get a PENDING response, check the connection configuration.
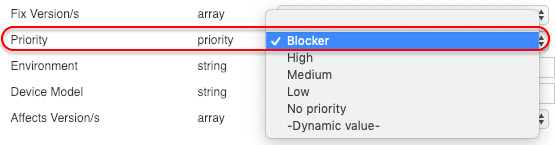
Each Issue type has different fields associated with it:
- Name - the field name.
- Type - the type of field as defined in the JIRA system.
- Value - the values from the JIRA system (in addition to predefined fixed values and Dynamic value, see below)
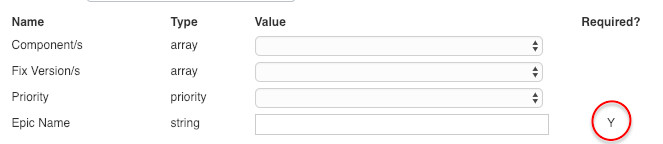
- Required? - specify if the field required or optional.
When defining fields in the Configure Fields window, follow the below conventions:
-
When you choose a field from a drop-down list, this field as is (text) will be populated in the corresponding Jira field in the issue opened.
-
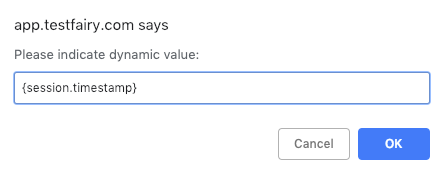
You can also choose from the fixed predefined values in the list below:
{user.id}- the UserId of the session running.{session.timestamp}- the timestamp of the session.{session.url}- the session URL on the Sauce Mobile App Distribution dashboard.{session.ipAddress}- the IP address of the device running the session.{device.os}- the running device OS{device.model}- the device model of the handset{device.osVersion}- the OS version on the device (if the iPhone is running version IOS 12 value=12){app.name}- the app name.{app.version}- the versionName or CFBundleShortVersionString of the build. example: 1.7.0{app.fullVersion}- the versionName + (versionCode or CFBundleVersion) of the build. example: 1.7.0 (1700){feedback.text}- the feedback message{feedback.timestamp}- the timestamp of the feedback (absolute){feedback.relTimestamp}- relative timestamp of the feedback (mm:ss) since the session started
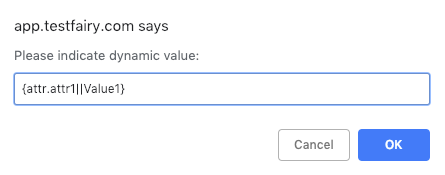
To use these values, add them to the Dynamic value field that opens when you select the Dynamic value option like so:
- You can add attributes defined in your app's code to the
Dynamic valuefield. The structure of a dynamic field is as follows:{attr.[attribute_name]||[default_value]}. attribute_name- is the name of the Teasfairy attribute set in the code by theTestFairy.setAttributefunction. What passes to the Jira is the value of this attribute.default_value- for each attribute, you can set a default value so that if you receive a null or wrong attribute value from the code (impossible in this field in Jira), the default value will be passed to Jira instead.