GitHub – How to Use Files as Datasource (Large or Small Datasets)
Legacy Documentation
You're viewing legacy documentation for API Fortress (deployed via an on-premises container). To view documentation for the new SaaS version of API Fortress — now known as Sauce Labs API Testing and Monitoring (with Sauce Connect tunnels) — see API Testing on the Sauce Labs Cloud.
Github is a valuable platform to use when you want to pull files and use them as a datasource. Some examples are CSVs and JSON files. Below is a walk through on how to make them work.
Set up GitHub
-
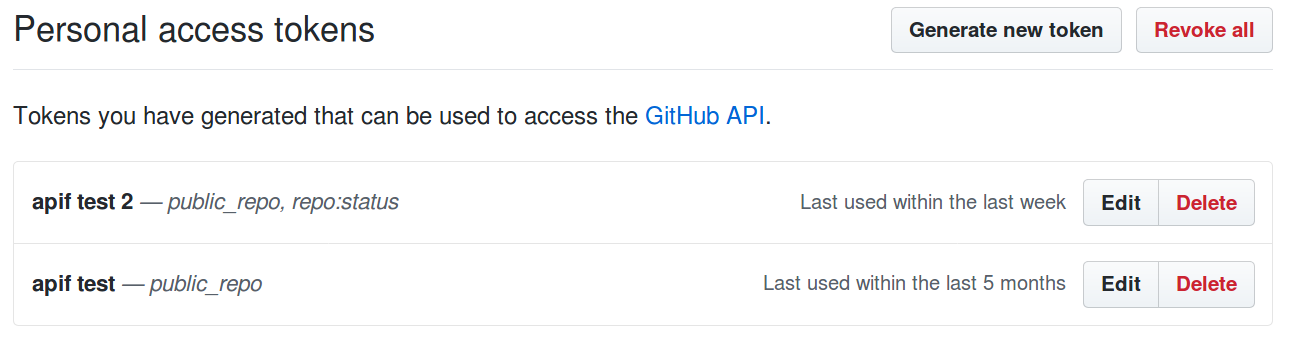
Create a new access token associated to your GitHub profile by accessing https://github.com/settings/tokens
-
When creating the token make sure you're selecting the
public_reposubcategory or therepocategory based on which type of repository that will host your input data.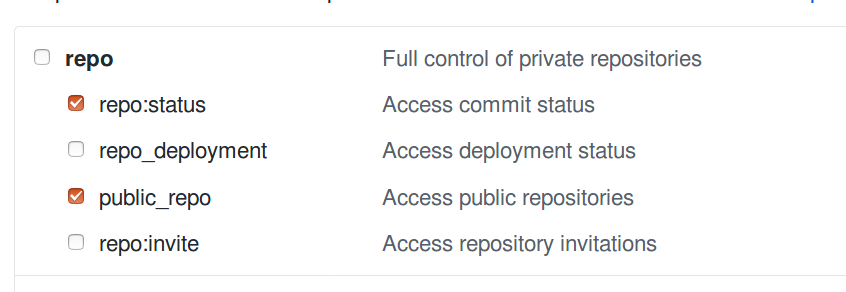
Keep in mind that GitHub will show you the token only once, so make sure you’re copying and pasting it somewhere safe and accessible.
-
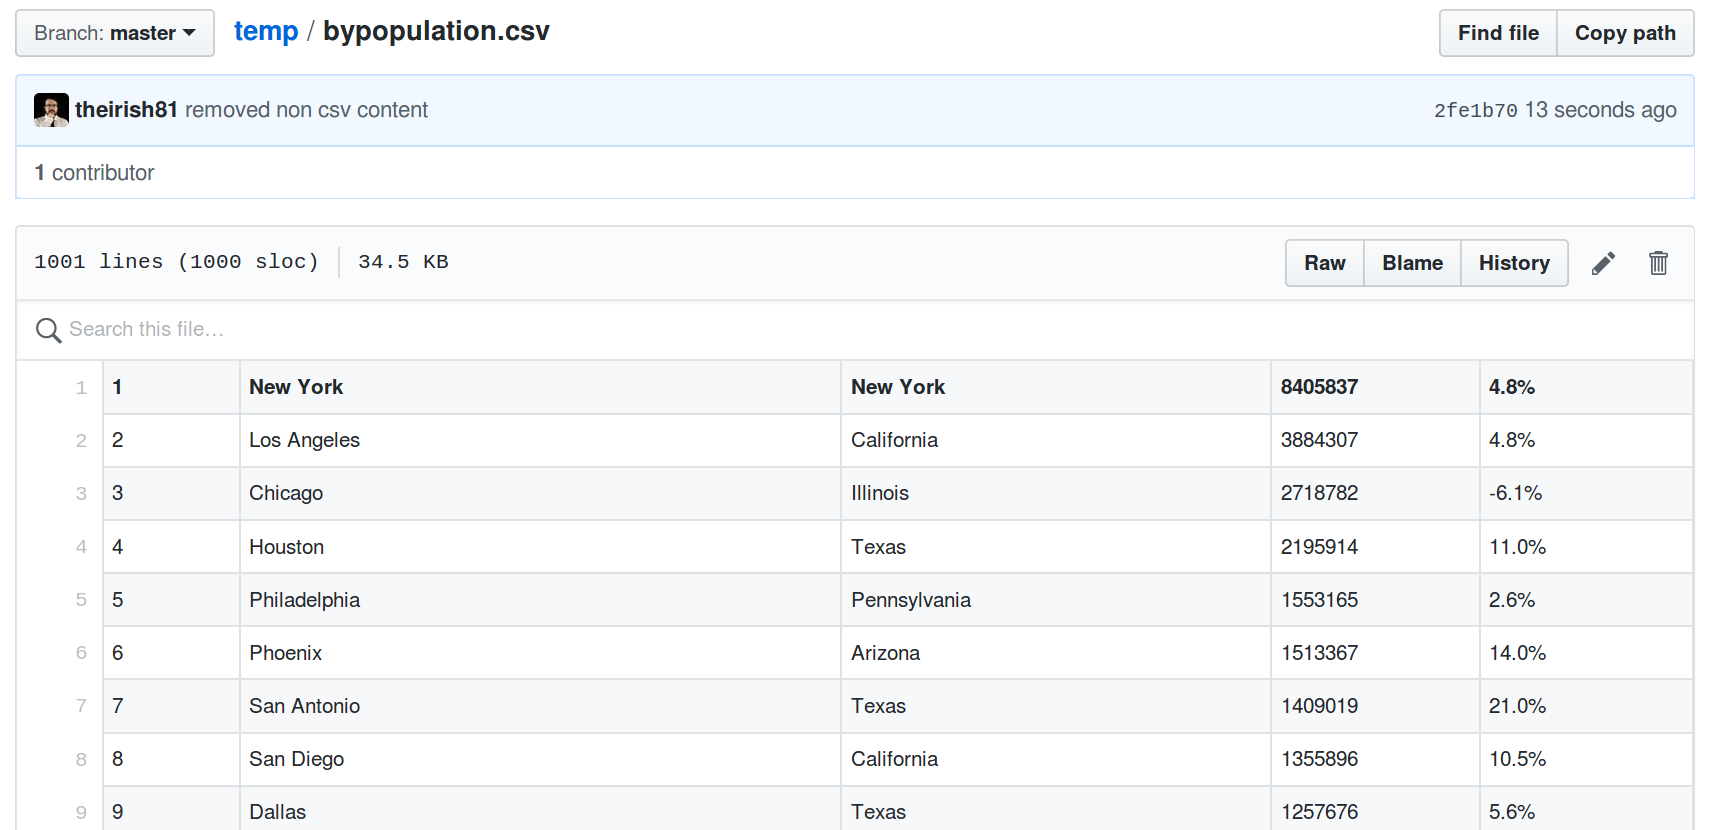
Create a repository that will host your input data if one doesn't exist already.
-
Commit and push a data source file. It can be a CSV, JSON or XML file. We will use a CSV file for the purposes of this example.
Create a simple test
-
Create a test
-
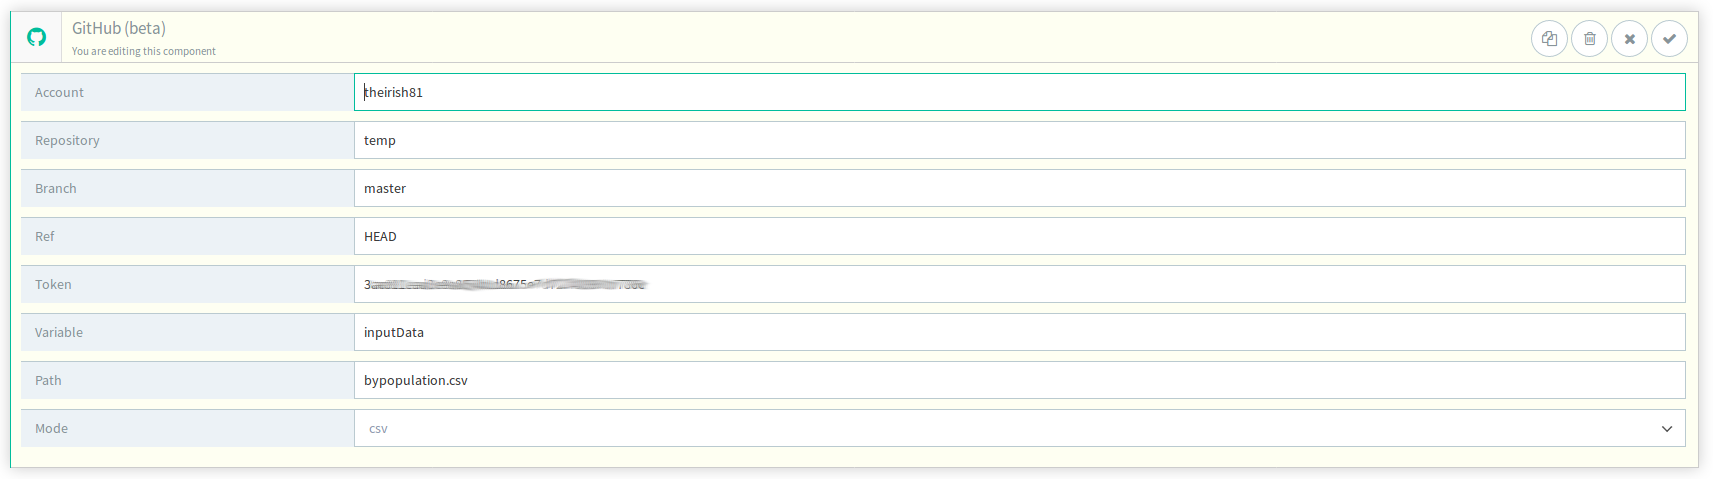
Introduce the GitHub component and configure it accordingly
-
Account is your GitHub username
-
Repository is the name of the repository that your data file is pushed to.
-
Branch is the repository branch that the desired version of the data file is in.
-
Token is the token described above, generated in the GitHub platform.
-
Variable is the variable that the payload will be stored under.
-
Path is the name of the file in the repository.
-
Mode is the filetype of the file in the repository.
-
The system will retrieve the document, parse it as a CSV file and assign it to the inputData variable
-
(optional) Verify that everything is set up correctly by adding a comment printing the parsed data as in:
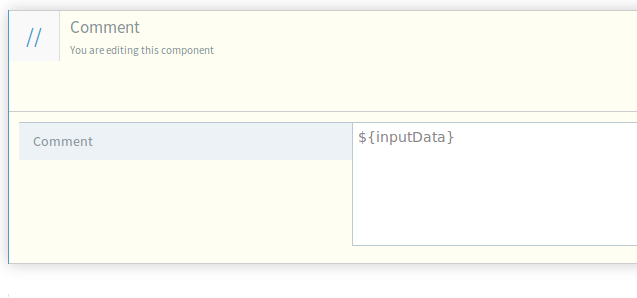
-
(Optional) Run the test:
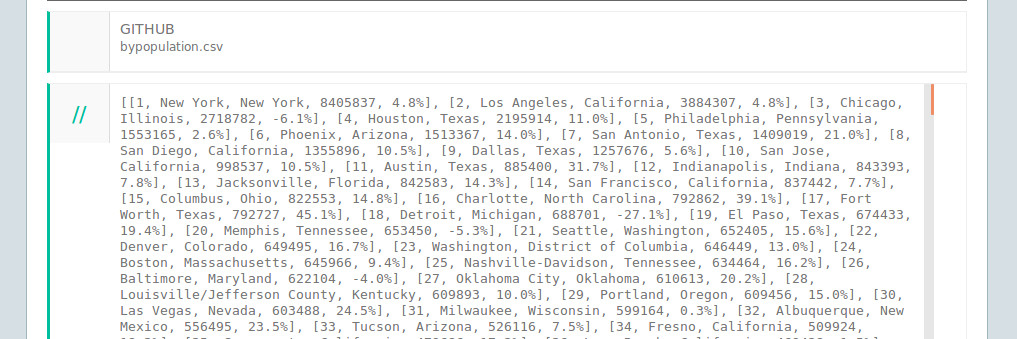
-
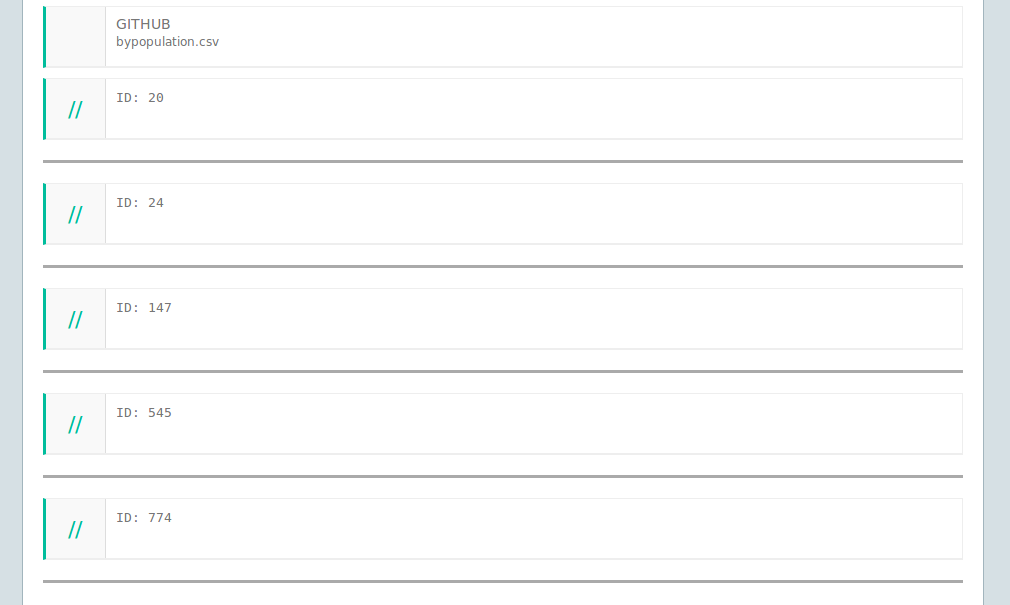
Now, let’s iterate over a subset of this input set. Introduce a selection strategy if necessary:

This will iterate over a subset of 5 randomly selected items. Other strategies are described in Appendix A
-
(Optional) Within each iteration, we suggest that you introduce a comment that will help you identify which item you’re looking at for debugging purposes.
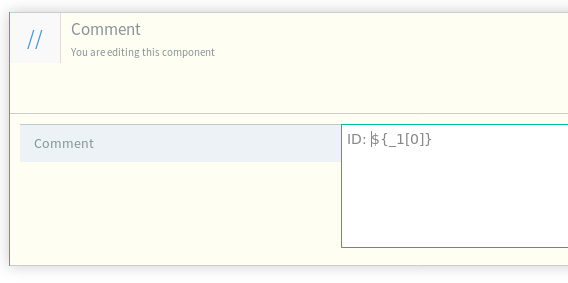
-
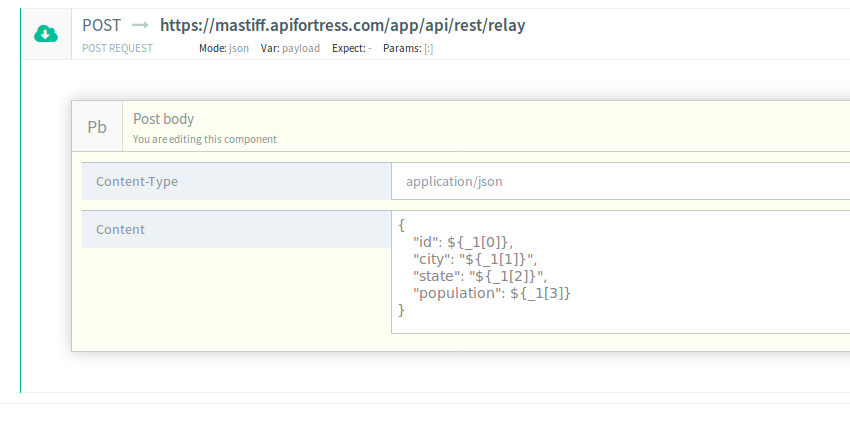
Use the data to perform your HTTP call:
-
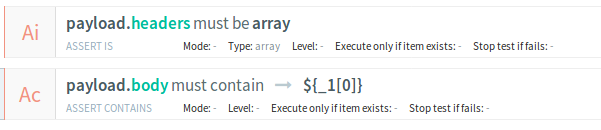
Introduce some assertions for testing purposes
-
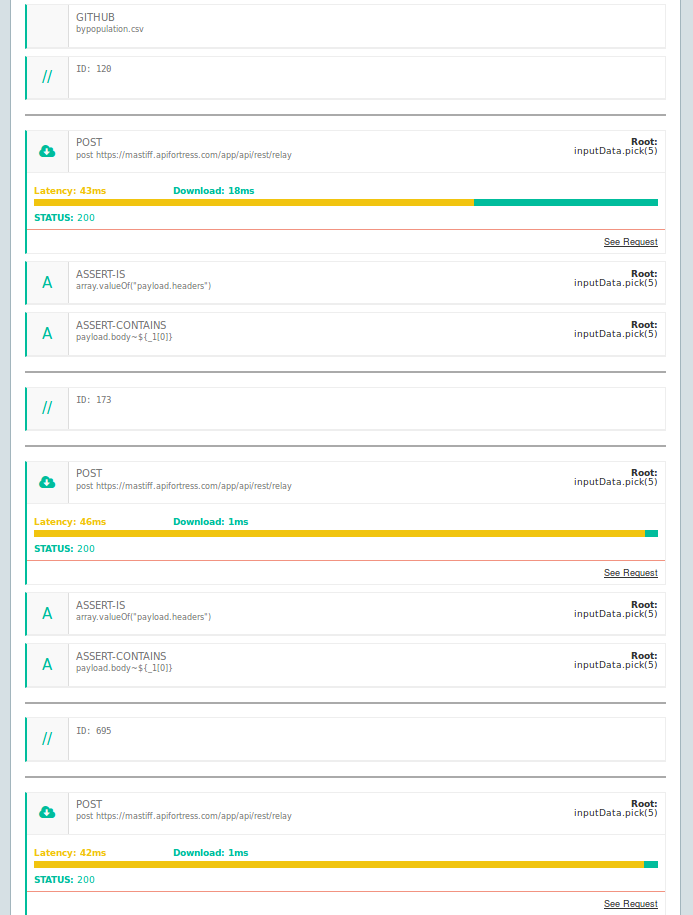
And run it:
Appendix A: Selection Strategies for Large Datasets
Simple selectors
-
None. If the number of iterations is greater than 100, the system will randomly select 100 elements, unless you override the maximum iterator size.
-
Pick(n). Ask the system to randomly select a n-sized sample of elements. Example:
inputData.pick(5) -
Slice. If you’re interested in using a specific slice of data from the
inputData, you can slice it according to your needs. Example:inputData[10..20](will select items from index 10 to index 20)**
Advanced Slicing
Assume you have a 1000 lines CSV file and you need to use them all. While this is technically possible (by overriding the maximum number of iterations) the usefulness of the test may vary on:
- How long the HTTP request takes
- How complex the test is going to be
- The number of errors the test may trigger
Moreover, the readability of the resulting document may degrade when trying to debug an issue.
Here’s a slicing technique we suggest to ease these points.
-
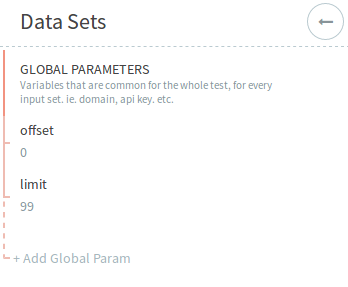
Introduce the following 2 variables in the global parameters:
-
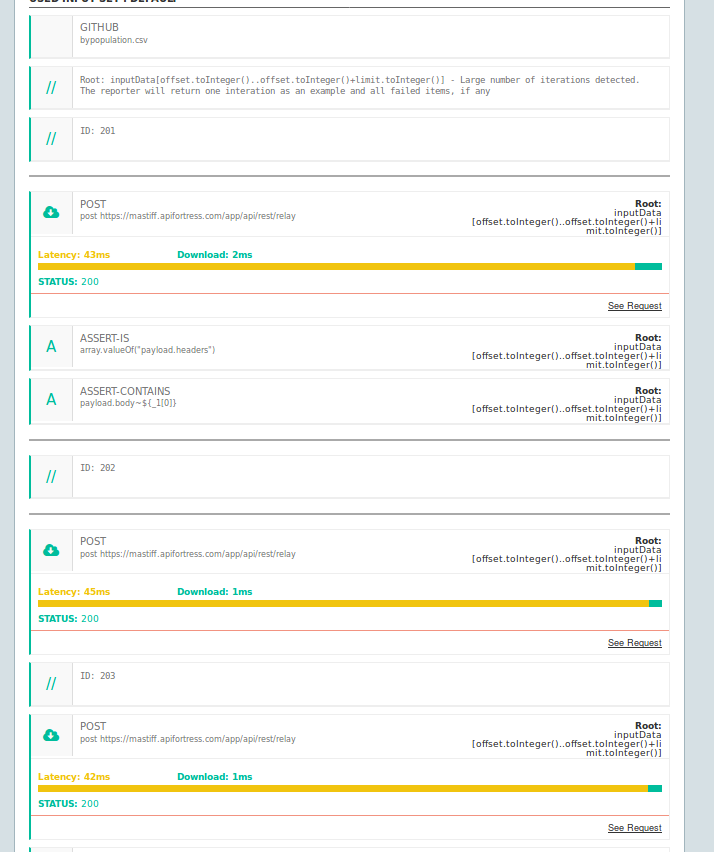
Use the following expression in your each statement:
inputData[offset.toInteger().offset.toInteger() + limit.toInteger()]Which reads: slice inputData from the offset index to the offset+limit index
noteThe
toInteger()command is required as variables are always strings and we need to work with numbers.By doing so we are setting a baseline: as a default test input data from index 0 to index 99.
-
Introduce as many environments as the slices count, overriding the offset variable
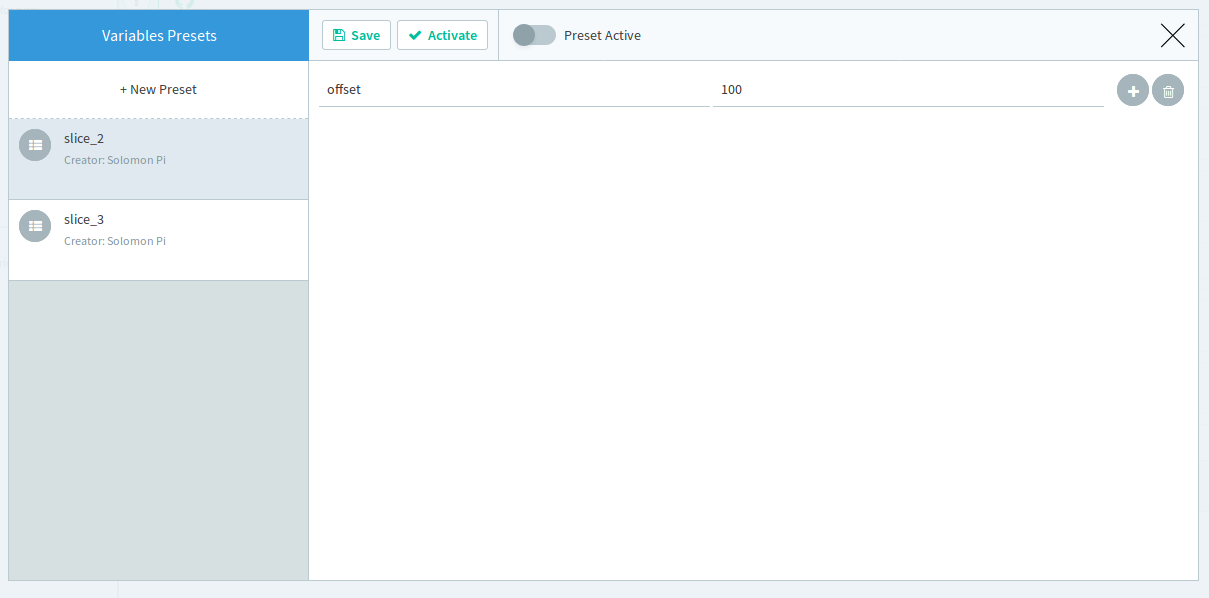
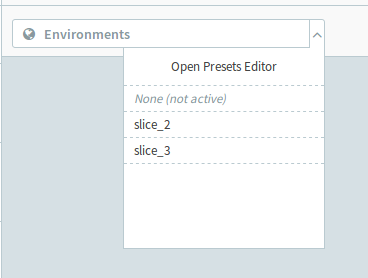
Now you can run the test on specific 100 elements slices, by selecting the environment.
-
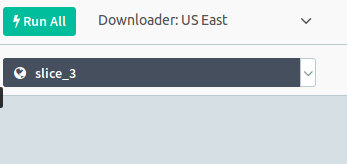
Finally, you can schedule your slices accordingly:
