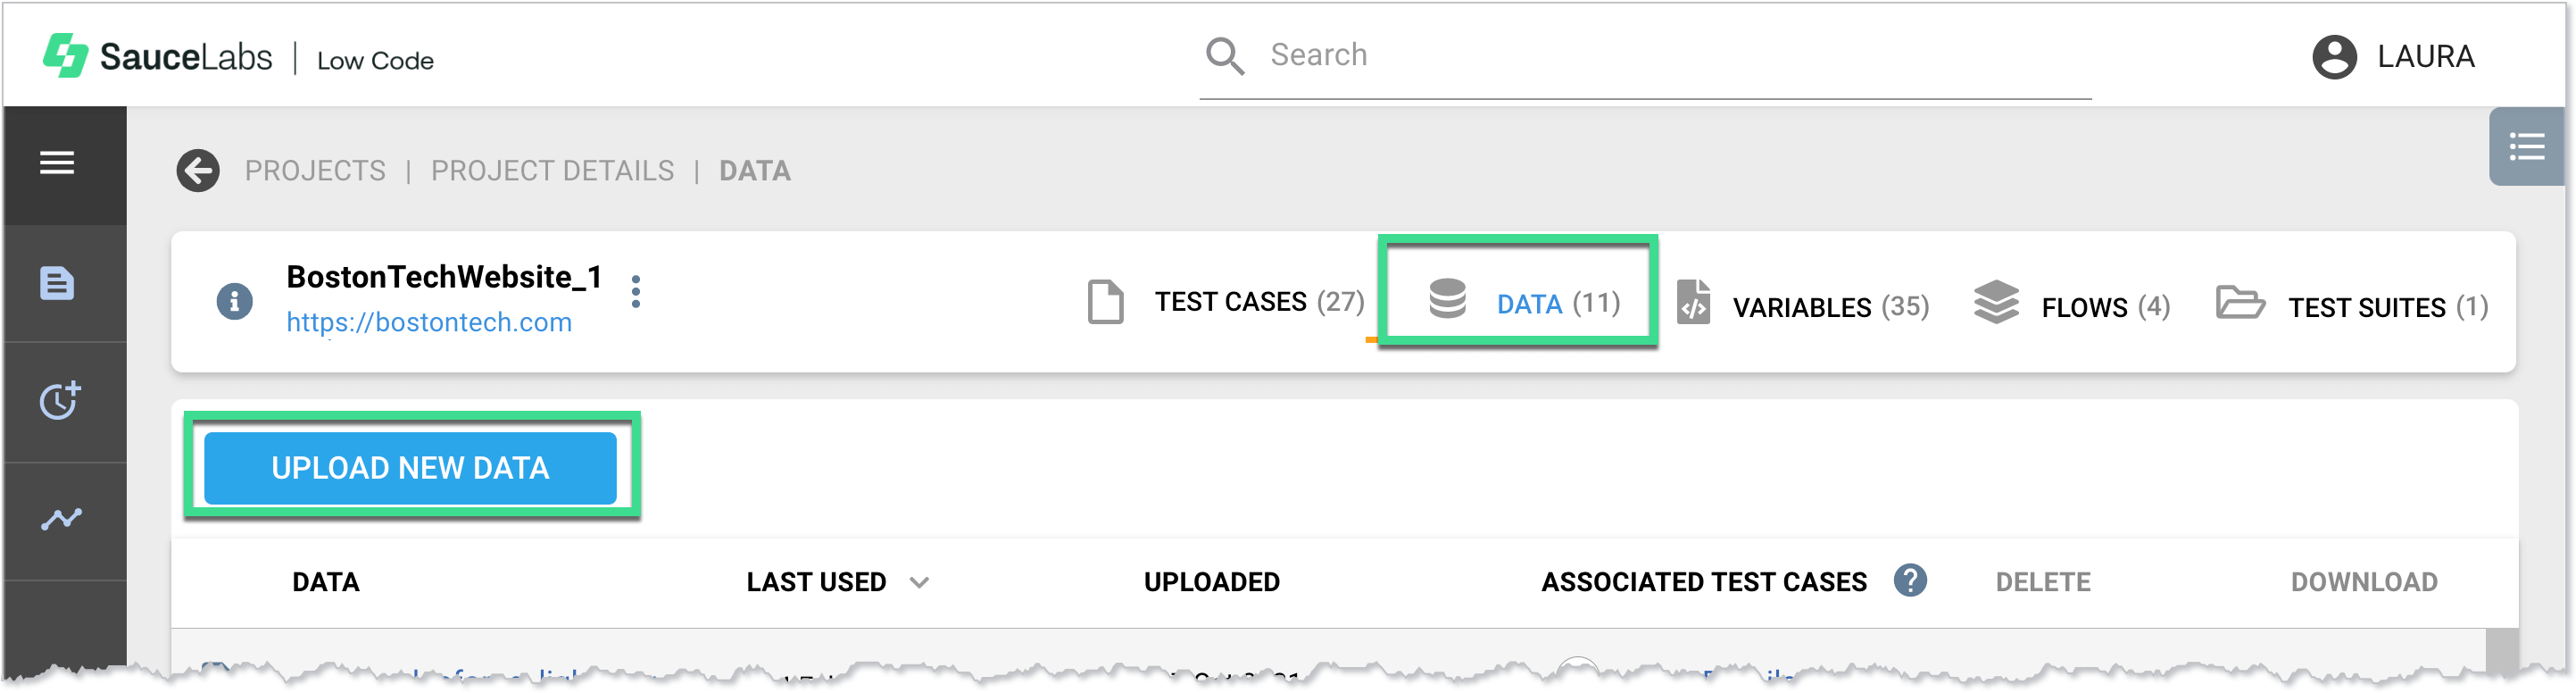
Data
Data Tab
The Data tab displays the data uploaded to a project, in table form. From this screen you can also upload new data, and delete and download existing data.
Data Tab Columns
| Column | Description |
| Data | The data files that are uploaded to the project. Clicking a file name will open a test data preview window, which includes a download option. Click the up or down arrow next to the column name to sort the table alphabetically by file name. |
| Last Used | The date the data file was last used. Click the up or down arrow next to the column name to sort the table by last used date. |
| Uploaded | The date the data file was uploaded. Click the up or down arrow next to the column name to sort the table by uploaded date. |
| Associated Test Cases | The number of test cases associated with the one you are viewing. Click View Details to open the Attach Case(s) to Data window. |
| Delete | Hover in the Delete column and then click the Delete button. |
| Download | Hover in the Download column and then click the Download button. |
Uploading New Data
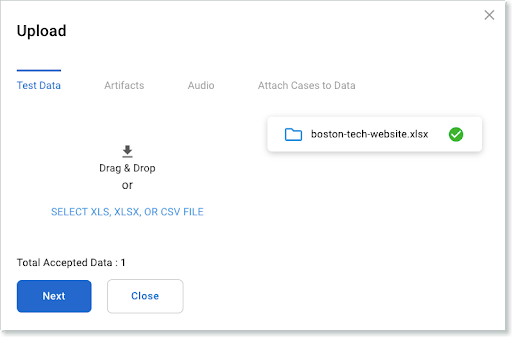
To upload new data to your test case:
- On the Data tab, click the UPLOAD NEW DATA button.
- In the Upload window, on the Test Data tab, drag and drop or navigate to the .xls, .xlsx, or .csv file to upload. Click Next.
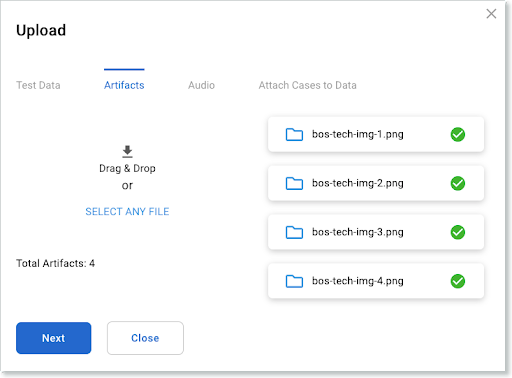
- On the Artifacts tab, drag and drop or navigate to the file(s) to upload. Click Next.
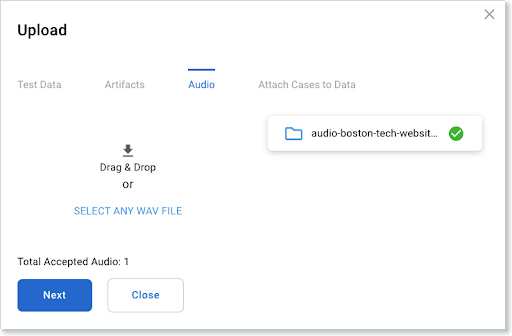
- On the Audio tab, drag and drop or navigate to the .wav file to upload. Click Next.
- On the Attach Cases to Data tab, select the test cases you want to associate with the data.
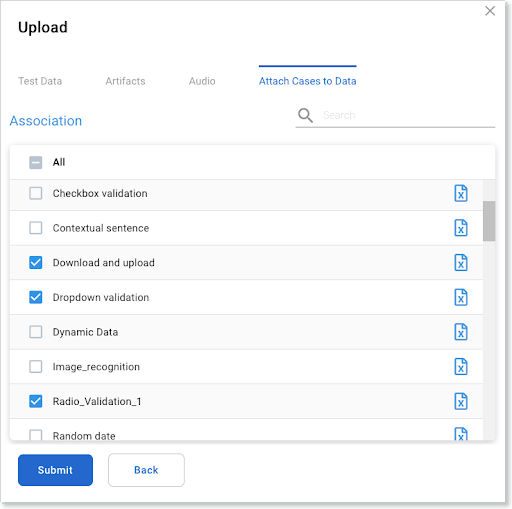
- Click Submit.