Audit Logs
Backtrace provides audit log capabilities for customers. The audit log includes all login requests and configuration changes, including user management. Additional metadata is provided, including originating IP addresses and more.
Enabling the Audit Log for On-Premise
To enable the audit log, add the following stanza to your coronerd.conf file (usually located in /etc/coronerd):
"audit" : {
  "path" : "/var/log/coronerd/audit.db"
}
The default retention policy is 6 months, but it is possible to customize this. The age_seconds integer represents the number of seconds an audit log entry is stored before being removed. For example, the following stanza specifies that audit logs older than 1 hour (3600 seconds) are eligible for removal by the Backtrace system:
"audit" : {
  "path" : "/var/log/coronerd/audit.db",
  "age_seconds": 3600
}
Viewing the Audit Log
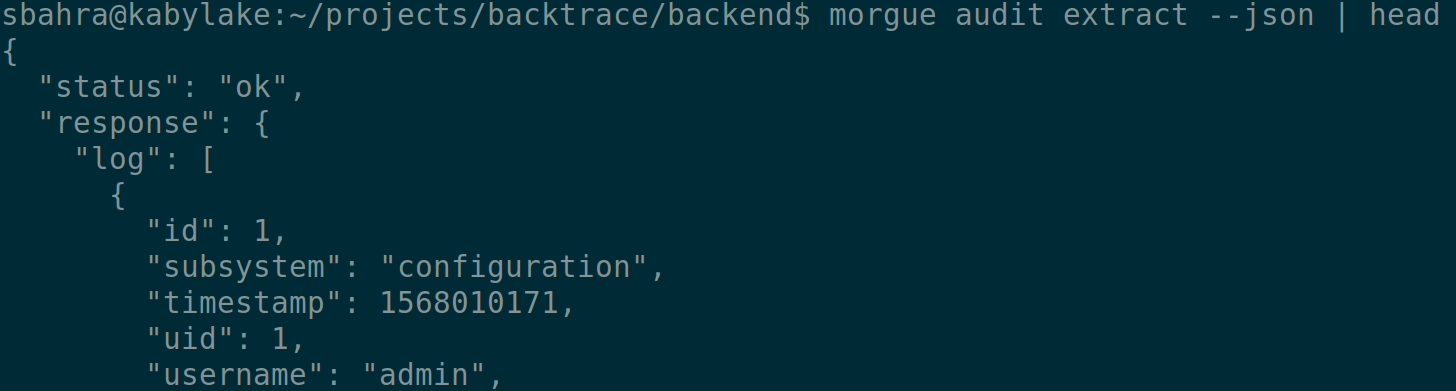
After the audit log is enabled, you can extract its contents using the morgue tool or by making a copy of the audit log directly. To extract the log and render it in a text format using morgue, use the morgue audit extract command.

The --table option can be used to render the data in a tabular format in your terminal, as shown below:

You can also render the audit log as a JSON object by using the --json option.
Filtering the Audit Log
For advanced filtering of the audit log, you can use traditional utilities such as grep or jq. For example, the following command filters all audit log entries for the configuration subsystem.

Multitenant Configuration and Access Control
Regular users and administrators have access to audit logs belonging to their tenant (universe) only. A superuser has access to audit logs for all tenants. To filter the audit log for a specific tenant, a superuser can specify the --universe option with the morgue audit extract command. For example, morgue audit extract --universe=A provides audit log entries for tenant A.