Create Your First Test
Legacy Documentation
You're viewing legacy documentation for API Fortress (deployed via an on-premises container). To view documentation for the new SaaS version of API Fortress — now known as Sauce Labs API Testing and Monitoring (with Sauce Connect tunnels) — see API Testing on the Sauce Labs Cloud.
This page is a Quickstart guide for getting up and running with our legacy API Fortress (on-prem) tool. API Fortress may be deployed in our hosted cloud or self-hosted/on-premises via a container behind your firewall. Maintain complete test data ownership. Learn more about the differences between the two types of deployments.
Below, we walk through how to quickly create a test using an e-commerce API. Let's get started!
What You'll Need
- An API Fortress Account
- When first setting up your account, you should receive an email with your login credentials from the platform. Before sure to confirm your email address. If you don't receive an email, contact us at support@saucelabs.com. If you’d like to trial mocking or load testing, please contact support or your API Fortress representative.
Step 1: Create a Project
When you first log in, you are introduced to the Company Dashboard. The company already contains a project called Examples with some example tests.
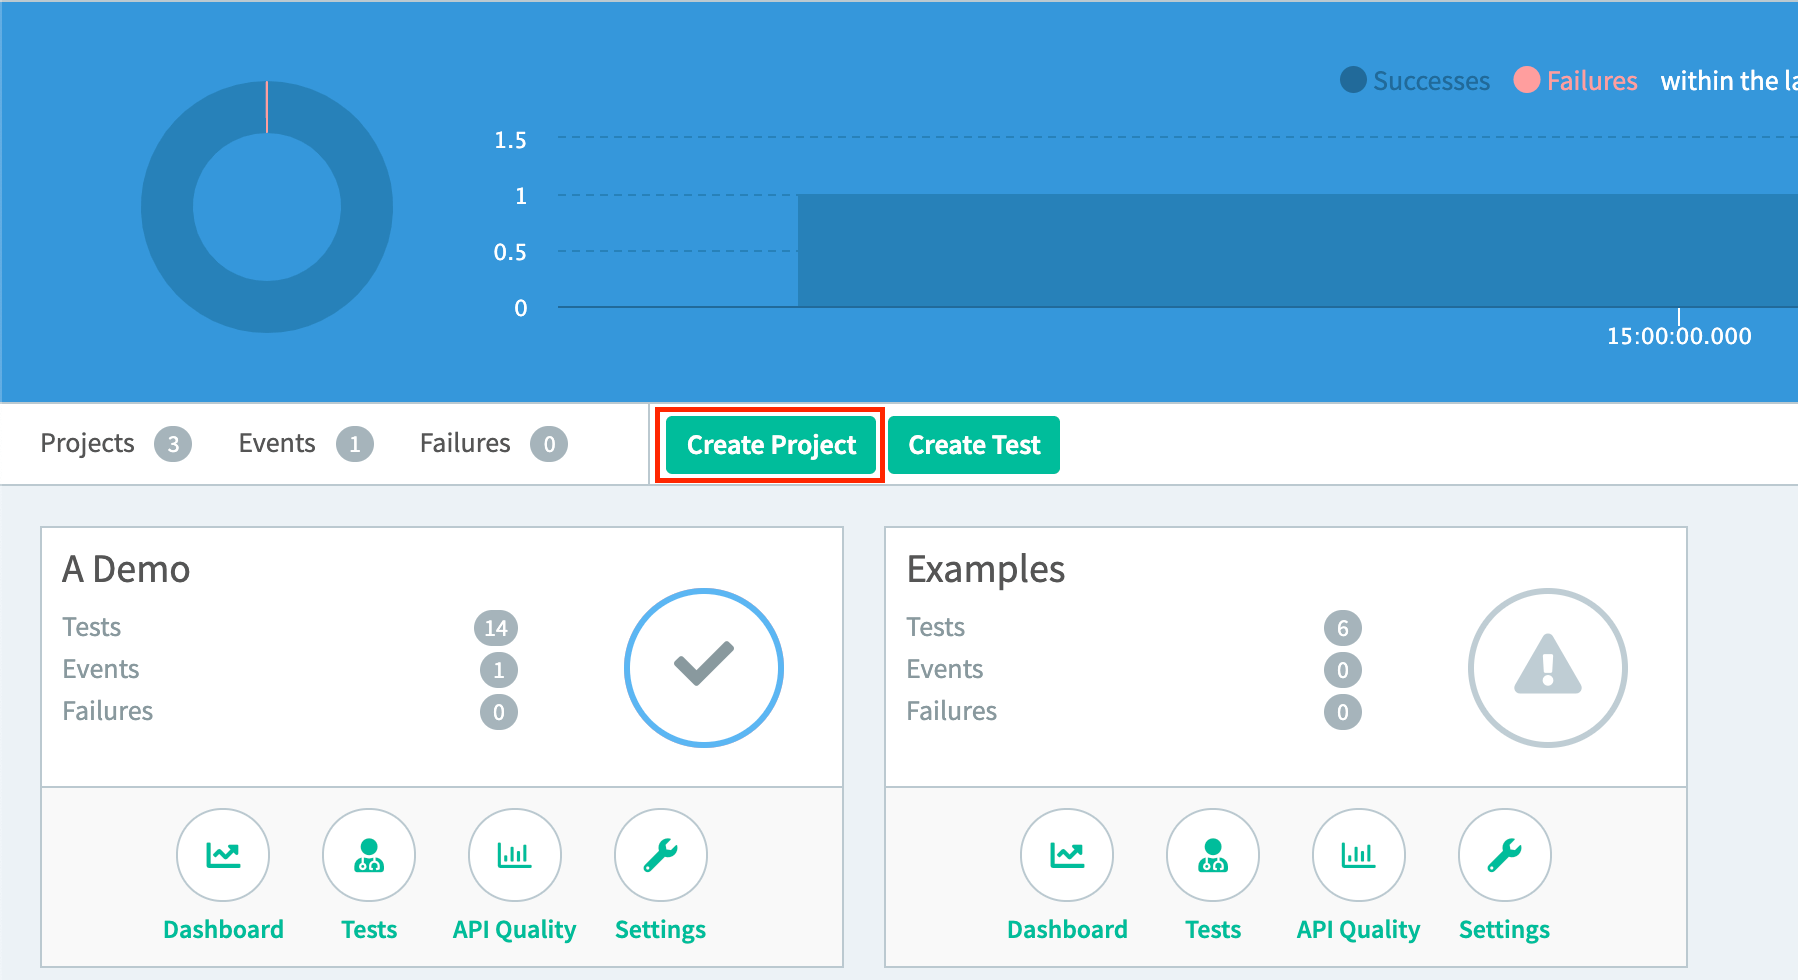
Select Create Project and then create a project name.
Step 2: Create a Test
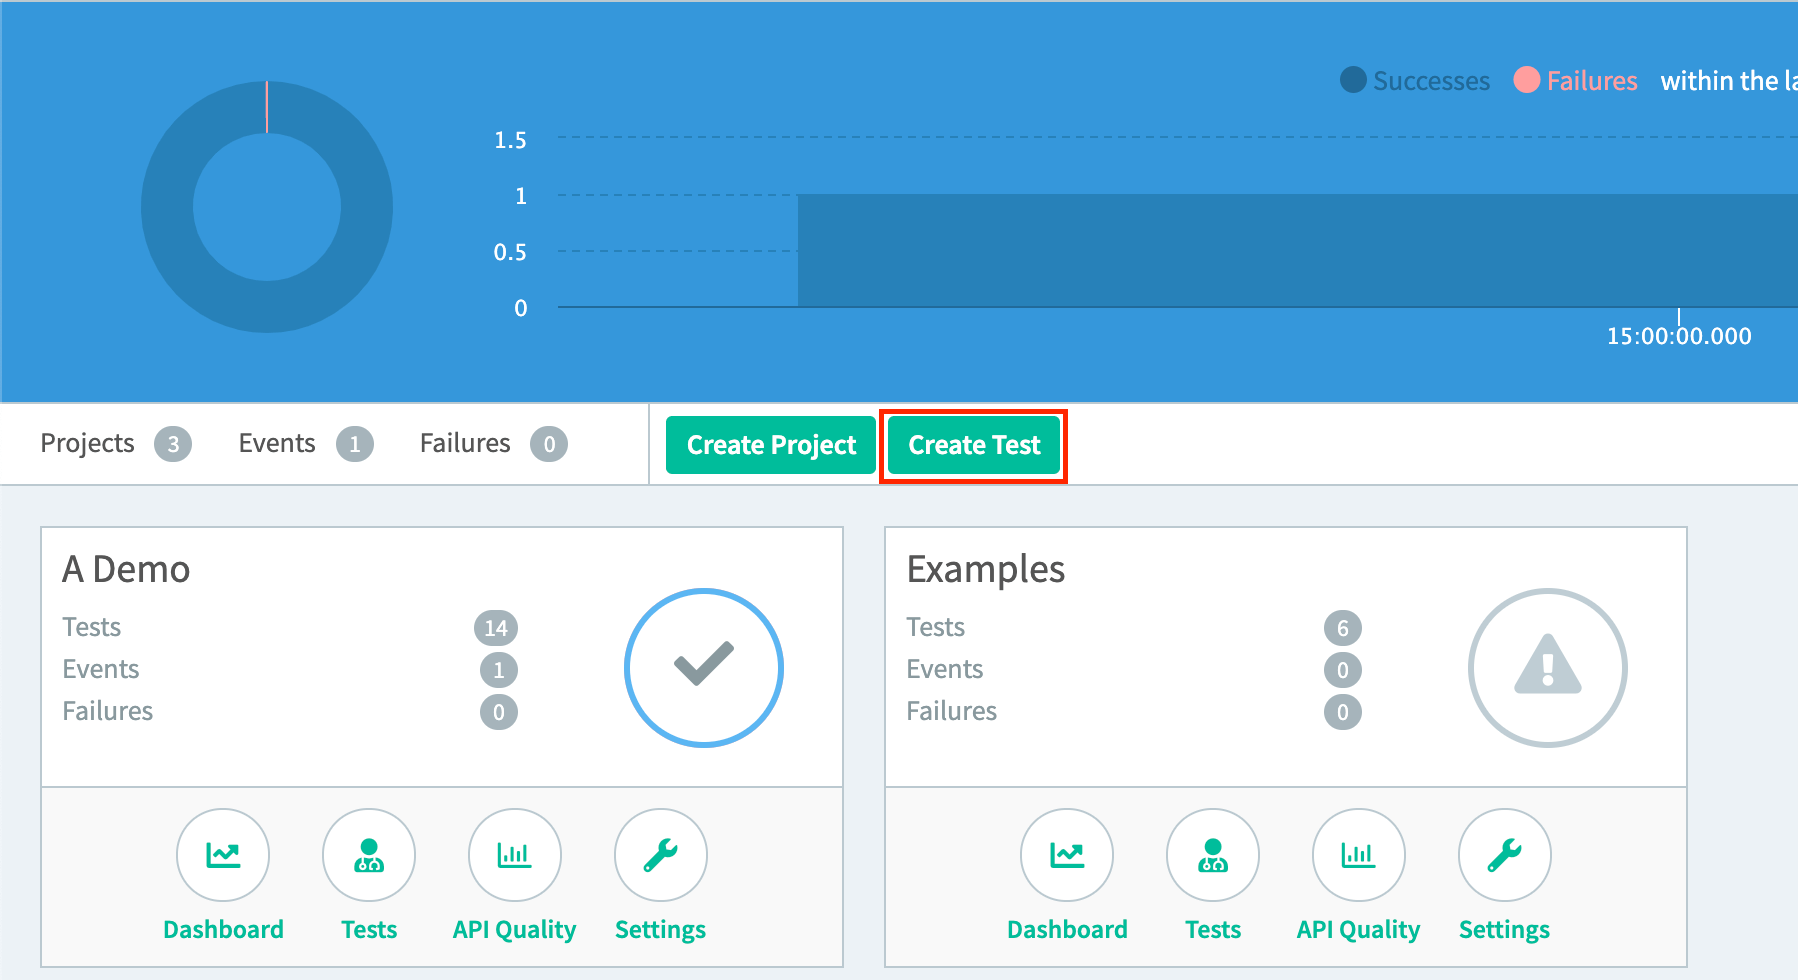
After you name your project, select Create Test and name your test.
Once you finish naming your test, you should see the Interstitial Page.
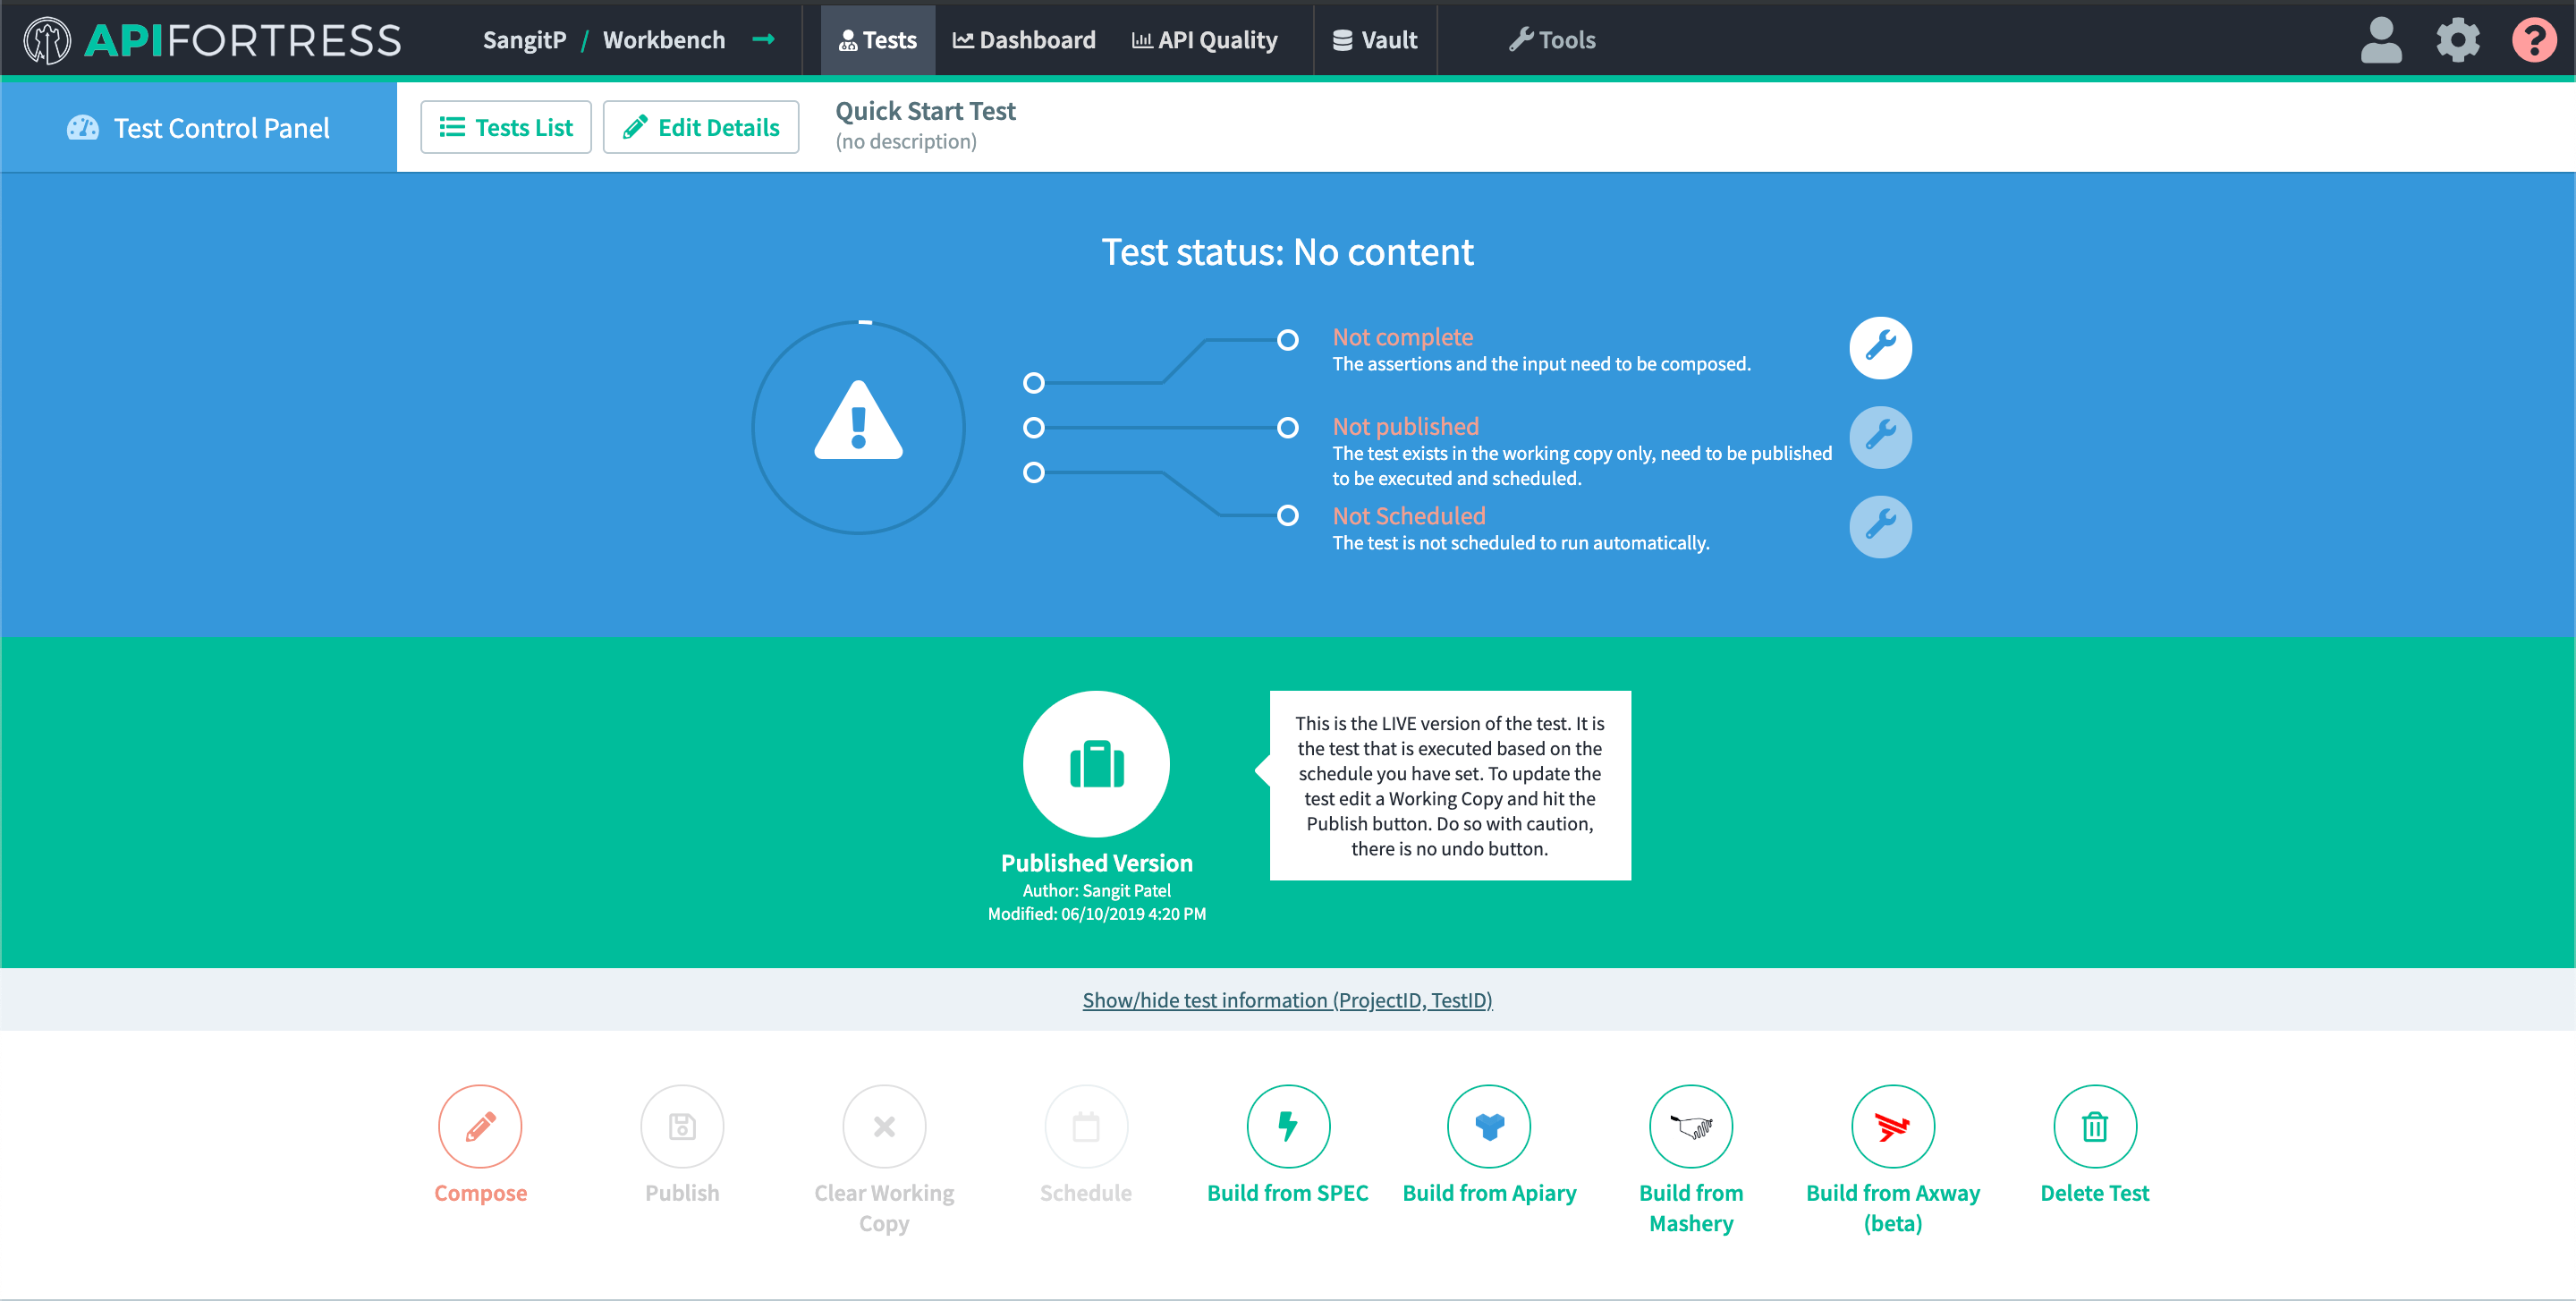
There are two avenues that you may take in building a test from here:
- Generate a test manually
- Build from a spec file
If you want to build a test manually, API Fortress is capable of building a test draft for you using the Generate Test button. You can also create a test by building from a spec file, or an Apiary account.
For the purposes of this quickstart guide, we will show you how to use the Generate Test button.
To build a test using a spec file see: Build from Spec.
Step 3: Create an HTTP Request
In order to generate a test based on the HTTP response payload, we need to add a sample HTTP request using an example test API.
-
Select Compose in the left-hand portion of the Interstitial page.
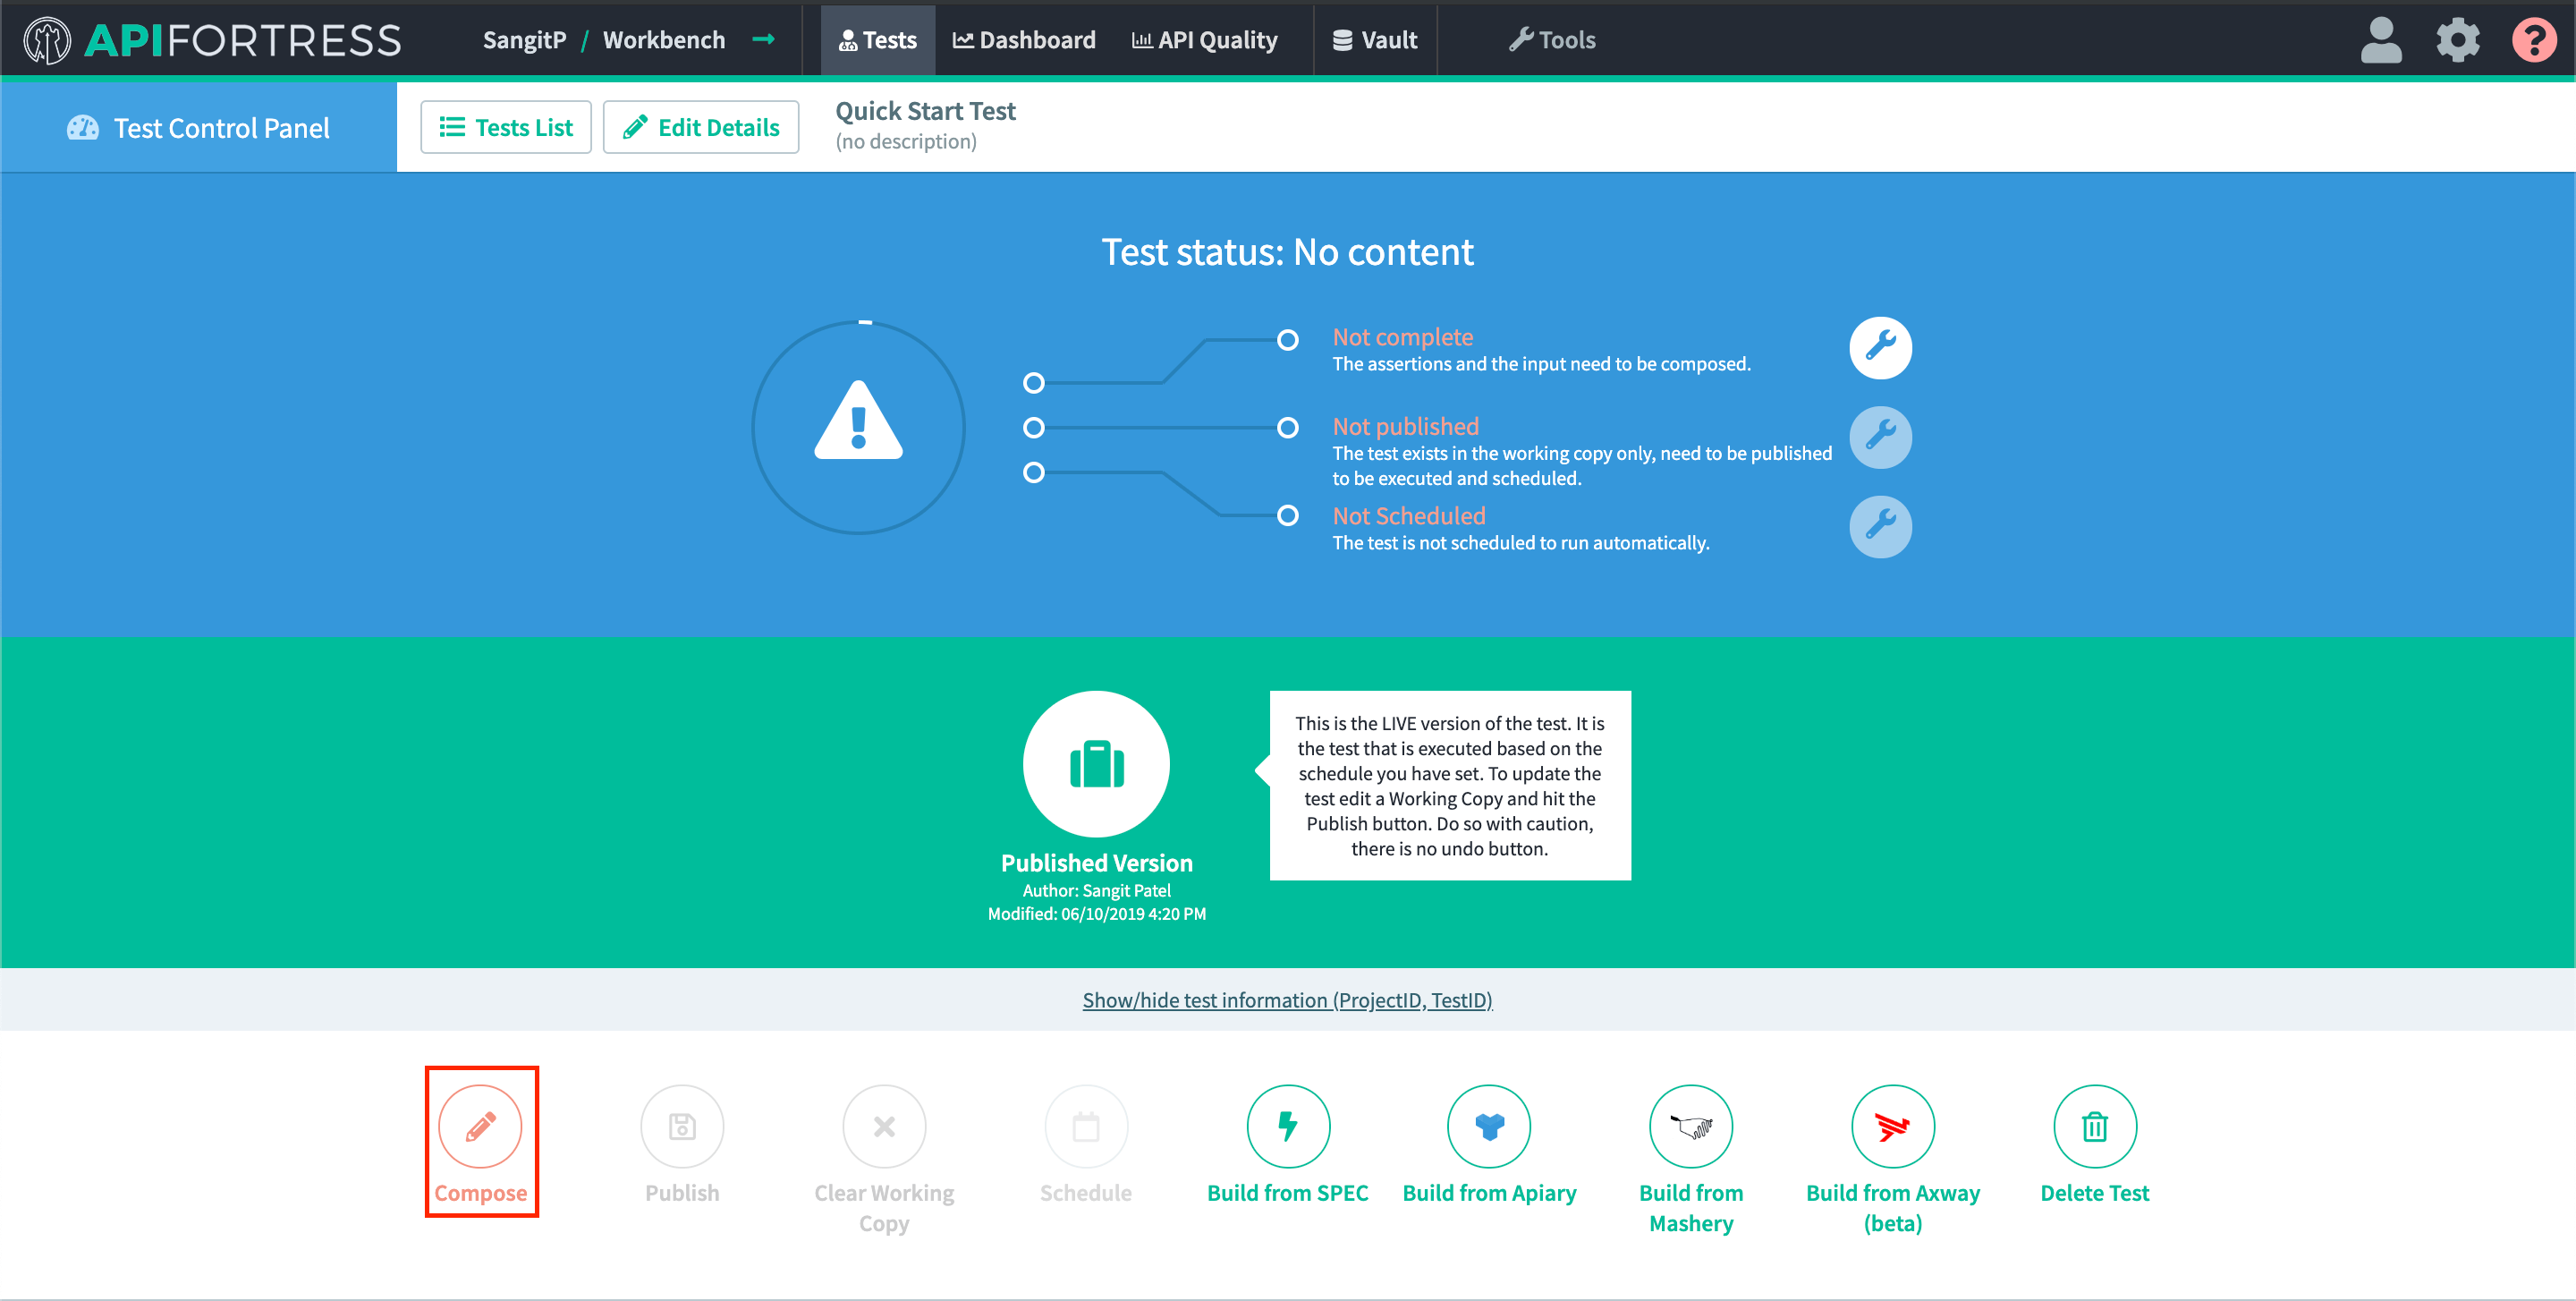 Visual Composer Tutorial
You will be presented with a tutorial on the Visual Composer. The final screen of the tutorial provides you with further instructions on how to create a test. Feel free to explore the tutorial and then close the window in order to return to the Console.
-
Select the HTTP Client button in the left panel.

-
Copy and paste the following url in the empty Request url form at the bottom of the page:
http://demoapi.apifortress.com/api/retail/productThe above test API is a simple
GETrequest, so leave the dropdown as is. -
Select the Send button to generate the response payload. Here's what it looks like in the UI:

You should receive the following response code in the Body tab:
{
"Status": 401,
"Message": "Unauthorized Token"
}
Normally this means you need to add an auth token/header, but for this particular demo api we can sidestep this requirement with a simple header.
-
Under the Headers tab add the following values:
key:ABC123, here's what it looks like in the UI:
Select the Send button one more time and after the response payload appears, select Save, name your request, then select Save Request.
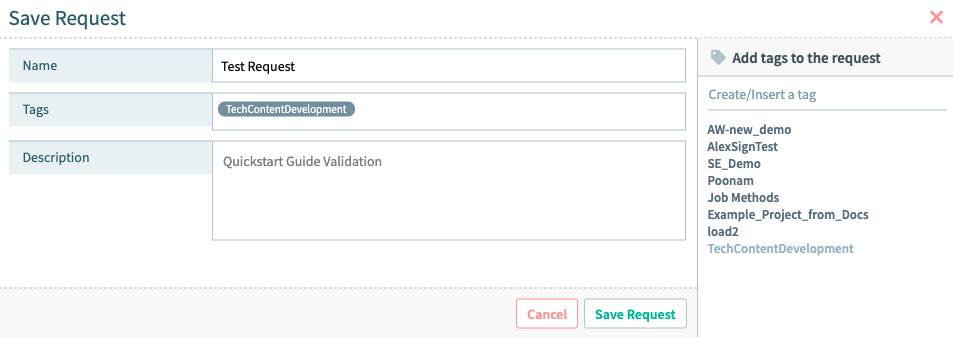
Step 4: Use the Generate Test Button
Now select the Generate Test button to generate a test draft.

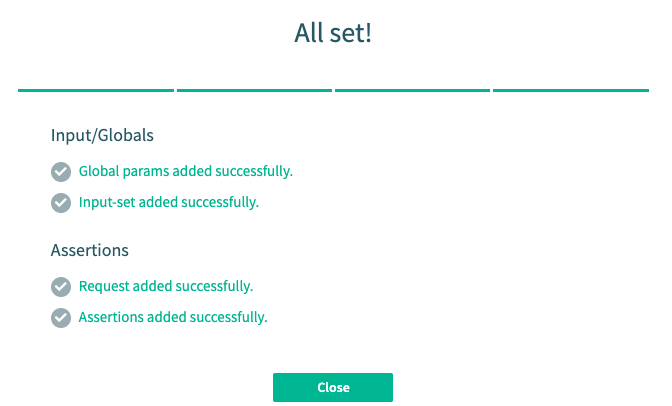
The following screens allow you to choose whether you want to create the input set based on the data provided in the request, and if you want Magic to generate the assertions. The final screen summarizes what was done. Select Continue on each screen.
Screen 1 |
Screen 2 |
|---|---|
Screen 3 |
Final Screen |
After you successfully generate your first test, the generated test appears in the Visual Editor:

Visual Editor
The values for ${protocol}${domain}${endpoint}, directly correlate with the values generated from the Generate Test button in the HTTP Client tool. You can find these values by selecting Input Sets in the left hand side of the UI:
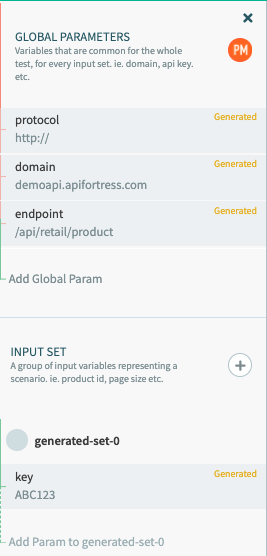
Global Parameters & Input Set
Congratulations! You've just created your first test!
Next Steps
At this stage, this test is only a draft. You should take a moment to verify each object, and/or add more logic to it. API Fortress has a lot of tools that allow for comprehensive continuous integration testing. Magic Test Generation is great at understanding datatypes and structure, which is often 90% of the work.
Additional Topics
- Check out the Example Snippets provided by the API Fortress Dashboard.
- Learn how to import Postman Collections so that you may generate more tests.
- Learn how to schedule a test here.
- Learn about data and notifications connectors here. Simple solutions to plug into the systems you use today (e.g DataDog or New Relic).


