Manage Scheduled Reports
After you create a scheduled report, you can change its settings, send yourself a preview, pause it, or delete it. You manage each report from the More options menu on the Scheduled reports page. To create a report, see Create Scheduled Reports.
Open the Report Options
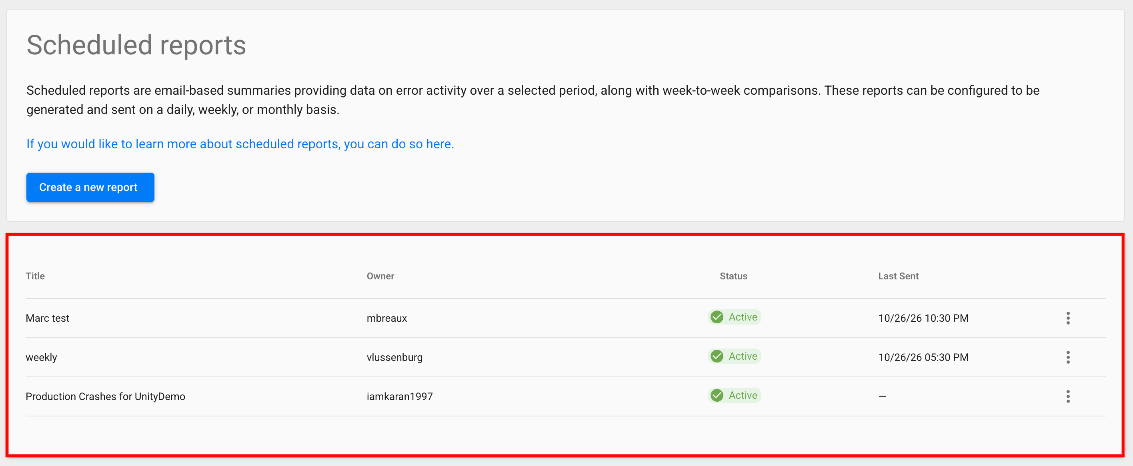
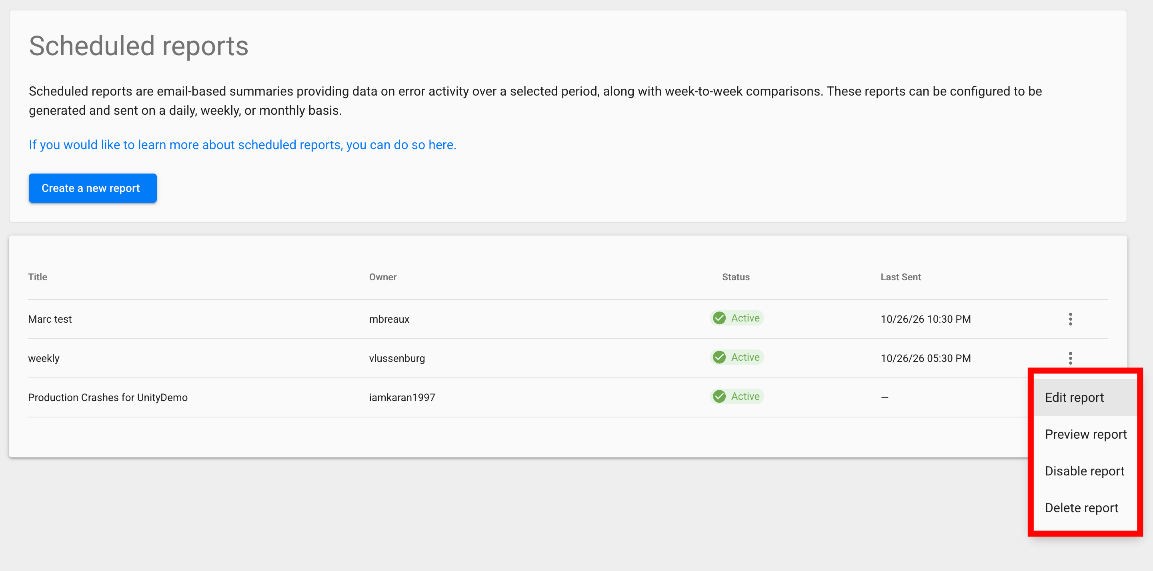
All the actions for a report are in its More options menu on the Scheduled reports page. The page lists every report of the project with its title, owner, status, and the date it was last sent, so you can find the report you want to change before you open its menu.
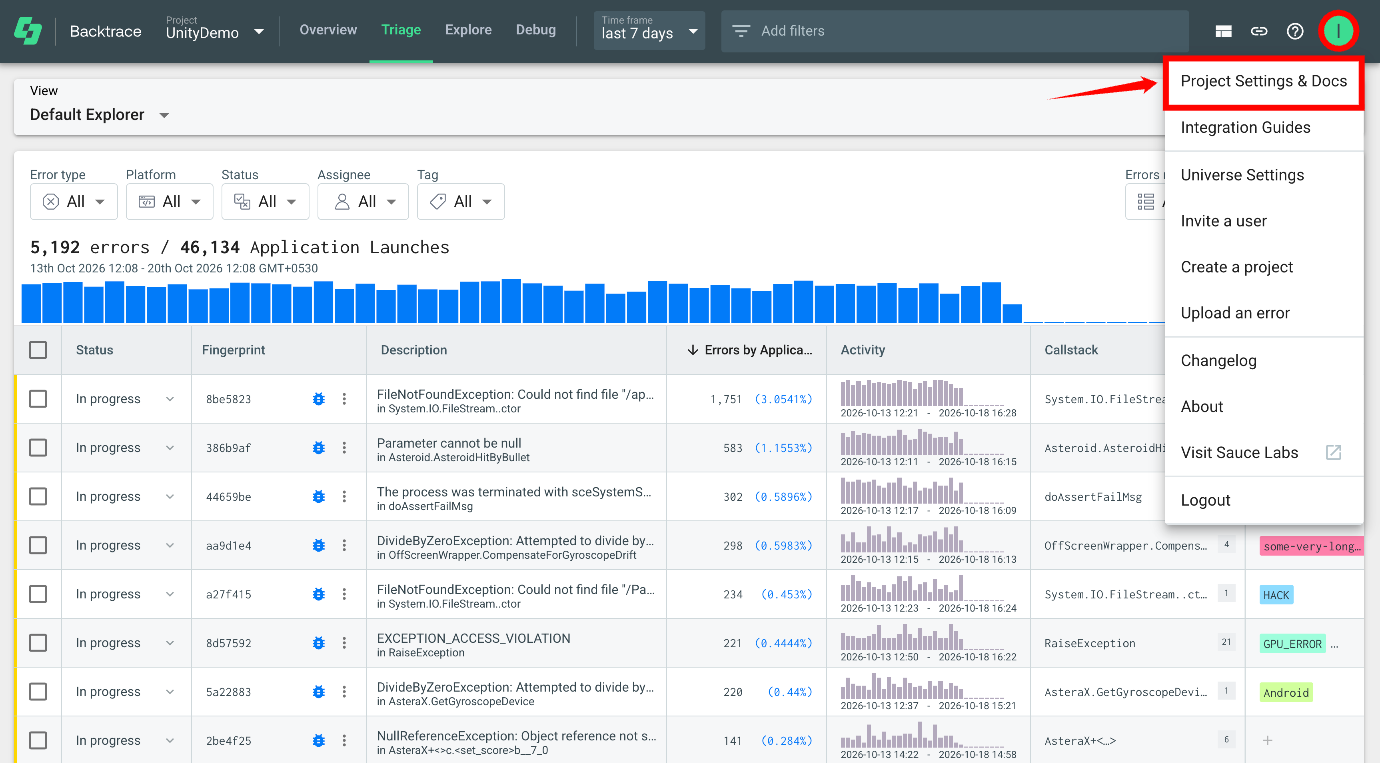
Step 1: In your project, click your profile icon in the top-right corner, and then select Project Settings & Docs.
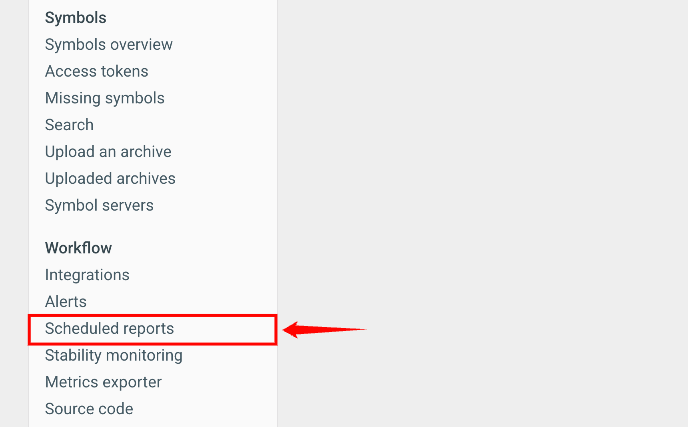
Step 2: In the left menu, under Workflow, click Scheduled reports.
The Scheduled reports page opens with the list of reports of the project.
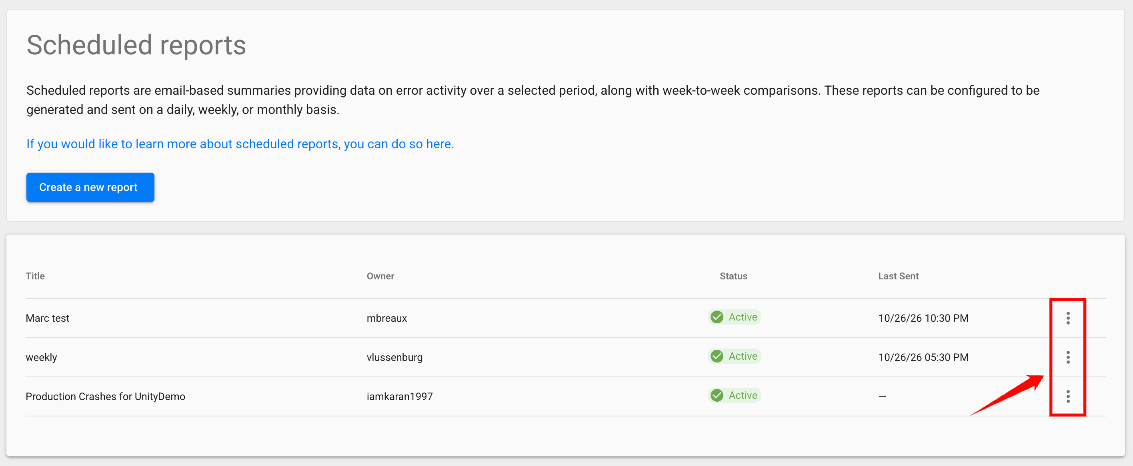
Step 3: Click the More options icon (⋮) next to the report.
The menu has the following options:
| Option | What it does |
|---|---|
| Edit report | Opens the report settings, so you can change them. |
| Preview report | Sends a preview of the report to your email. |
| Disable report or Enable report | Stops or restarts the scheduled delivery of the report. |
| Delete report | Deletes the report. |
Edit a Report
Edit a report when what your team needs from it changes, for example, to send it at a different time, add or remove recipients, or focus it on a new release with a filter.
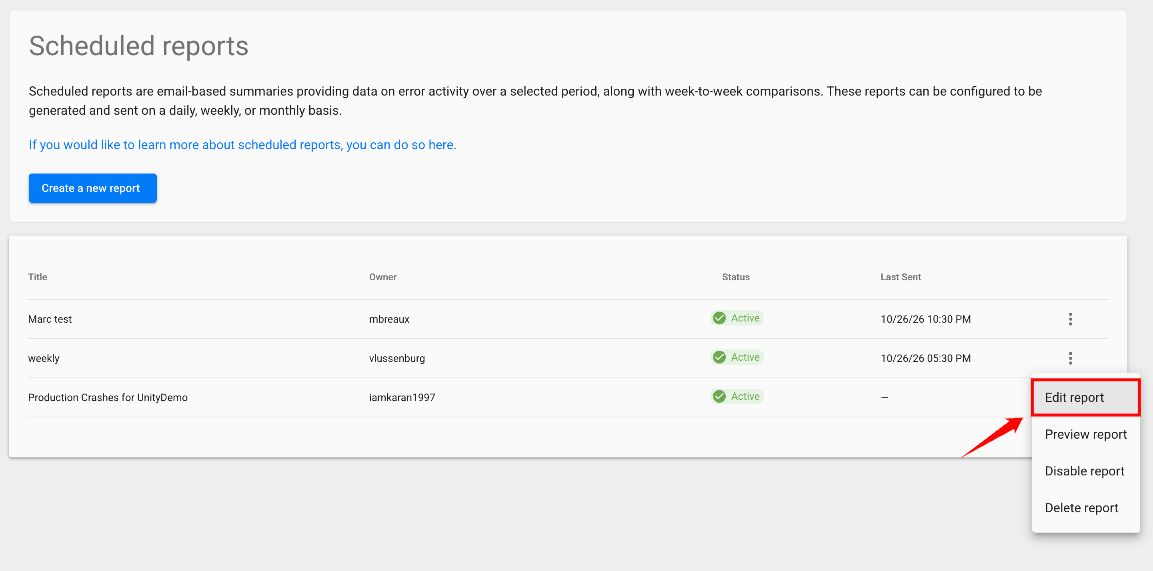
Step 1: In the More options menu of the report, select Edit report. The Report Setup form opens with the current settings.
Step 2: Update the fields. For a description of each field, see Step 4 of Create a Scheduled Report.
Step 3: Click Save report, or click Save and preview report to also receive a preview.
Send a Report Preview
Send a preview to check what a report looks like before its next scheduled delivery, for example, after you change its filters or histograms. The preview goes only to you, not to the report's recipients, so you can review the content without sending it to your team.
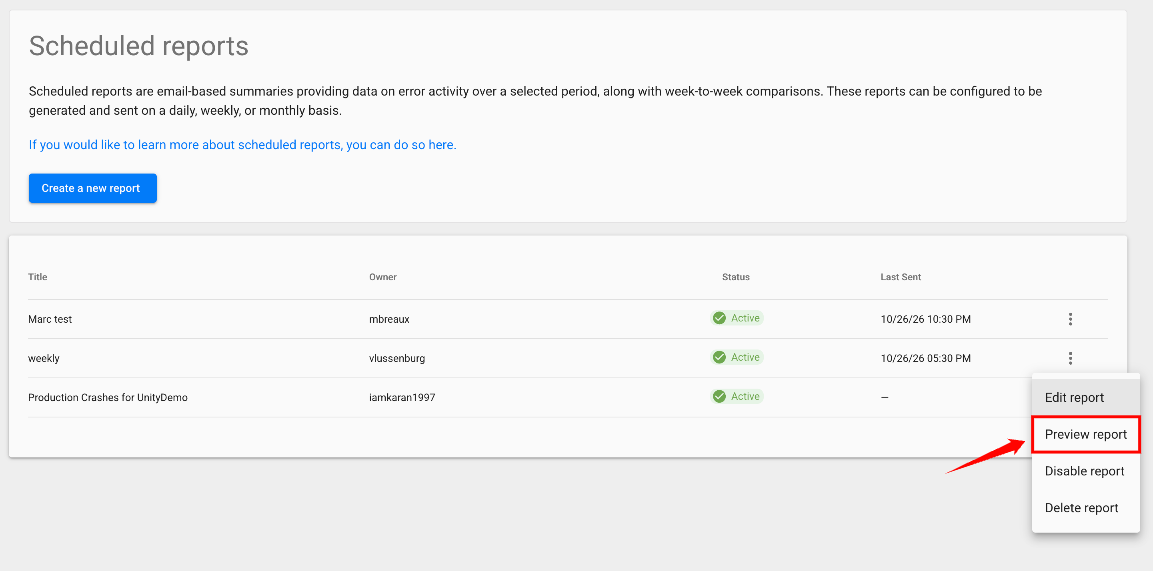
In the More options menu of the report, select Preview report. The report is sent to your email right away.
Disable or Enable a Report
Disable a report to stop sending it without deleting it, for example, while a project is inactive or during a release freeze. A disabled report keeps all its settings, so you can enable it again at any time.
Step 1: In the More options menu of the report, select Disable report.
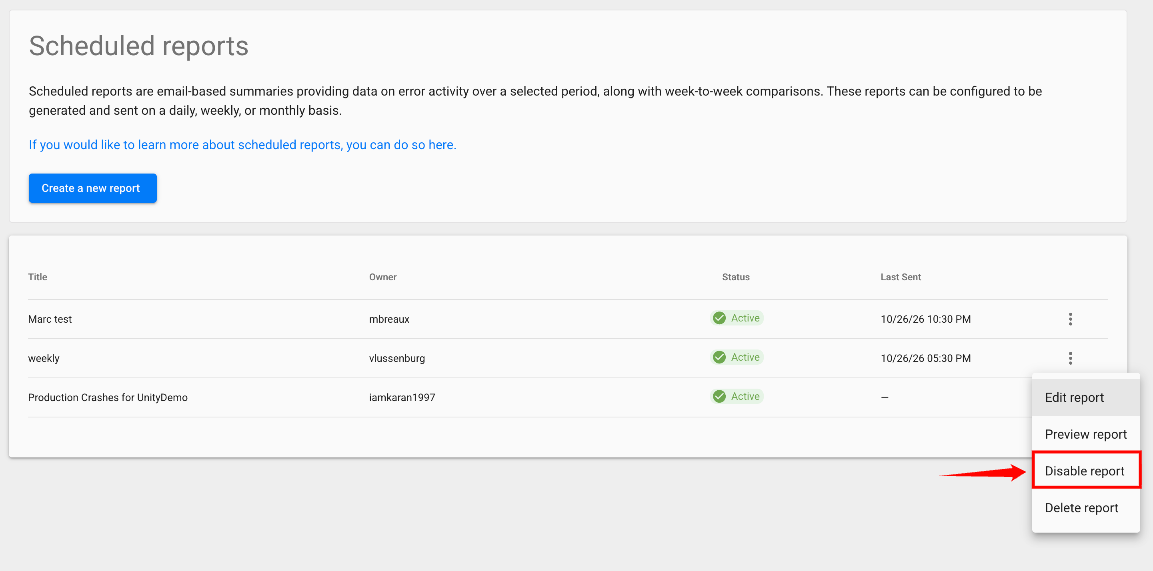
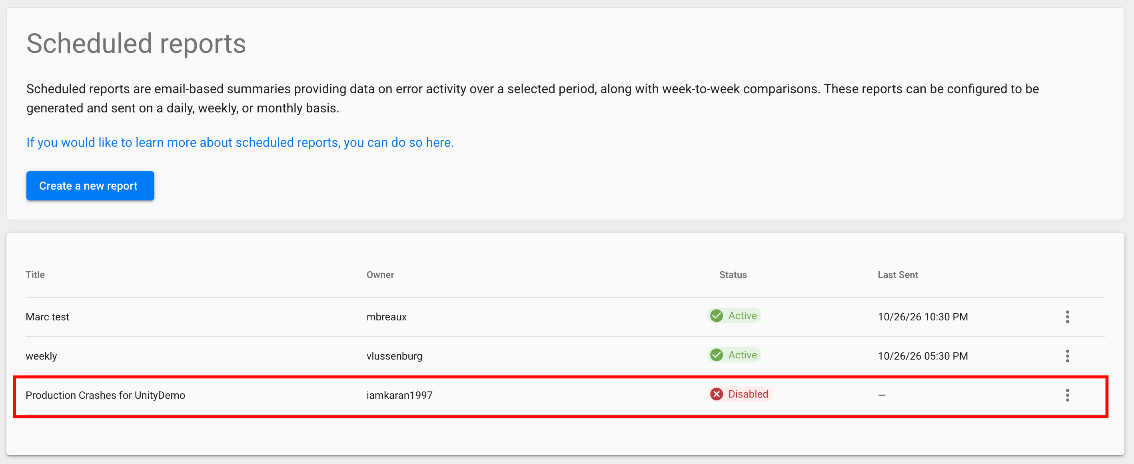
The status of the report changes to Disabled.
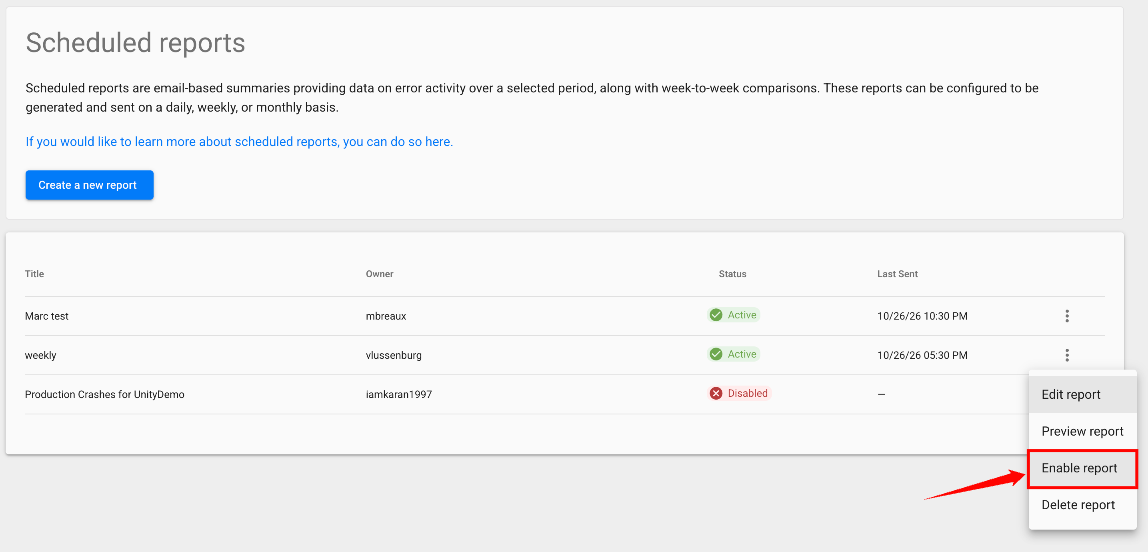
Step 2: To send the report again, select Enable report in its More options menu. The status changes back to Active.
Delete a Report
Delete a report when you no longer need it, for example, after a project or release it covers is retired. To stop a report only for a while, disable it instead, so you keep its settings.
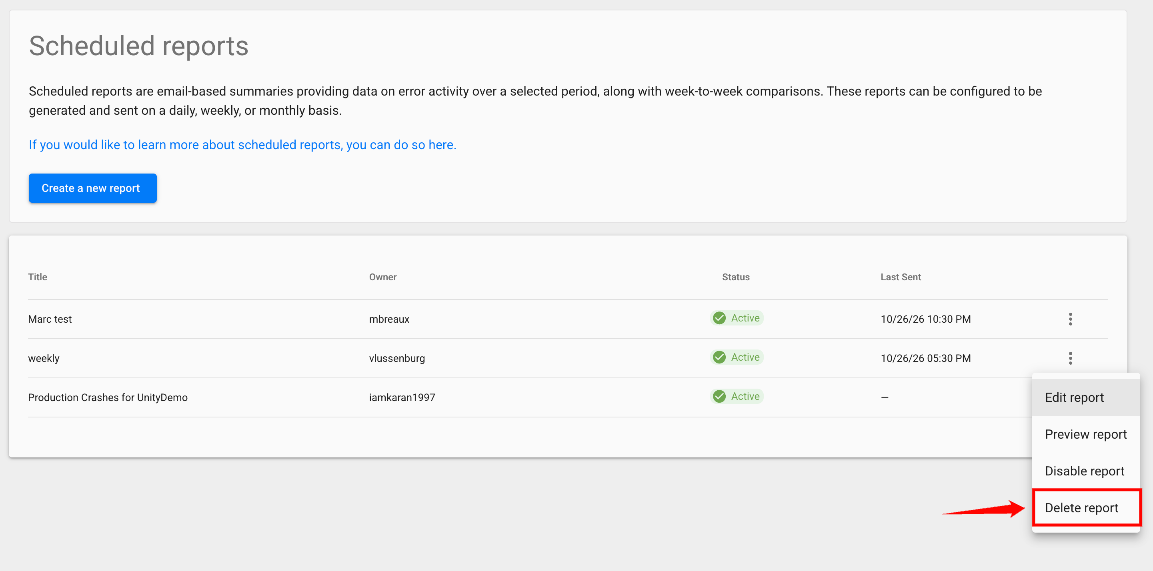
In the More options menu of the report, select Delete report.
Common Questions
The following answers cover common questions about the content and recipients of scheduled reports.
How can I see only fatal errors in my report?
In Filter report content, set error.type equal Crash. The statistics in the report then reflect only crashes, and the error-free user rate shows the crash-free user rate. You can also use error.type for hangs, exceptions, and other values.
Can individual users opt out of reports?
No. Recipients are set in the Email field of each report. To change who receives a report, edit its recipients, or send the report to a mailing list that gives you finer-grained control over membership and distribution.
Can I save multiple reports?
Yes. This is common when you use filters. For example, you can create a report for every version of your application, or for any other attribute.