Configuring SSO in Microsoft Entra ID
Enterprise Plans only
-
Log into Entra ID administrator panel and go to Active Directory.
-
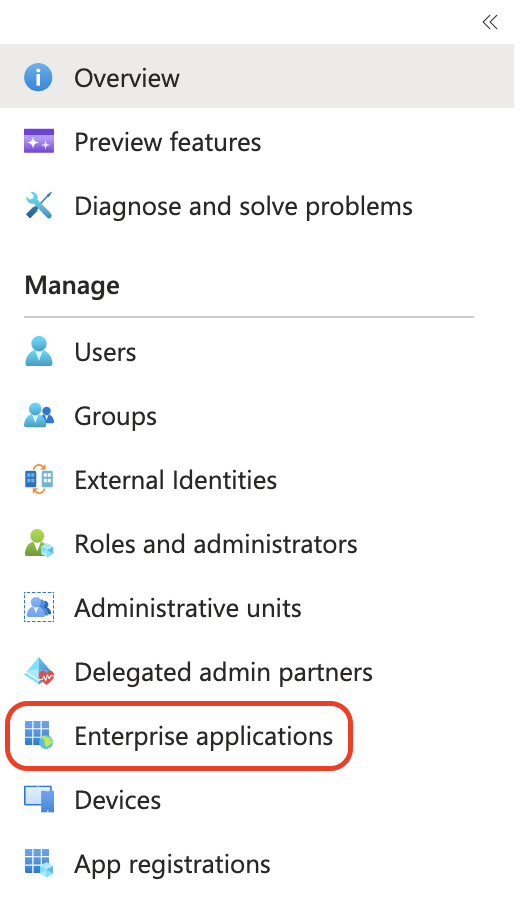
In the menu click Enterprise Applications.
-
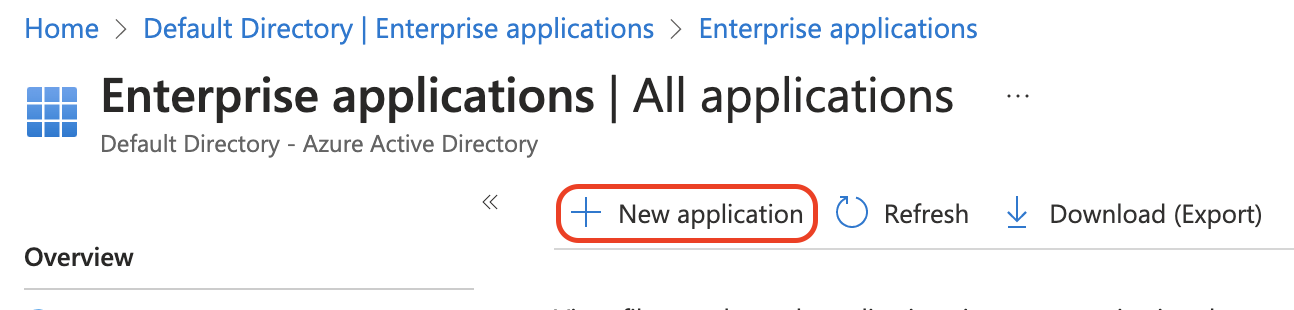
Click New Application.
-
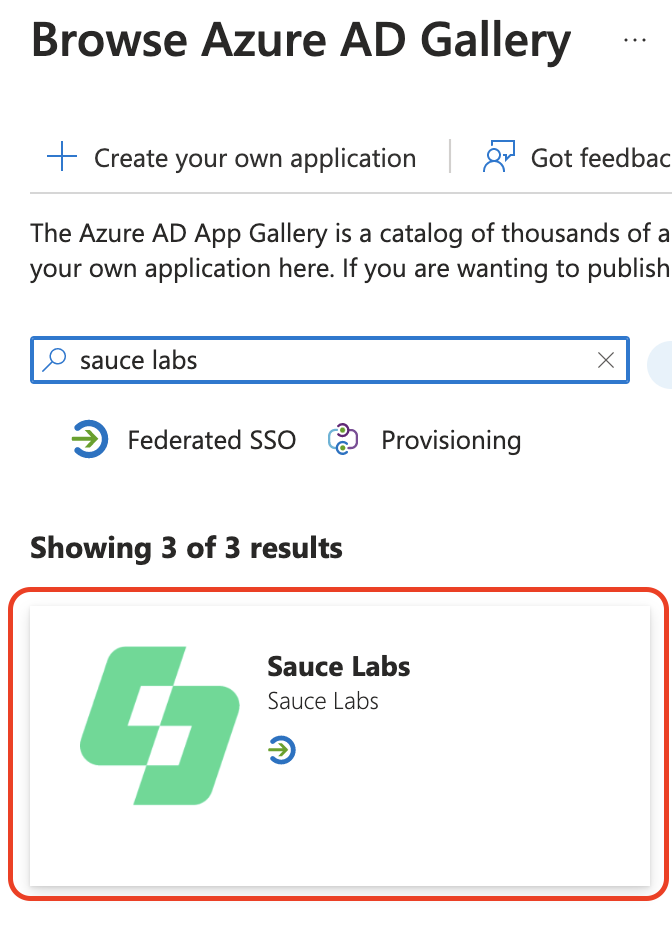
Type Sauce Labs in the search box and choose the app Sauce Labs.
-
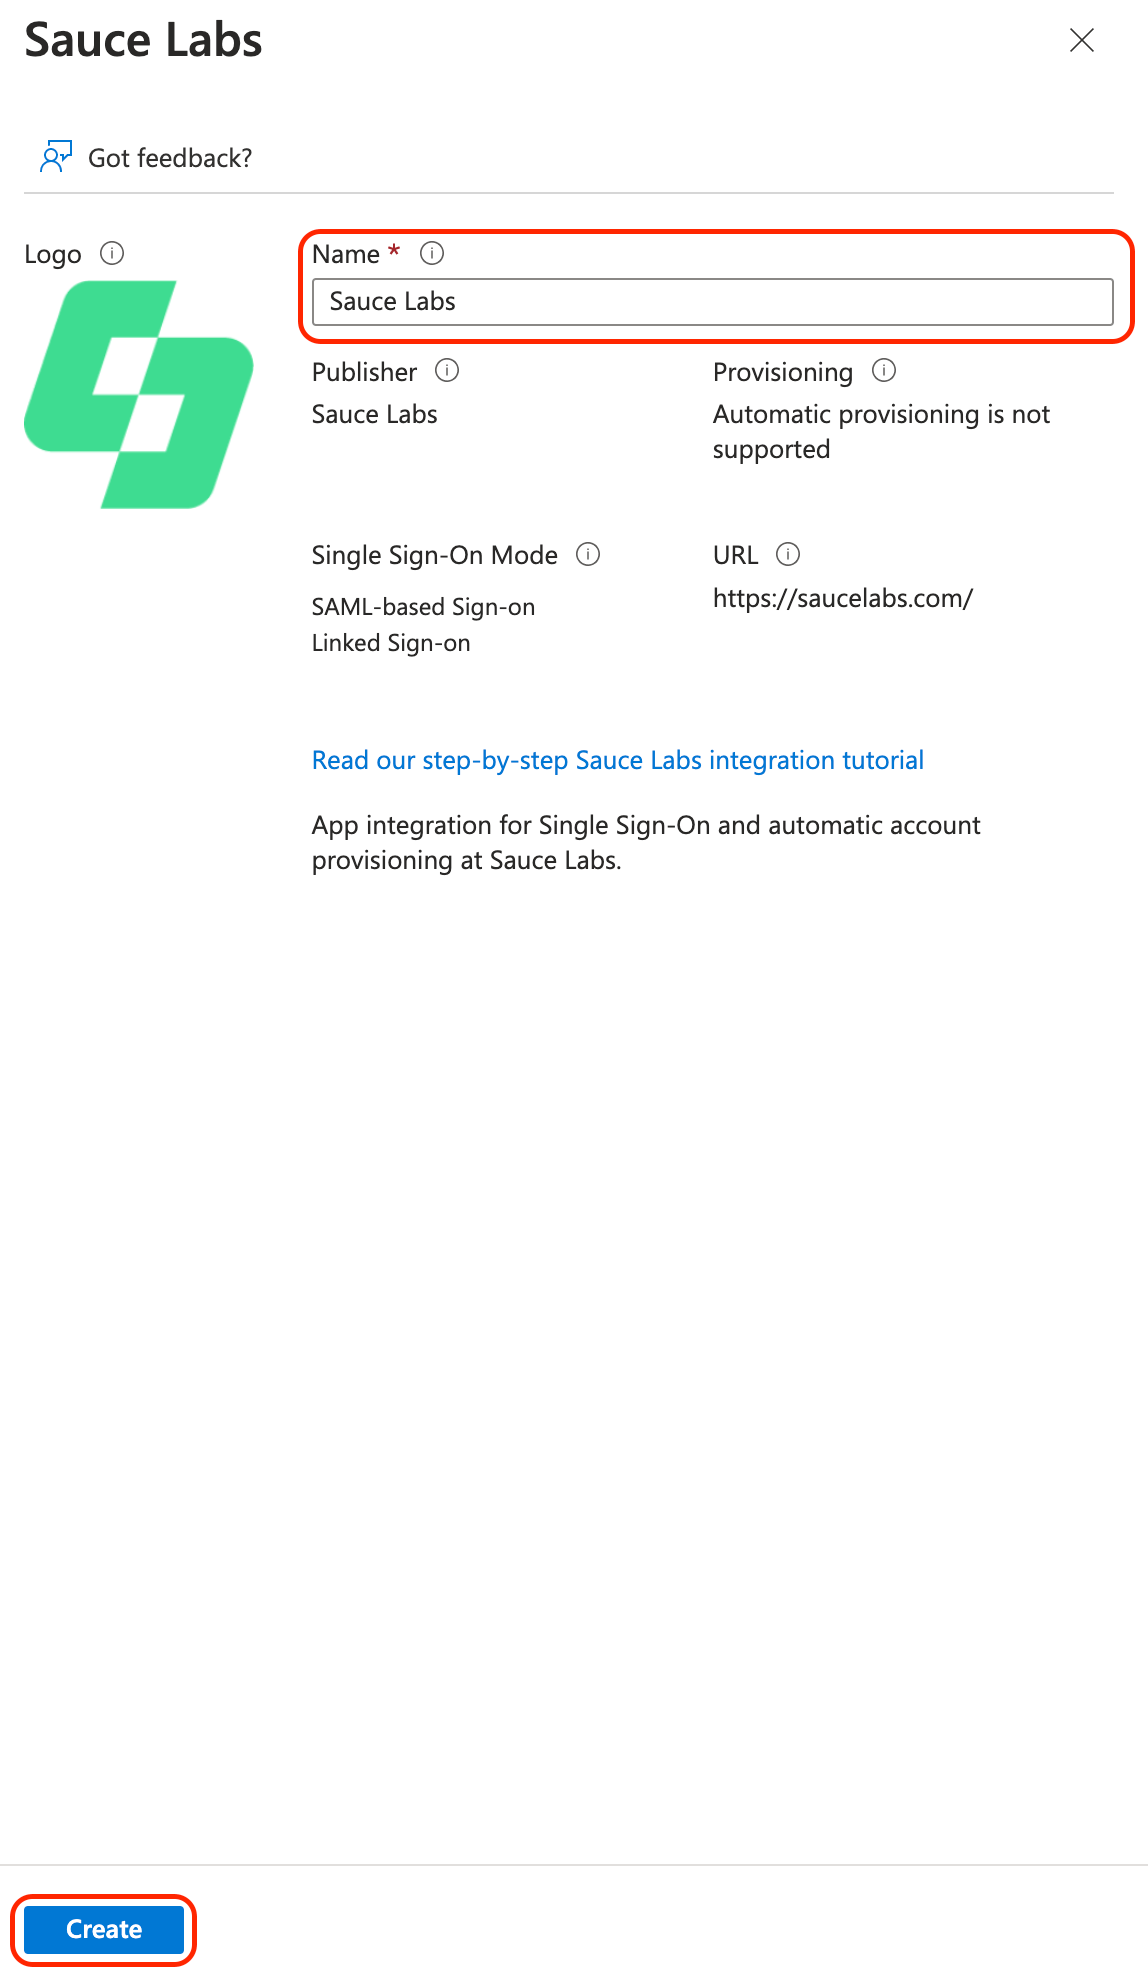
Leave the default name or rename it and click Create.
-
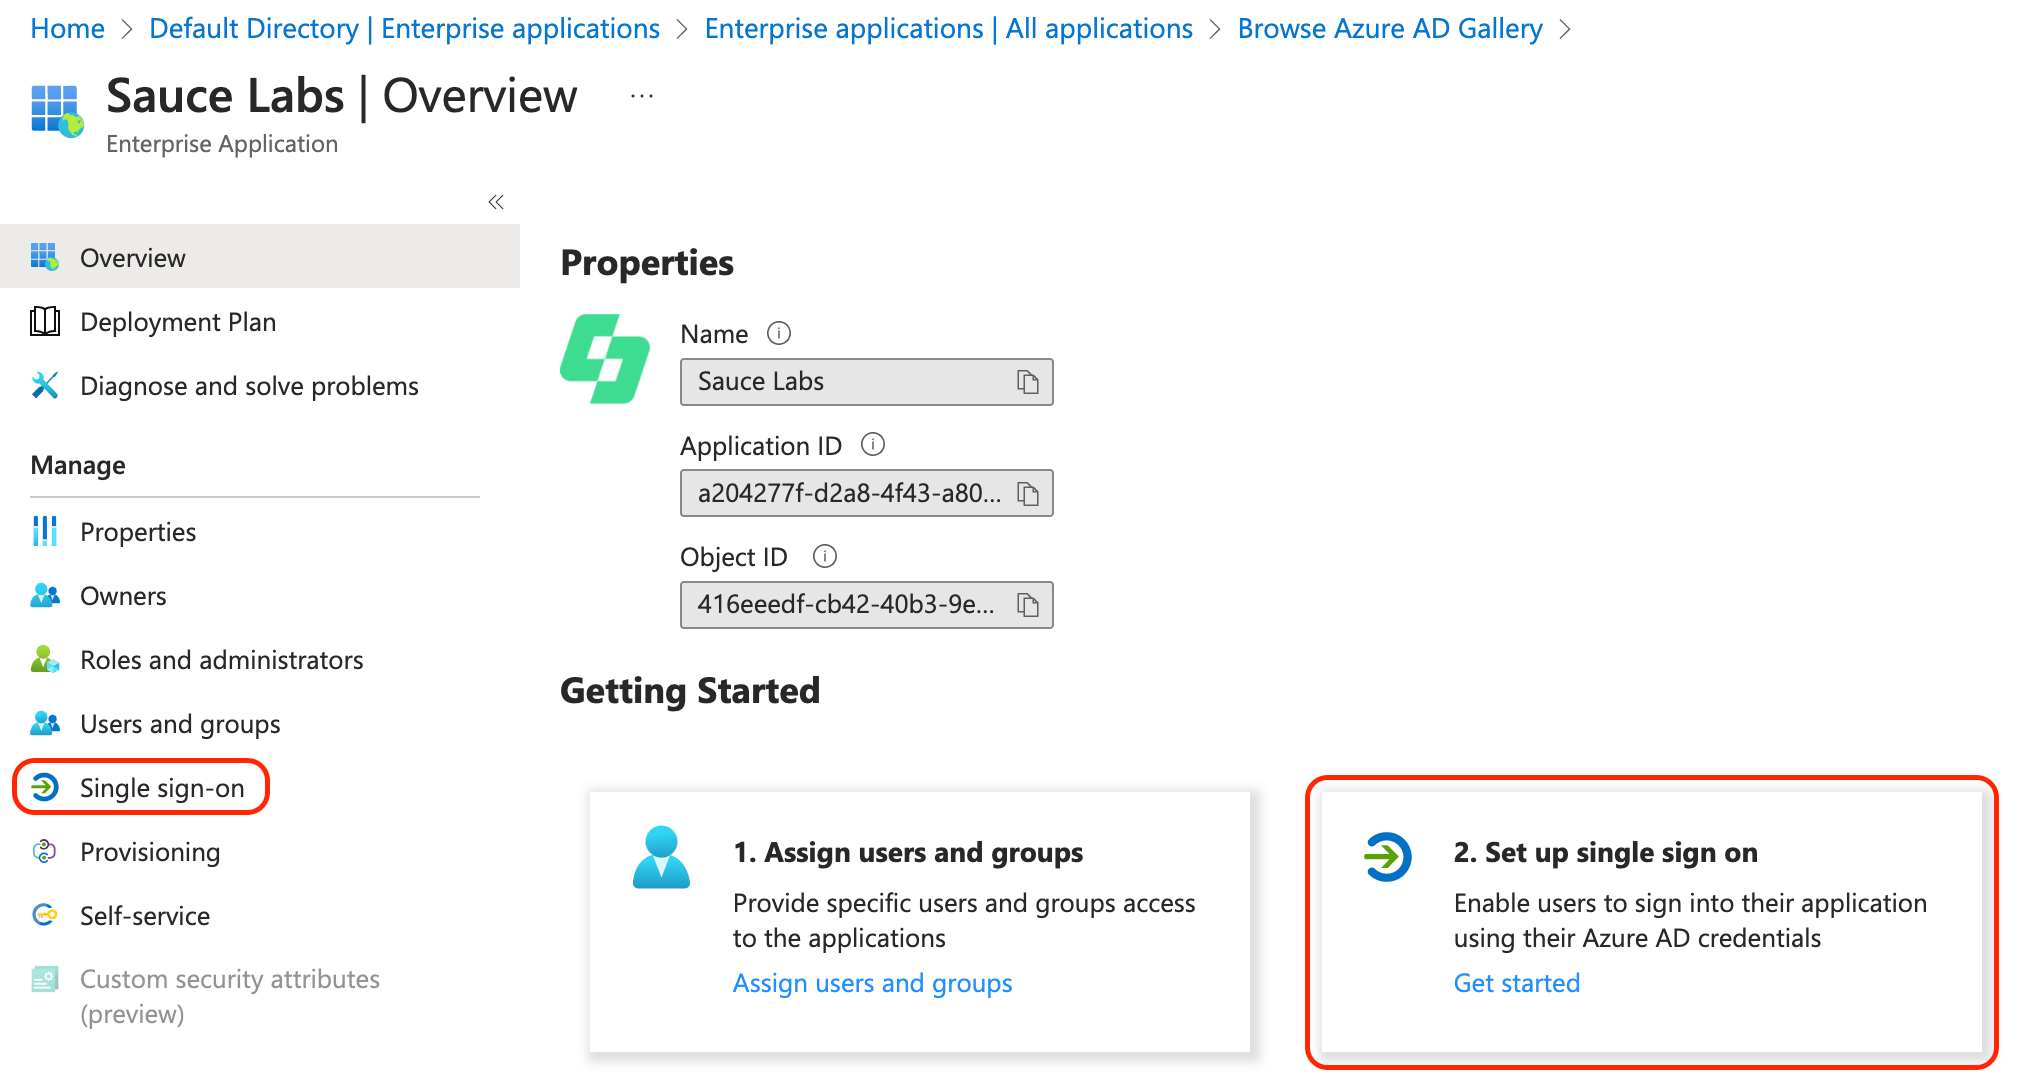
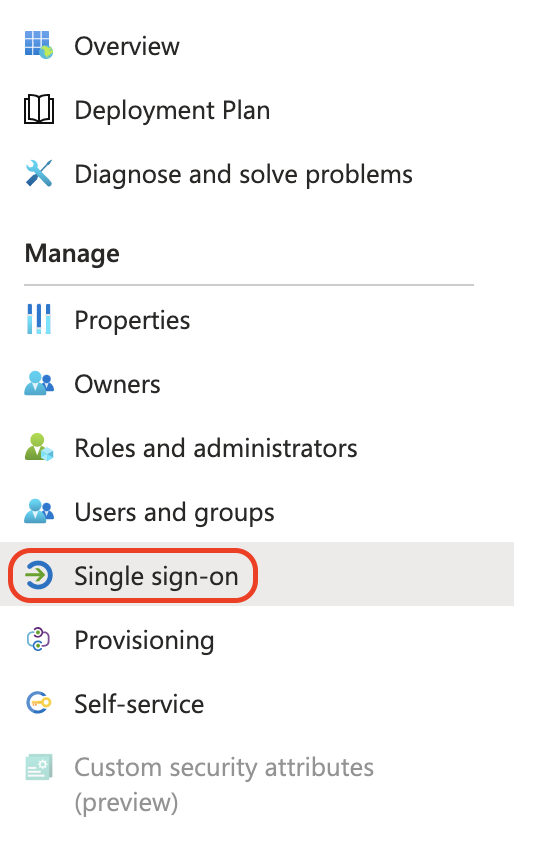
Set up SAML Single Sign-On either by clicking Single sign-on in the menu on the left or by clicking the tile Set up single sign on.
-
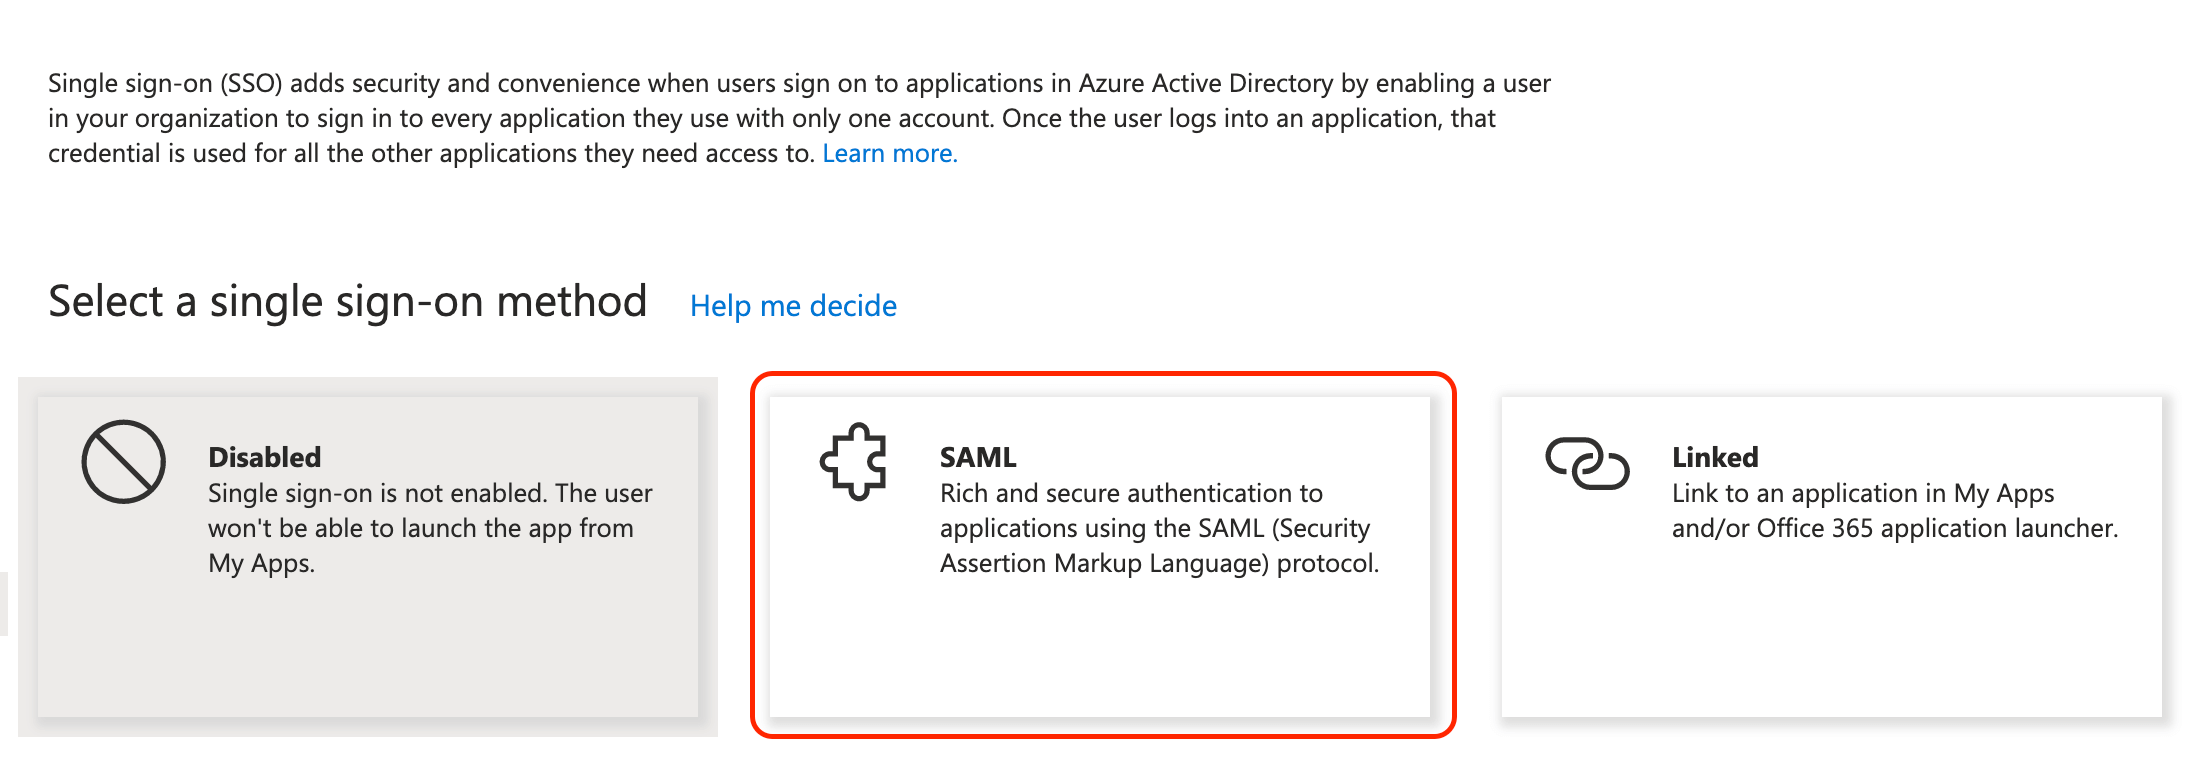
Click the SAML tile.
-
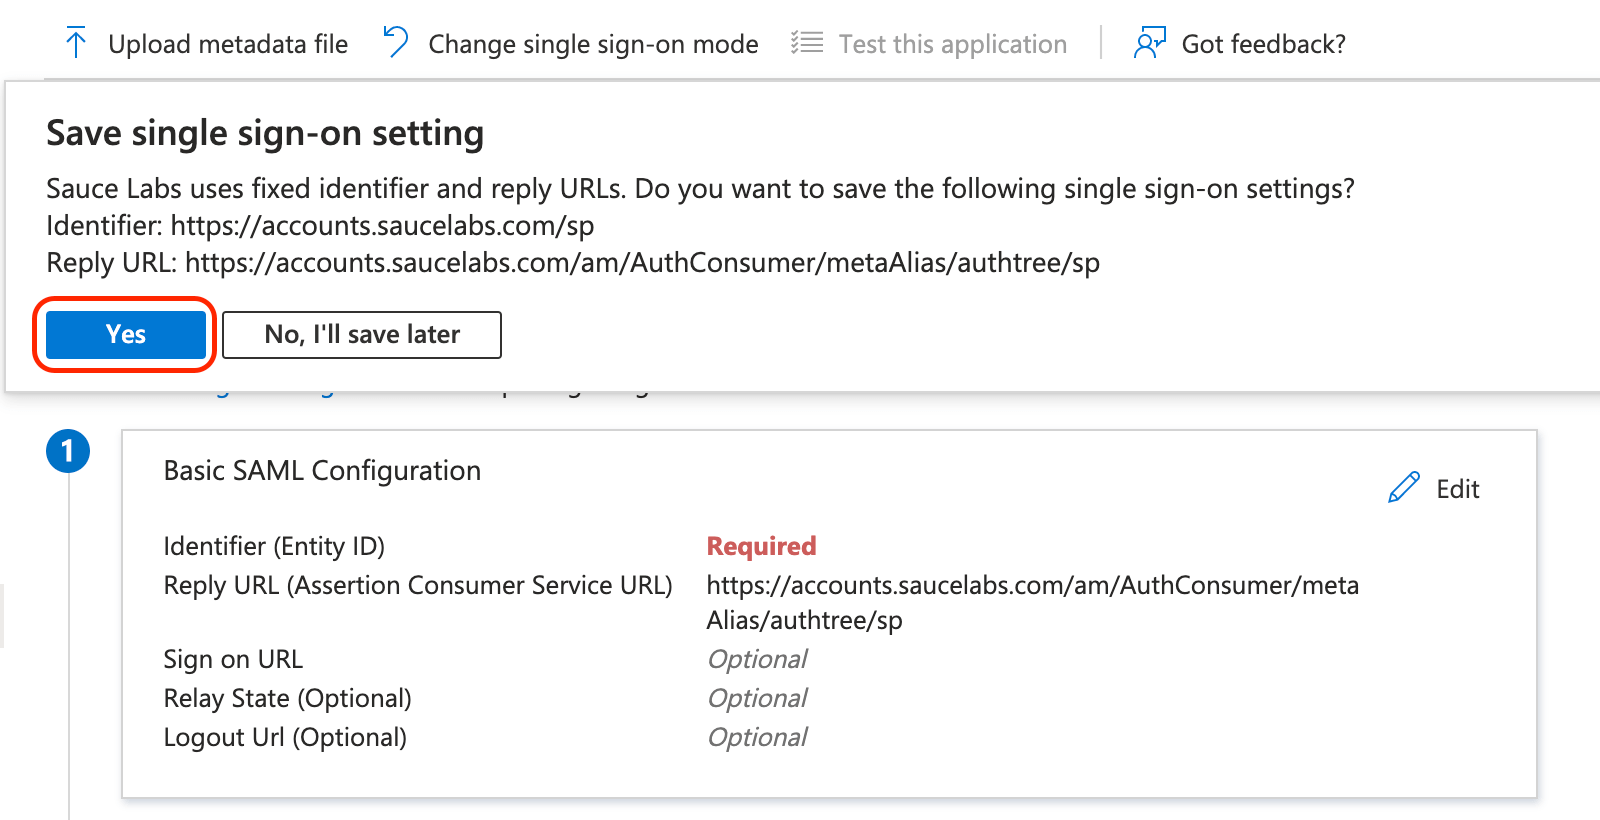
Save the default configuration by clicking Yes.
-
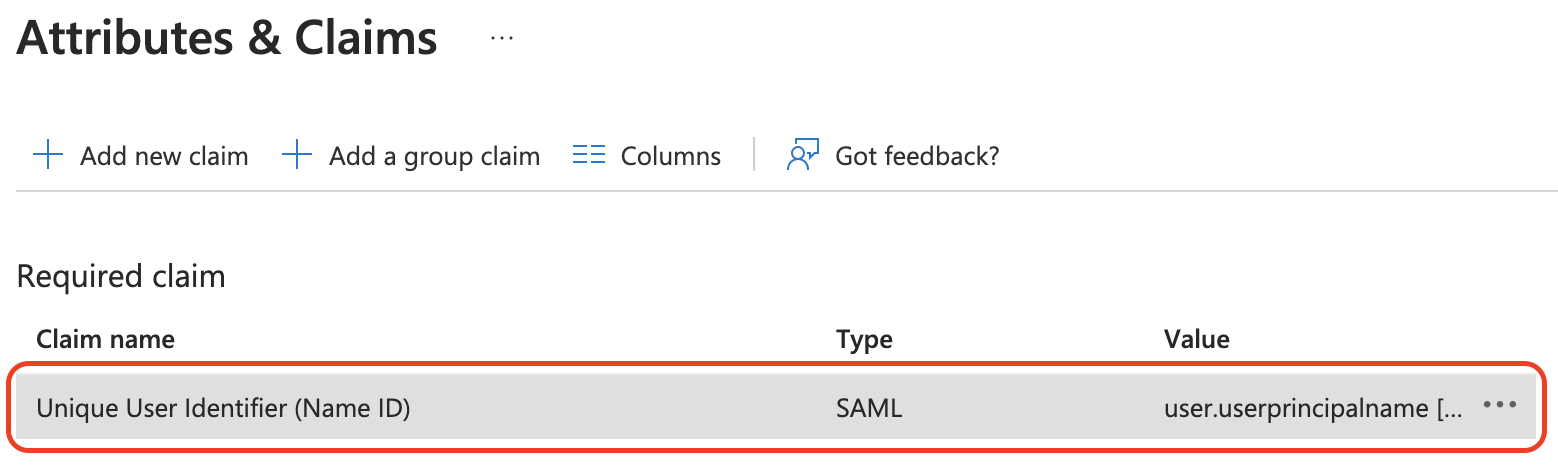
In the Attributes & Claims section click Edit.

-
Edit the value of NameID by clicking on it.
-
Make sure that the source value of this claim is a valid email address (for example
user.mail) and not a user identifier. Sauce Labs Service Provider requires valid email addresses during SAML SSO authentication. If you changed the source attribute, save the changes.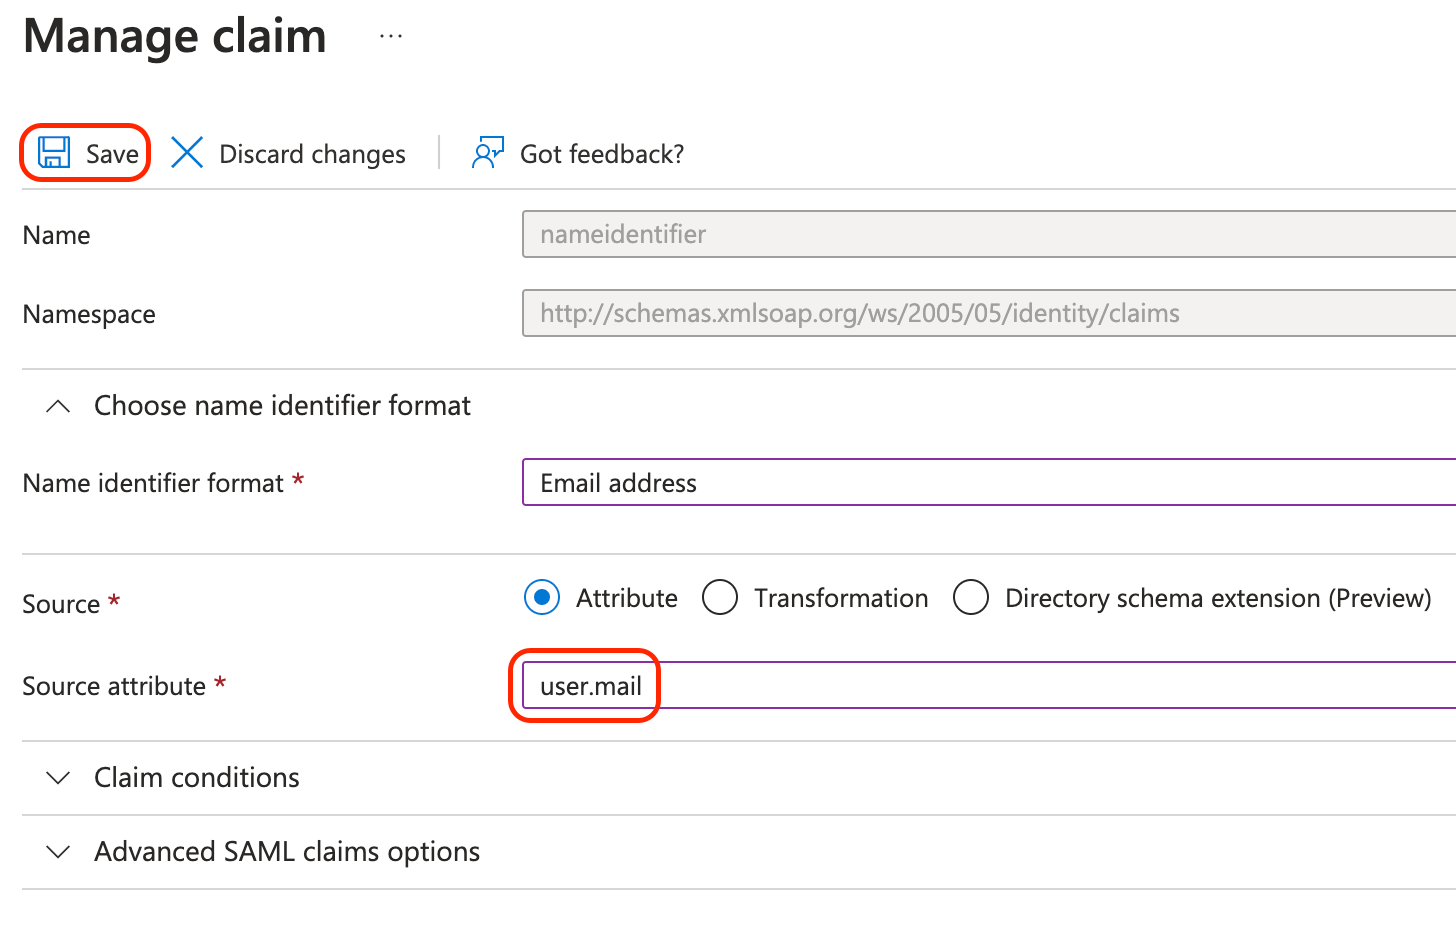
-
Next, assign users to this application:
-
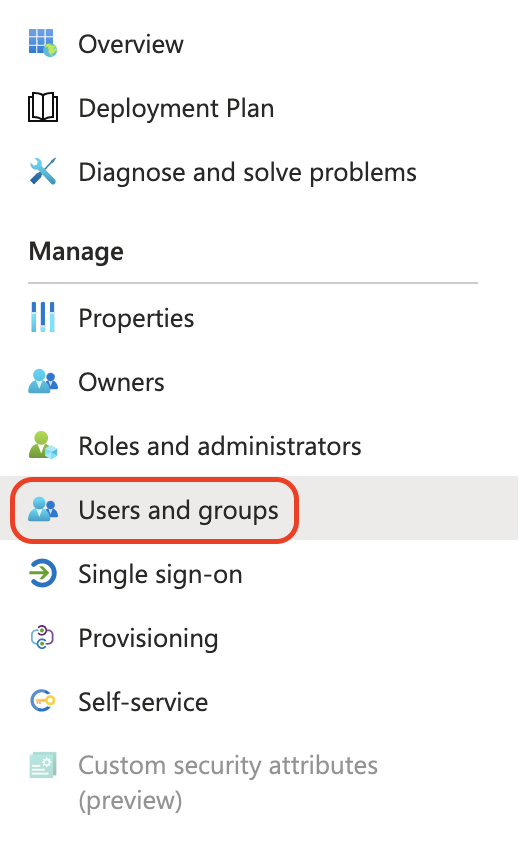
Go to User and groups in the main menu of the application.
-
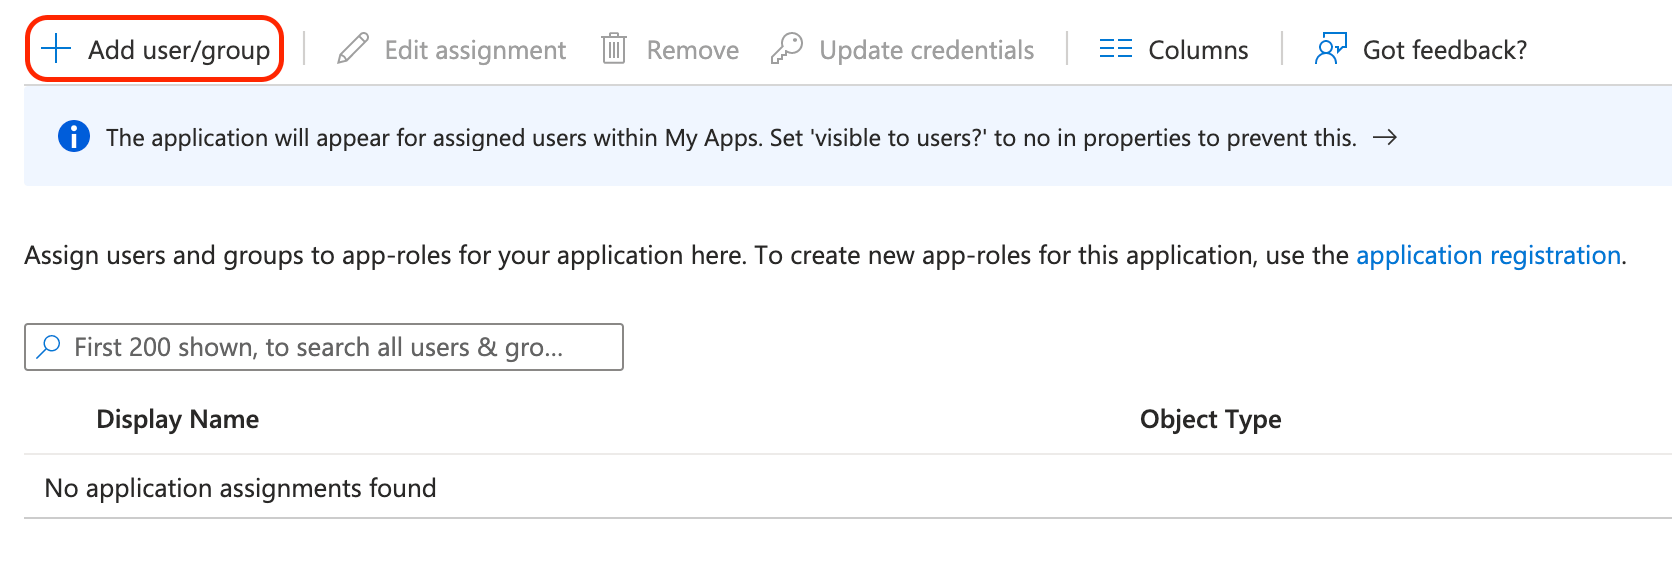
Click Add user/group.
-
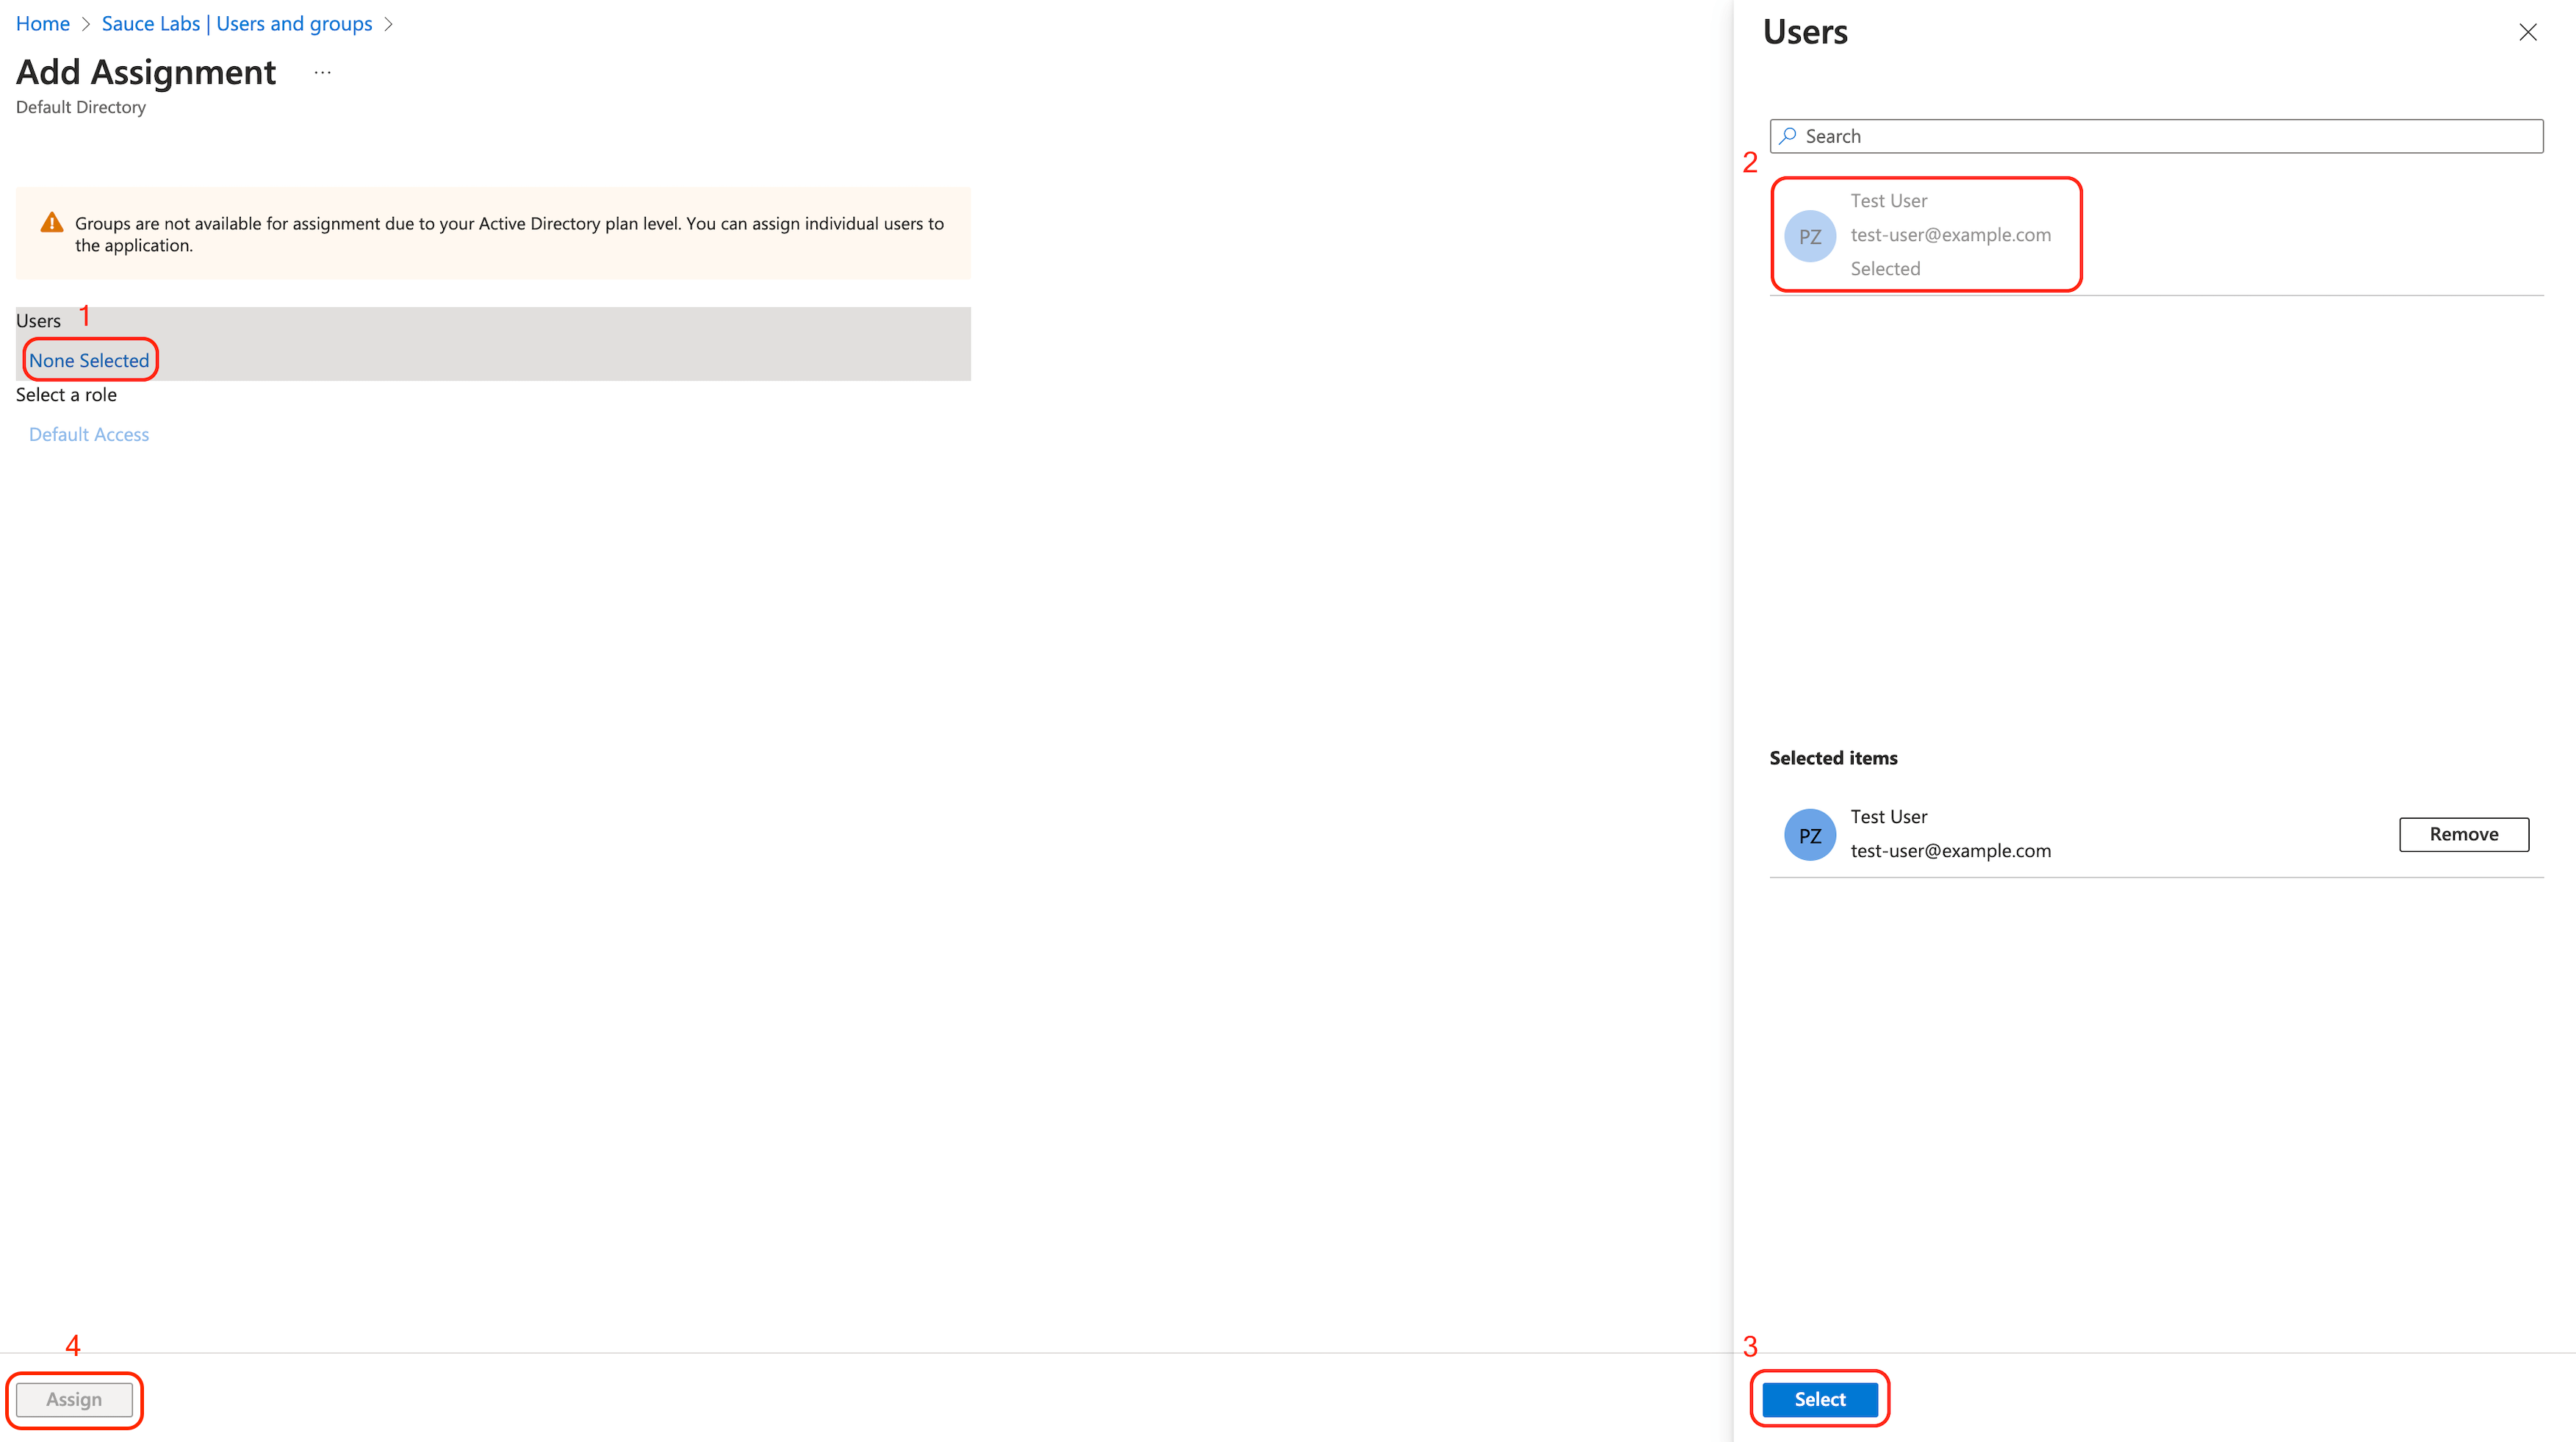
Choose which groups and users should have access to Sauce Labs via this SAML application.
-
-
Go back to the Single sign-on tab.
-
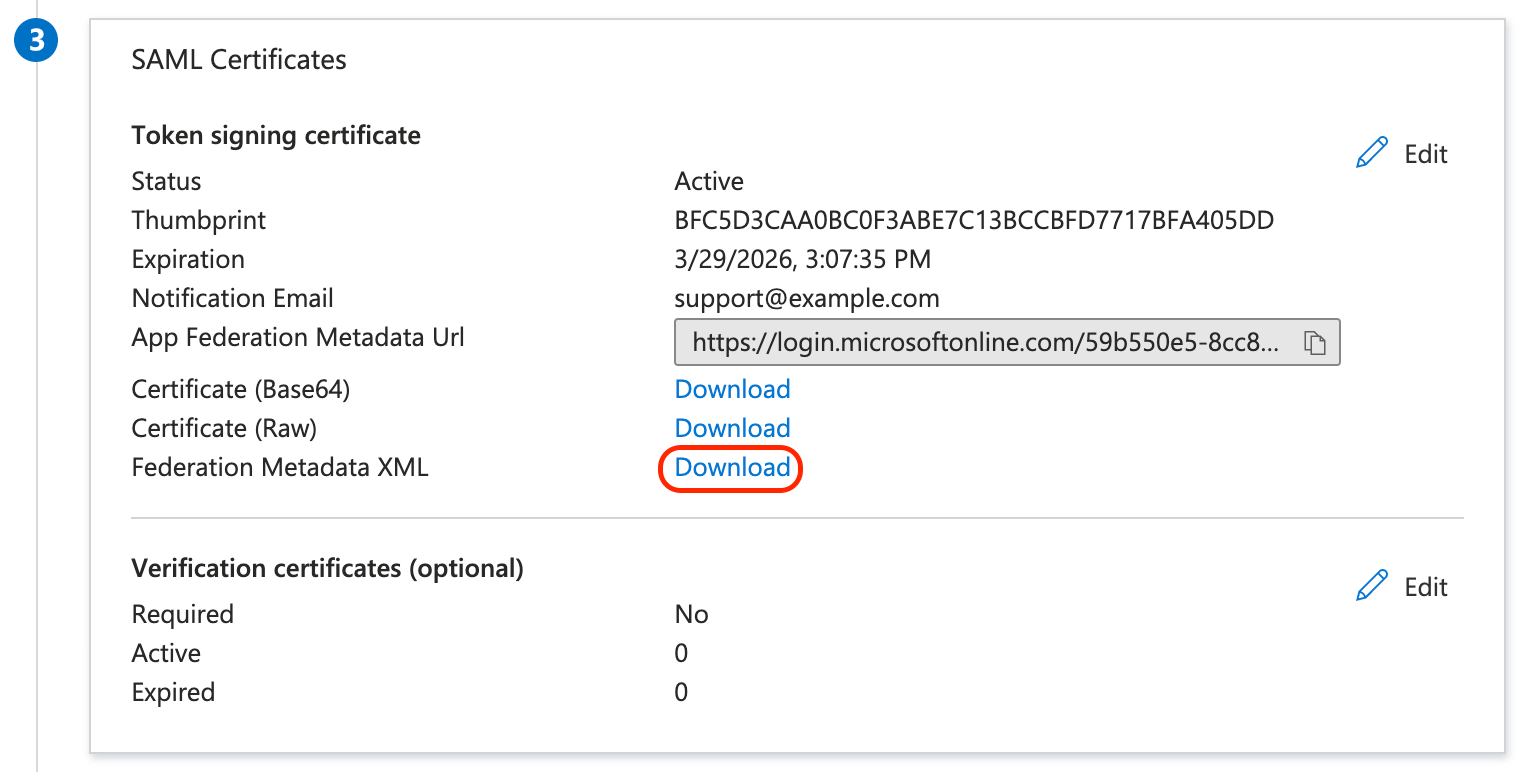
In the SAML Certificates section for Federation Metadata XML, click Download.
-
Use the metadata file from the previous step and set up the SSO integration at Sauce Labs in Organization Management Panel.
-
Test the integration using the IdP-initiated and the SP-initiated login.
-
The IdP-initiated flow can be tested from the Single sign-on tab.
-
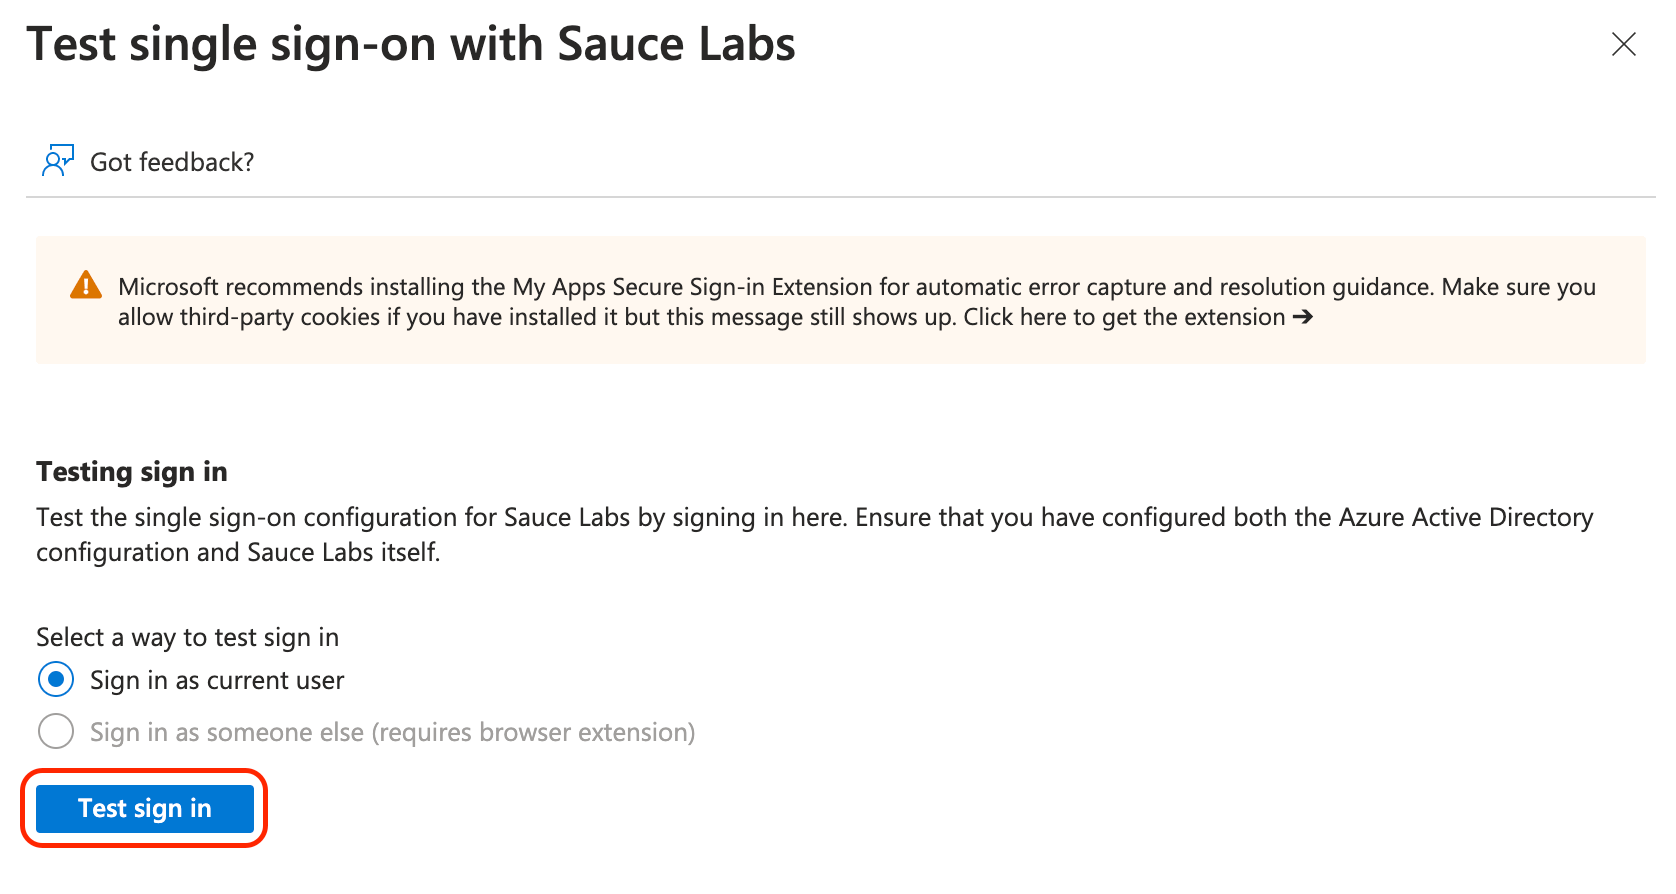
Next, in the last section Test single sign-on with Sauce Labs click Test.

-
Click Test sign in.
-