Webhook Integration with Backtrace
This guide will go through the steps necessary to integrate Backtrace with custom HTTP endpoints.
There are two main steps for setting up a webhook:
- Set up the incoming webhook
- Set up the integration
Incoming Webhook
In order to set up integration for webhook, you need an existing HTTP service which can handle POST requests. Webhooks will be triggered in batch every few seconds. Each batch may contain multiple group notifications. For each group in a batch, a distinct HTTP request will be triggered to the configured URL. The body of the request is a JSON payload of the following form:
{

    // Universe in which the group is member of.
    "universe": "my_universe",

    // Project in which the group is member of.
    "project": "my_project",

    // Name of the binary which triggered the object.
    "application": "my_app.exe",

    // Fingerprint of the group.
    "fingerprint": "8910551e27a339e542...",

    // Url of the originating API, can be used to make more callback.
    "href": "https://u.sp.backtrace.io/",

    // Url to the group information and debugger
    "group_url": "https://docs.saucelabs.com/error-reporting/...",

    // Callstack of the group.
    "callstack": [
        "printf",
        "my_fn",
        "main",
    ],

    // Number of objects in the group.
    "occurrences": 35,

    // Hex identifier of the last received object in the group.
    "object_id": "2e6",

    // Timestamps (unix epoch in seconds) of the first and last object seen
    // in the group.
    "timestamp": [1502953926, 1502953926],

    // Aggregation of classifiers found on objects in the group, see
    // https://documentation.backtrace.io/classifiers/
    "classifiers": ["exception"],

    // Number of hostnames affected.
    "hosts": 4,

    // Number of GUIDs affected.
    "guids": 0

    // Histograms of custom attributes. All populated custom attributes are
    // aggregated by default.
    "attributes": {
        "version": [
            ["1.2.3", 10],
            ["1.2.2", 1],
            ["1.1.0", 24]
        ],
        "environment": [
            ["production", 33],
            ["staging", 1],
            ["devel", 1]
        ]
    }
}
Set Up the Integration
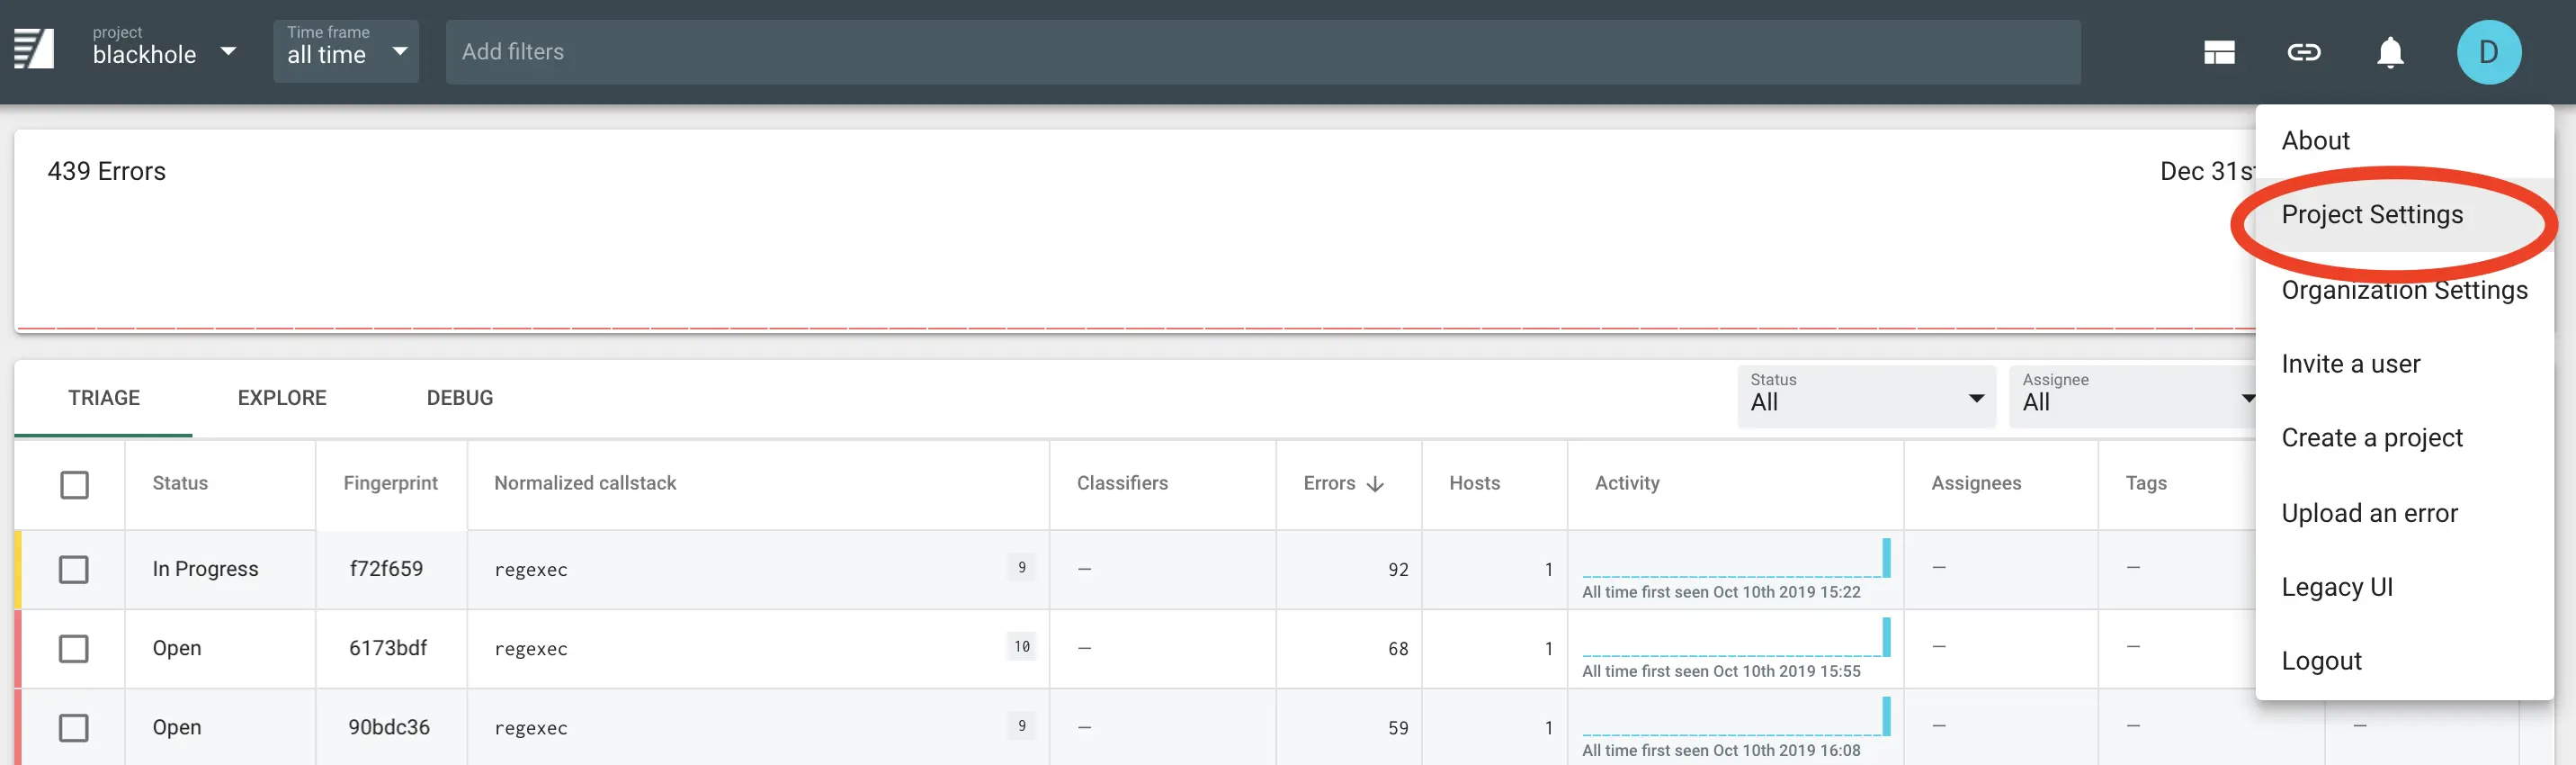
To set up the integration, first go to the Project Settings page for the project you want to add a integration for:
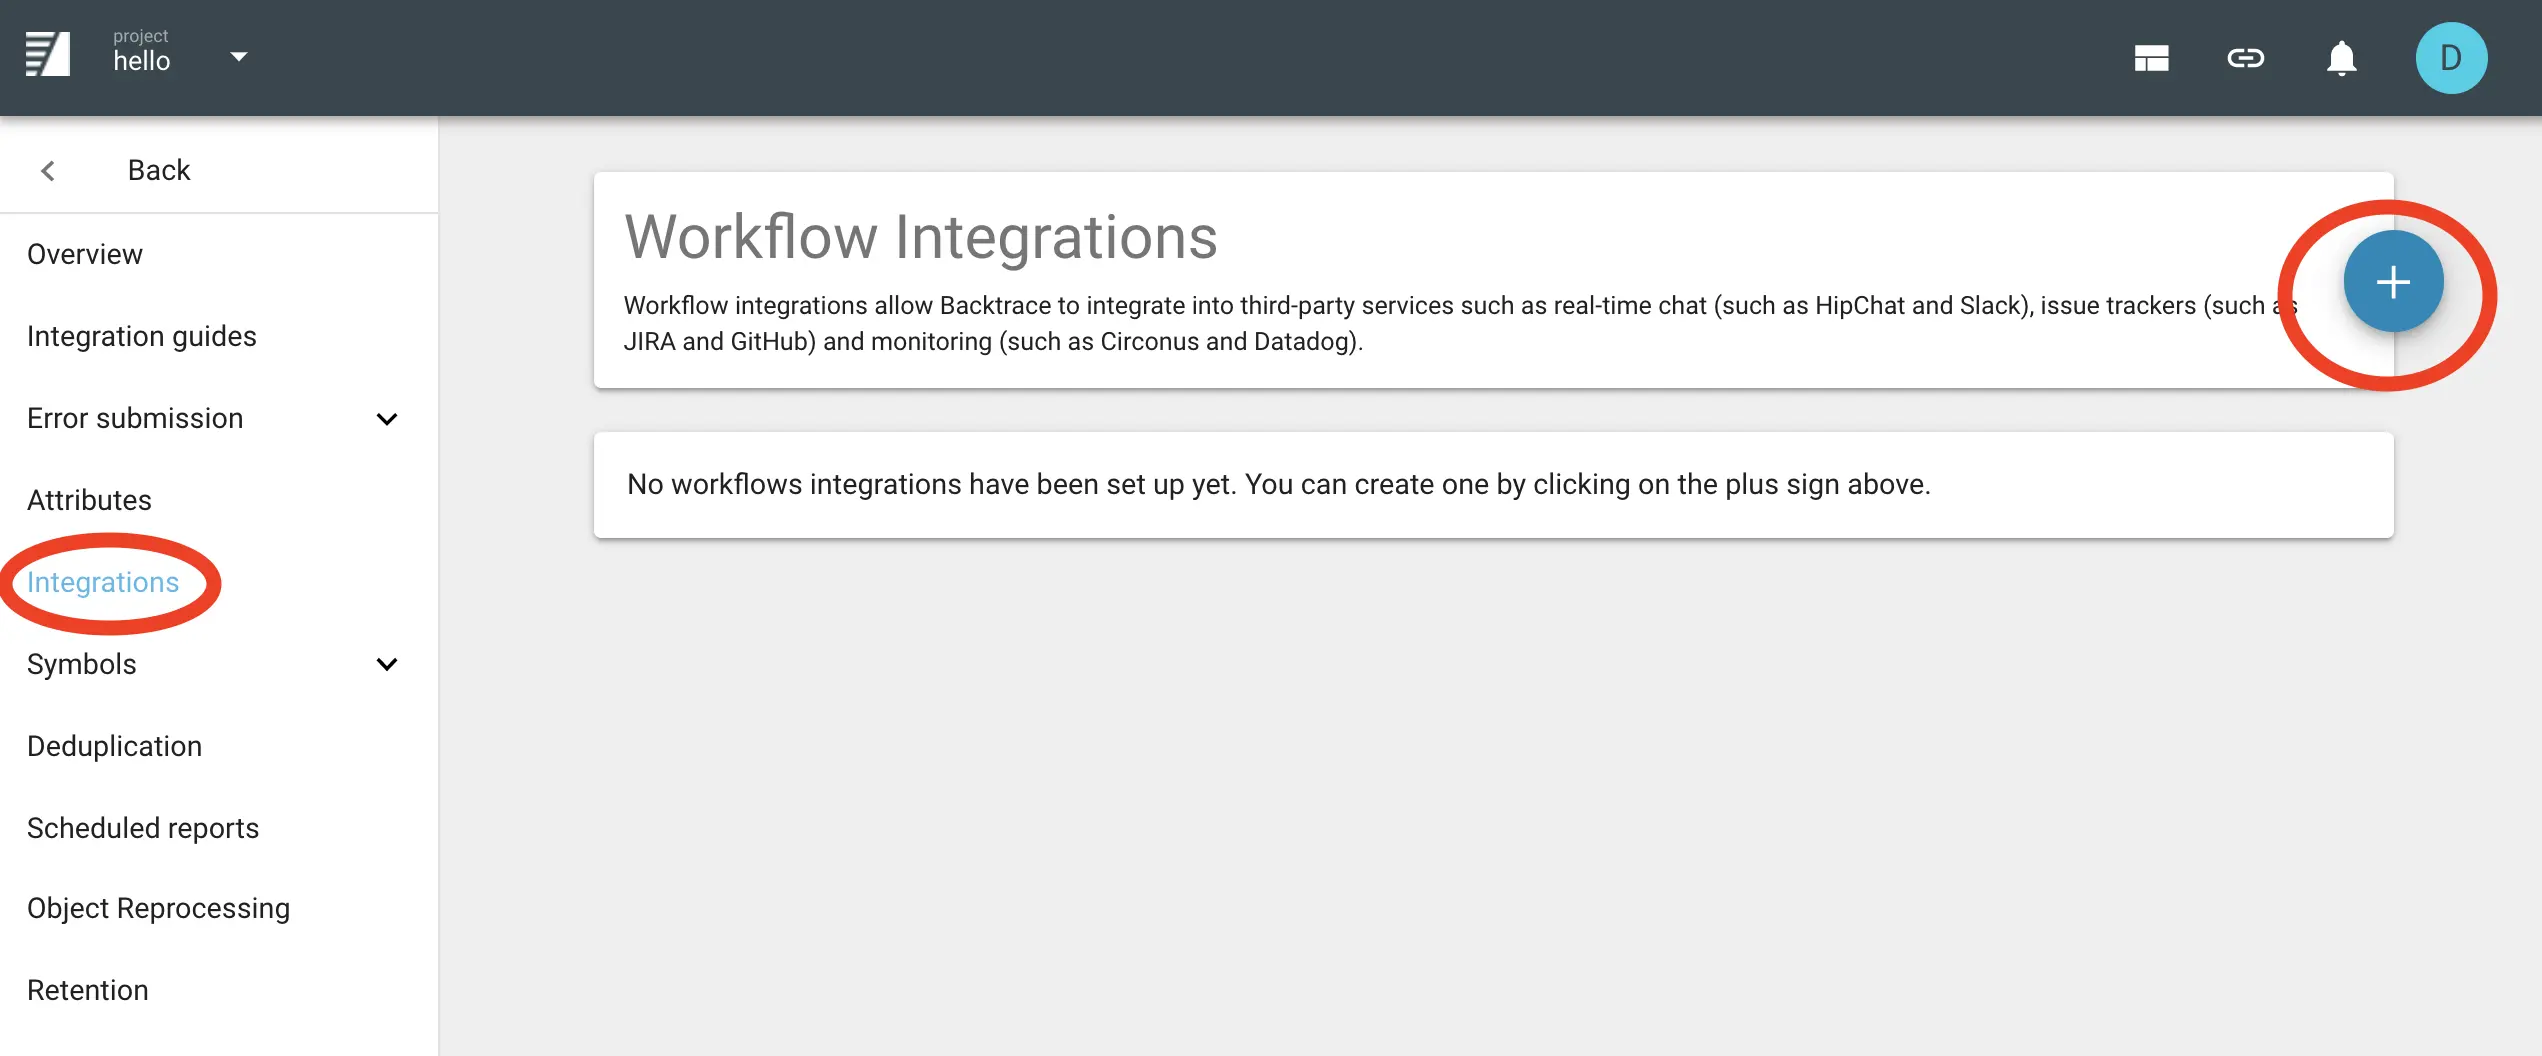
Then click Integrations in the left-hand menu, and the plus sign to create a new integration:
Select webhook and fill in the required settings (name and the webhook URL you generated in the step above).
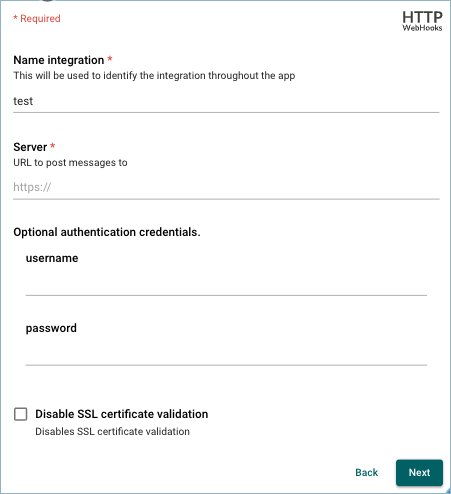
Important: Although the authentication may be marked as optional depending on your environment, the authentication details MUST be provided. If your endpoint doesn't require any, just fill in any username/password. Your endpoint should ignore it.
Next: After filling in the integration-specific settings, proceed to Common Settings to finish configuring the integration.