Adding Reusable Variables, Snippets, and Files in the Vault
Our Vault feature allows you to store variables and code snippets to use in your tests in one project, or across all projects. You can also store files for use in one project.
What You'll Need
- An existing API Testing project. For details on how to create one, see the Quickstart guide.
Vault Types
There are two types of API Testing vaults, the Company Vault and a project-specific Vault. While their UI is the same, they serve two different purposes.
Company Vault
The Company Vault is where you can store variables and test code snippets to use across all of your projects. You can access this tab from your API Testing home page, where all of your projects are listed.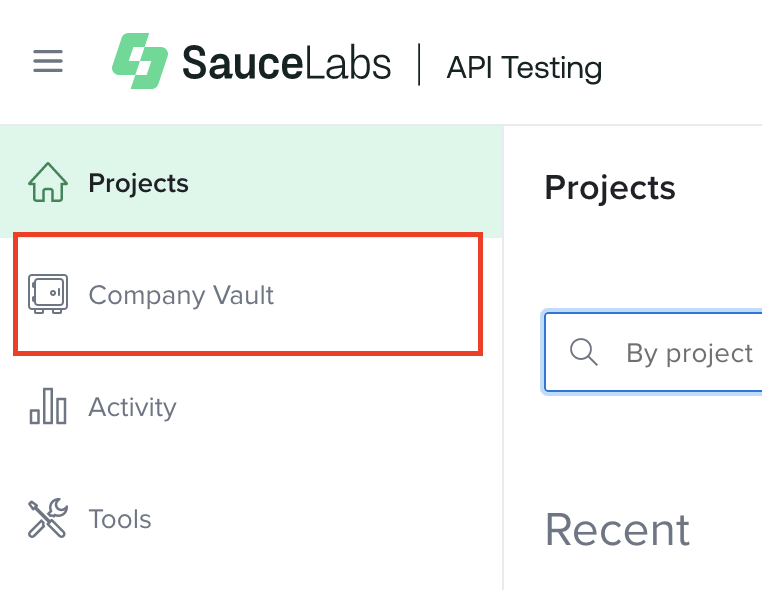
Project Vault
The project Vault, which you can access from within a project, is where you can store project-specific variables, test code snippets, and files.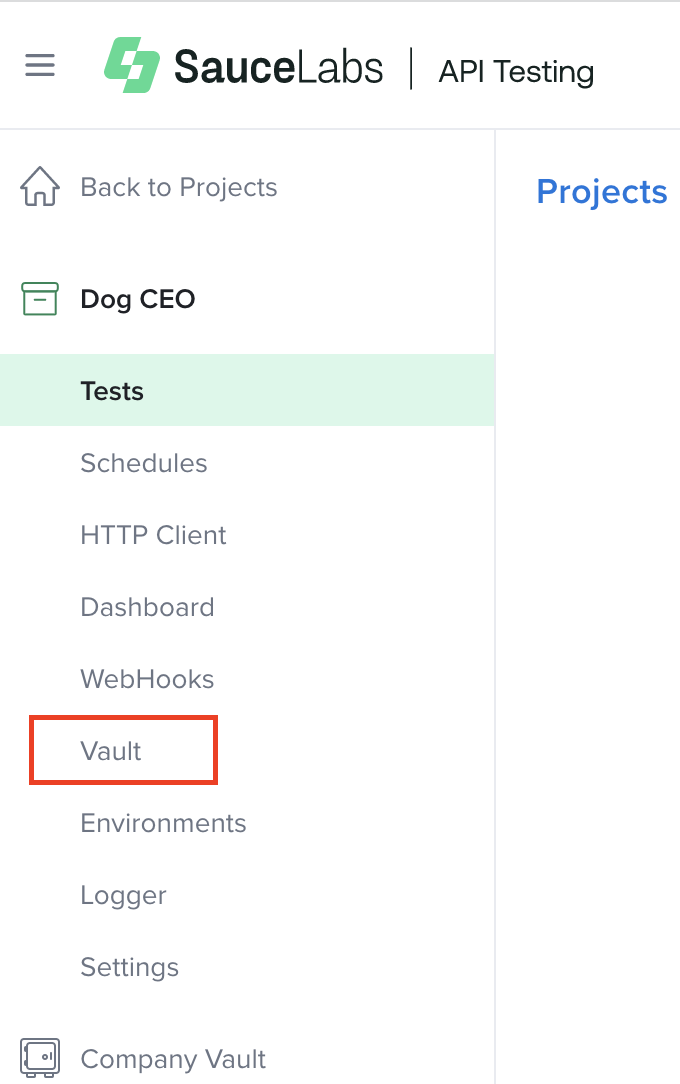
Variables
In the Variables section, you can define environment variables to use in your tests, so that you don't need to rewrite them every time.
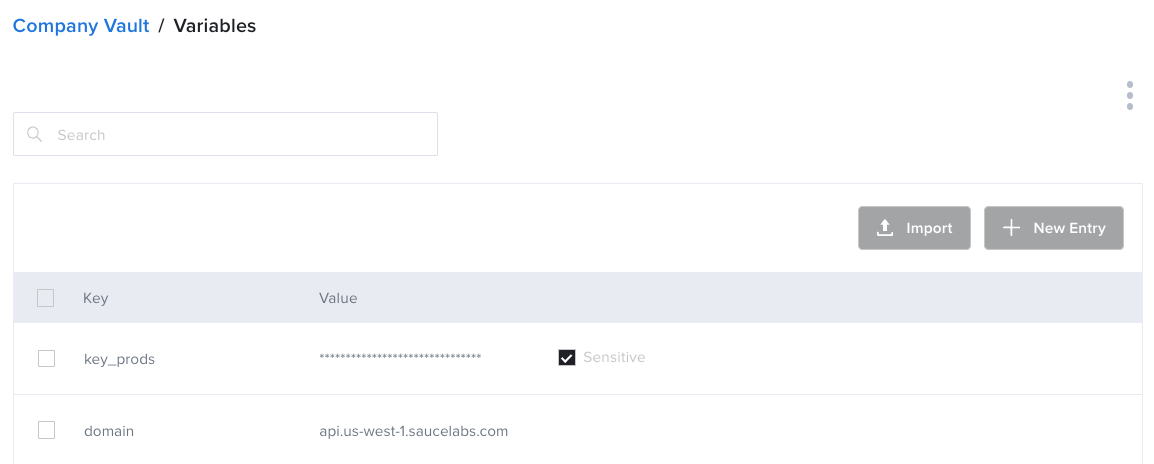
The screenshot below shows the Company Vault; these variables are available across all projects.
Define a variable at the project-specific Vault when you need to use the same one across multiple tests. For example, you could save a password here as a variable and reuse it in multiple tests.
Additionally, you can import variables from Postman. See Importing Postman Collections, Variables, and Environments for more details.
If the same variable with the same name definition exists in both the Project Vault and Company Vault, then the value in the Project Vault will override the one in the Company Vault.
Create a Variable
- Open a project.
- In the left panel, click Vault.
- Select New Entry.
- Add a Key (e.g.,
domain). - Add a Value (e.g.,
api.us-west-1.saucelabs.com). - Optionally, check Sensitive.
- Select Confirm.

Then in your tests, you'd reference the variable by the Key using the following syntax: ${domain}.
Mark Variables as Sensitive
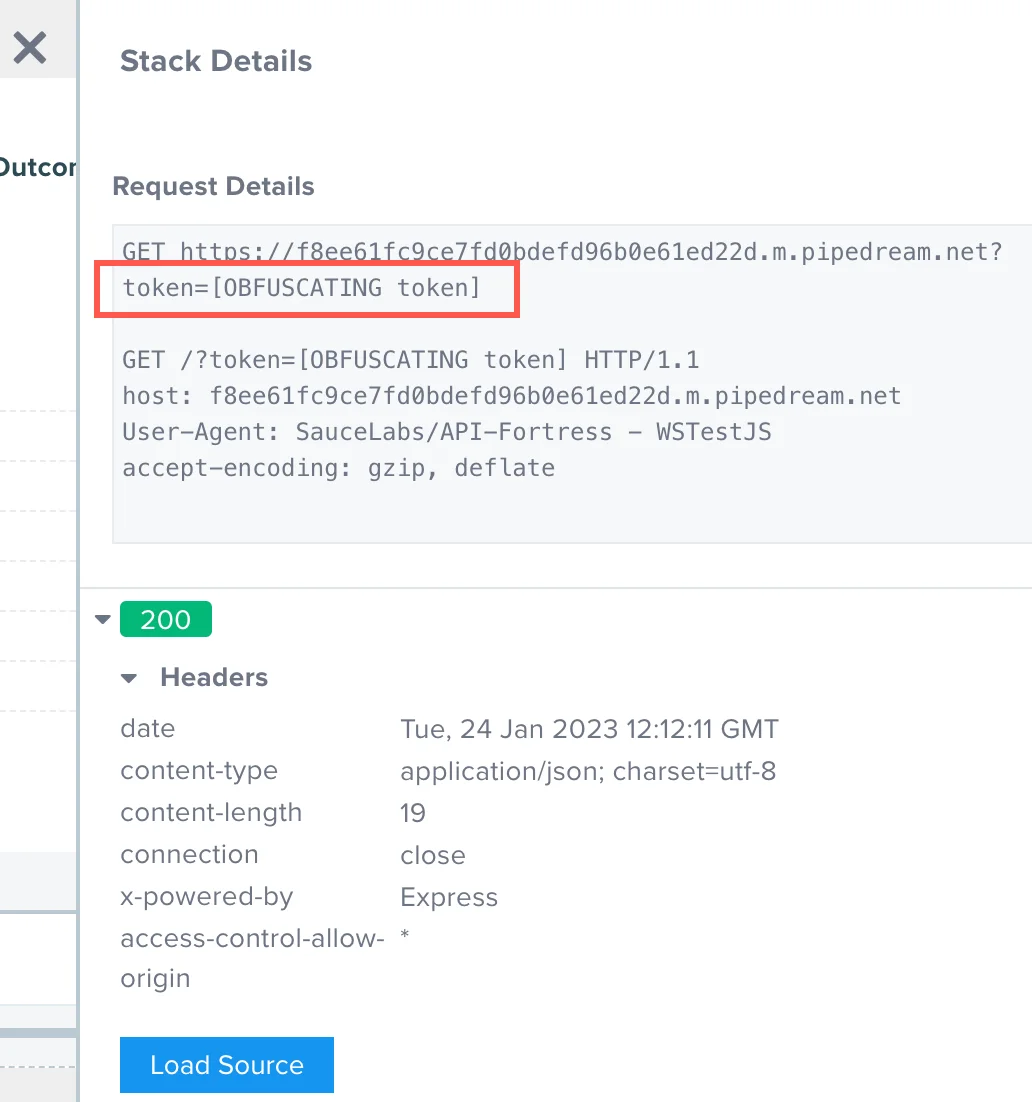
You can mark a variable as sensitive if it contains a sensitive value that you do not want to appear in your test reports. When you mark a variable as sensitive, the value is obfuscated anywhere it appears: in Vault, tests reports, and the project dashboard's logs and metrics when the variable is used in the URL, path, or query. Variables marked sensitive cannot be edited. If you need to change the value, you can delete the variable and recreate it with the new value.
Variables marked as sensitive are always excluded from Vault exports.
In the following example test report, the token variable has been marked as sensitive in Vault and appears as obfuscated in the report.
Update Variables Using a File
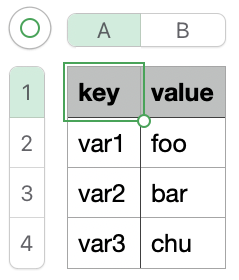
You can update the values by editing each variable manually. However, when you need to update many (or all) variables in the Vault, importing a file that contains the updates can speed up the process.
The file can be a .cvs or .json and the structure will be as follow:
{
  "values": [
    {
      "key": "var1",
      "value": "foo"
    },
    {
      "key": "var2",
      "value": "bar"
    },
    {
      "key": "var3",
      "value": "chu"
    }
  ]
}
Project Vault:
- Open a project.
- In the left panel, click Vault.
- Click Variables.
- Click Import.
- Click Choose File.
- Select the .csv or .json file from your machine.
- Optionally, you can skip the last two steps by dragging and dropping the file.
Company Vault:
- From the Projects page, in the left panel, click Company Vault.
- Click Variables.
- Click Import.
- Click Choose File.
- Select the .csv or .json file from your machine.
- Optionally, you can skip the last two steps by dragging and dropping the file.
Rules for Updating Variables Using a File:
- If the file contains a variable with the same key as one in the Vault, the variable in the Vault will be overwritten.
- If the file contains a variable that is not saved in the Vault, the variable will be added into the Vault.
- If the variables in the Vault are not present in the file, the variables in the Vault will not be deleted.
Check a common use case out of saving variables in the vault.
Snippets
In the Code Snippets section of the Vault, you can create or import test component/code examples. A snippet is a test code fragment that you can create, import, and store in your Vault and reuse in multiple tests. Snippet length can range from one line of code to an entire test.
Much like with variable scope, snippets saved in a project Vault are only available in that project, and snippets saved in the Company Vault are available across all projects.
When you save a snippet from the Composer, it will be saved in the project Vault. While you cannot save a snippet from the Composer to the Company Vault, you can export there using the import/export feature (see screenshot below).
Create a Snippet
While is perfectly fine typing the code snippet directly in the area, if you are comfortable doing this. There's a easier way to create a snippet.
- Open a project.
- Open the test you want to generate the snippet of.
- Hold down the Ctrl key, highlight the components in the UI you want to include in the snippet. They do not need to be adjacent to each other
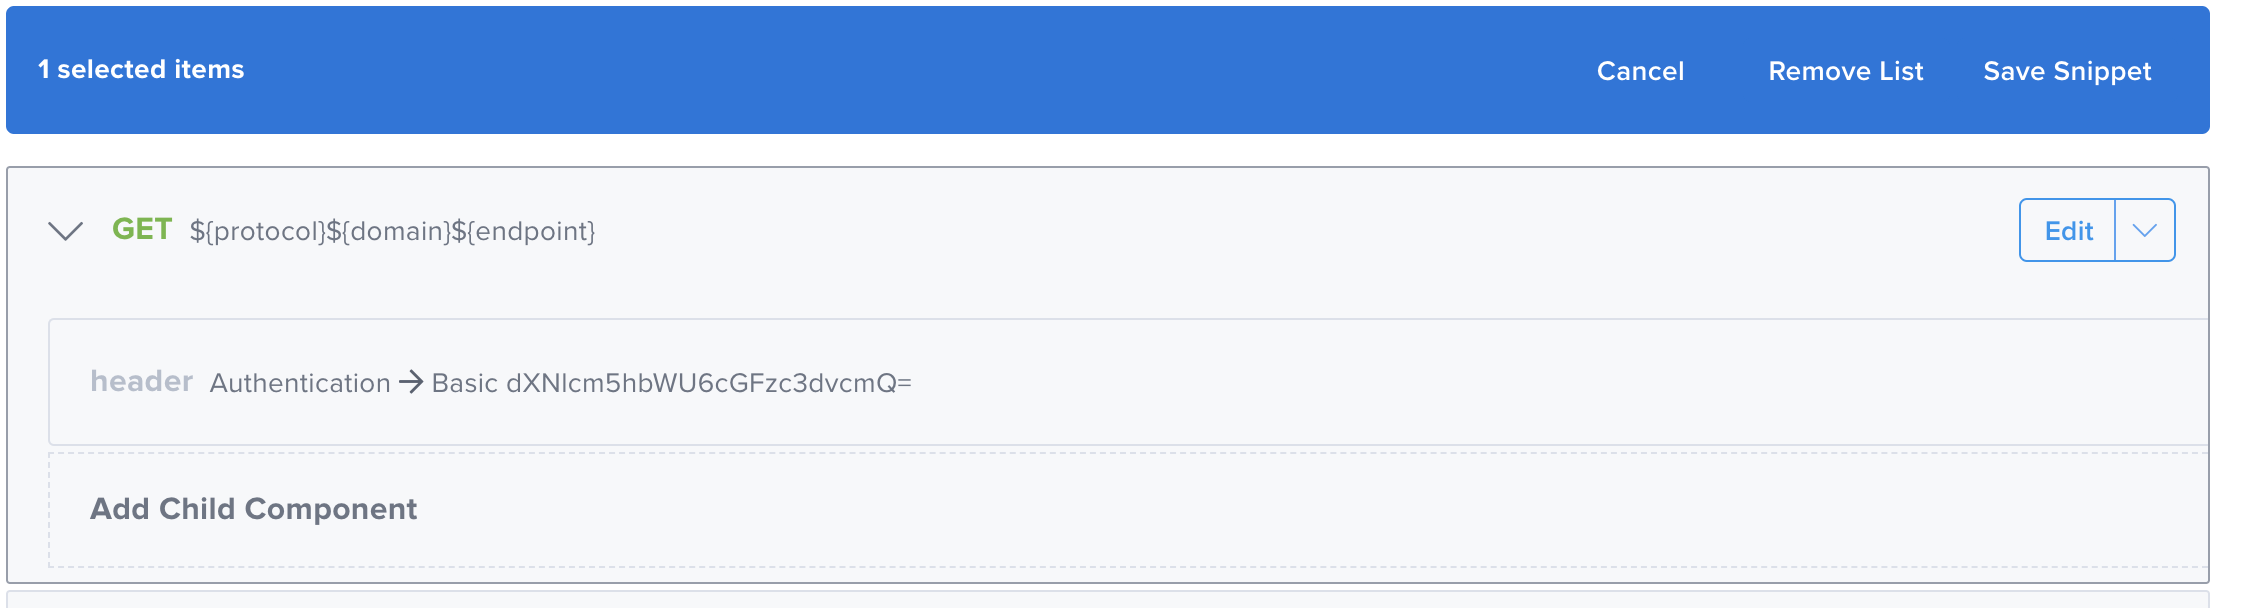
- Click Save Snippet
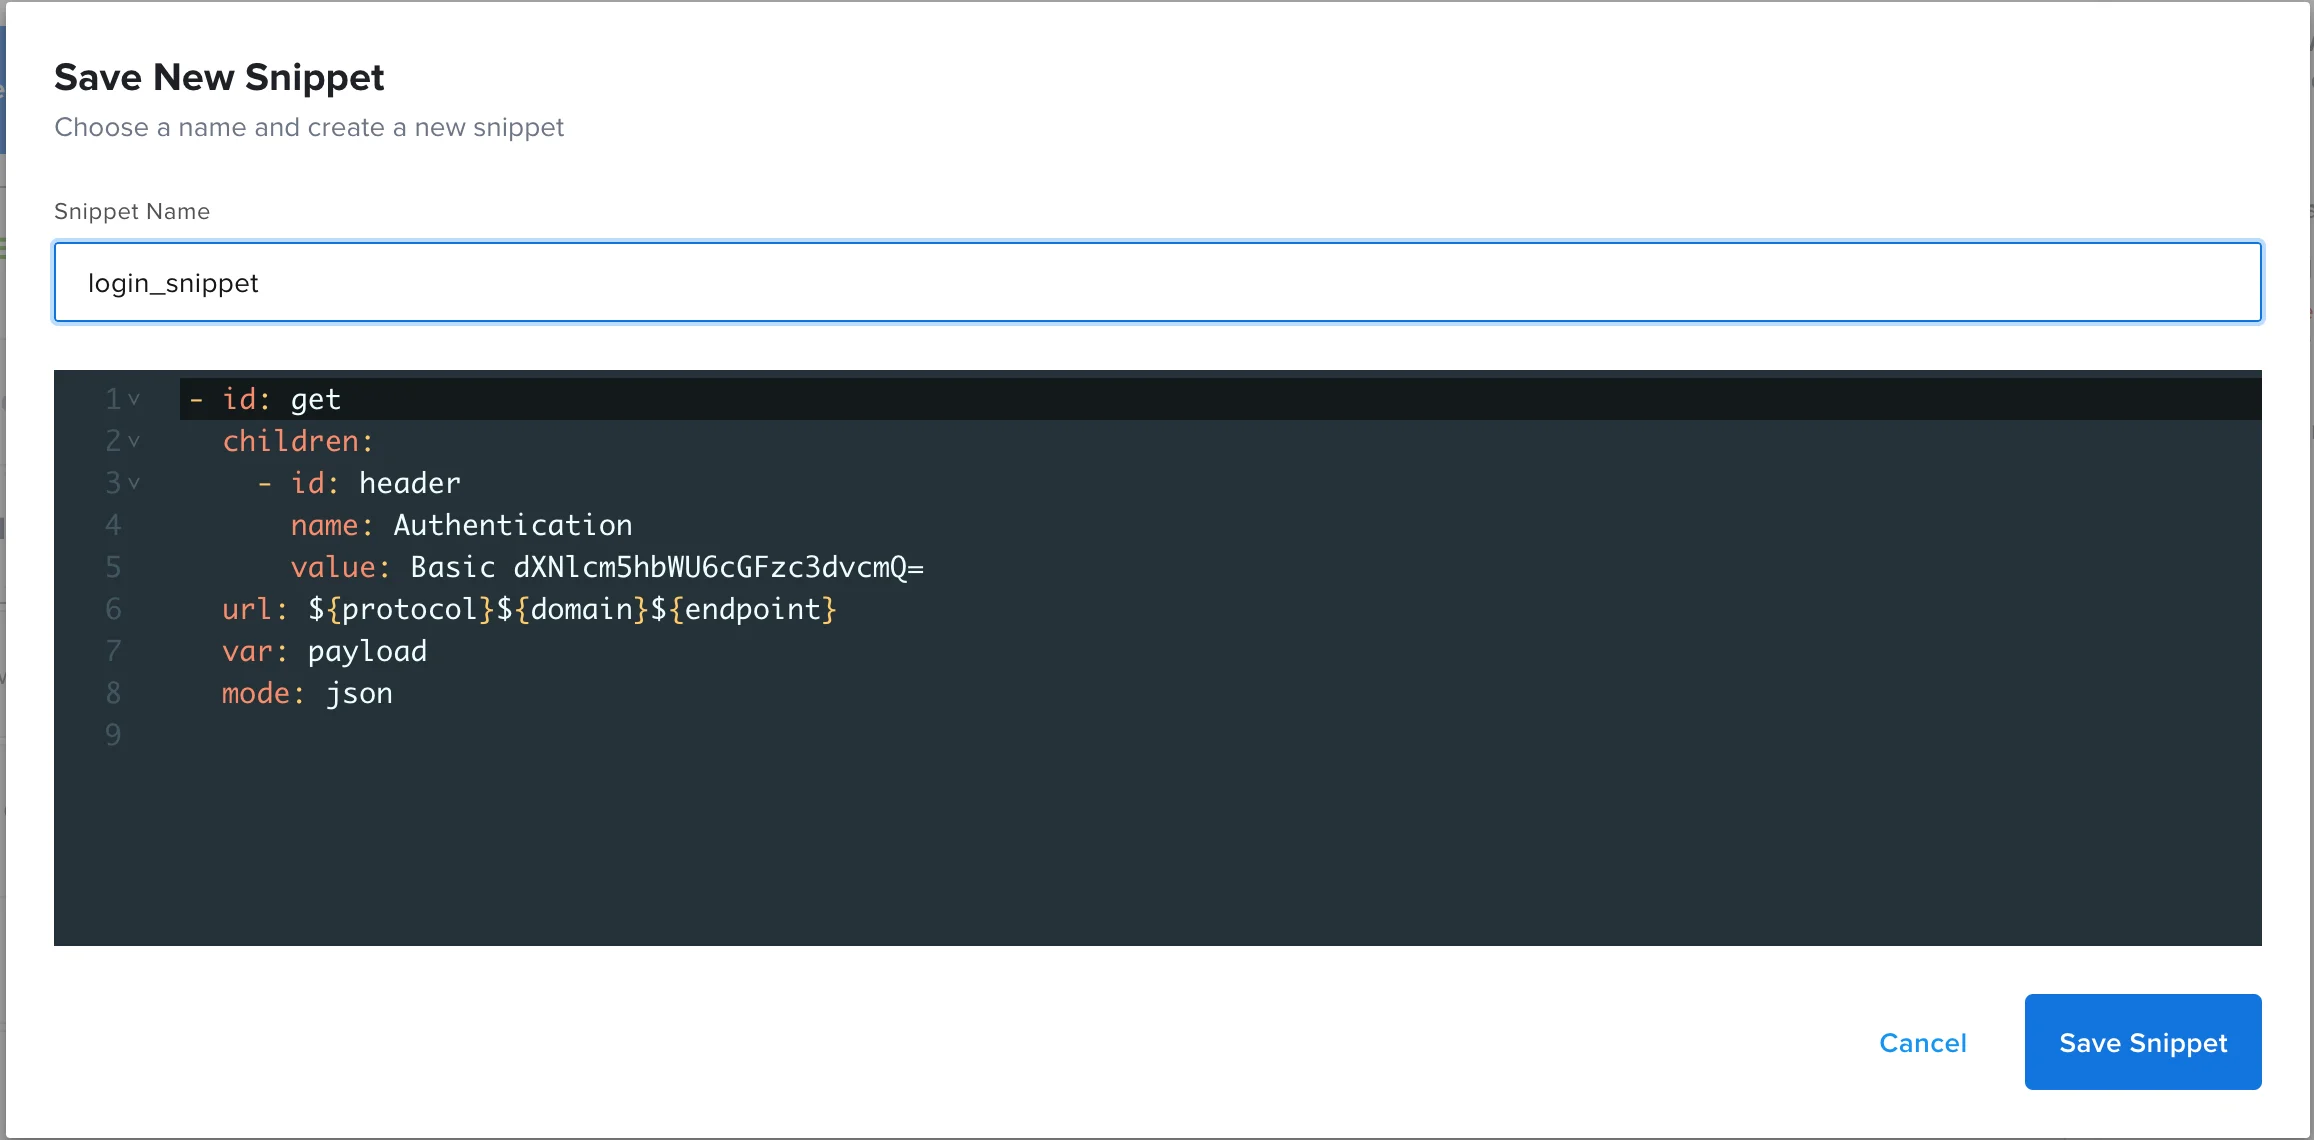
- Give the snippet a name and click Save Snippet
Update a Snippet
- Open a project.
- In the left panel, click Vault, then click Code Snippets.
- Double-click any of the fields and begin typing to edit the details.
- When you have finished, click Save Snippet.
Update Snippets Using a File
You can update the code by editing each snippet manually or you can use a file.
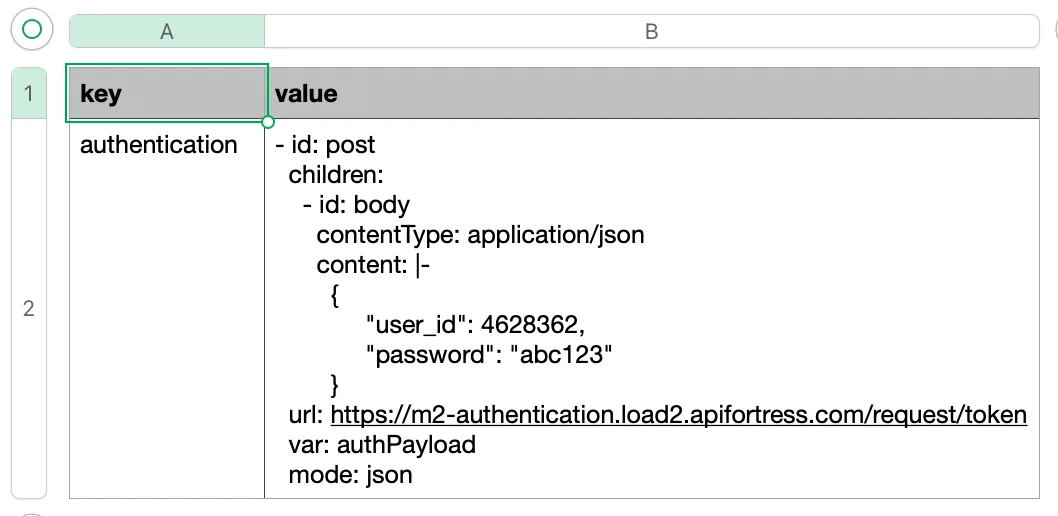
The file can be a .cvs or .json and the structure will be as follow:
{
  "values": [
    {
      "key": "authentication",
      "value": "- id: post\n  children:\n    - id: body\n      contentType: application/json\n      content: |-\n        {\n        \t\"user_id\": 4628362,\n        \t\"password\": \"abc123\"\n        }\n  url: https://m2-authentication.load2.apifortress.com/request/token\n  var: authPayload\n  mode: json\n"
    }
  ]
}
Project Vault:
- Open a project.
- In the left panel, click Vault.
- Click Code Snippets.
- Click Import.
- Click Choose File.
- Select the .csv or .json file from your machine.
- Optionally, you can skip the last two steps by dragging and dropping the file.
Company Vault:
- From the Projects page, in the left panel, click Company Vault.
- Click Code Snippets.
- Click Import.
- Click Choose File.
- Select the .csv or .json file from your machine.
- Optionally, you can skip the last two steps by dragging and dropping the file.
Rules for Updating Snippets Using a File:
- If the file contains a snippet with the same key as one in the Vault, the snippet in the Vault will be overwritten.
- If the file contains a snippet that is not saved in the Vault, the snippet will be added into the Vault.
- If the snippets in the Vault are not present in the file, the snippets in the Vault will not be deleted.
Learn how you can improve your test by generating an Authentication Snippet
Files
In the Drive section of a project-specific Vault, you can upload files to use in your tests. The file size limit for an individual file is 16 MB. The total limit for the Organization is 100 MB. This means if one project-specific Vault Drive is using 100 MB of storage, other projects cannot upload additional files.
Upload a file
- Open a project.
- In the left panel, click Vault, then click Drive.
- Click Upload file.
- Upload the file using drag and drop or Choose file, or enter the URL, then click Upload.
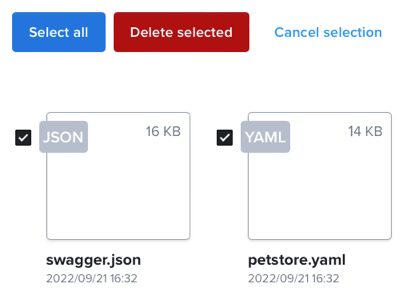
You can work with your files in Vault Drive as follows:
If you upload a file via a URL, you can hover over source url to view the full address. 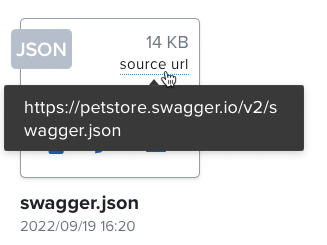
You can rename, download, or delete individual files.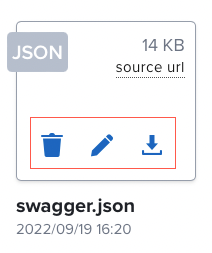
To delete multiple files, select the checkbox next to the files, then click Delete Selected.