Using Fact for Handling Email Notifications
The Fact component is used to control the behavior of Email notifications, which (if enabled) alert you to test failures. It enables you to add information about the nature of the test execution.
What You'll Need
- A Sauce Labs account (Log in or sign up for a free trial license).
- An existing API Testing Project. For details on how to create one, see API Testing Quickstart.
- Your email address already saved in the Notifications section.
- Familiarity with the API Testing Composer.
Setting Alert Environments
Testing activity is tracked using a test ID number. This may not work if you're testing in multiple environments, as an incident could be environment-specific. When a Fact component is added to a test, it will inform our system which environment the execution relates to so that the incident signature will carry the environment as well.
Assume that you are running the same test in staging and production, you will get an email notification the first time the test fails in one of the two environments. This does not allow you to know which environment the test fails in. The same will happens when the test starts working again.
By configuring a Fact (together with Tag), you can add the environment value to the incident signature, and from that moment on the signature of the incident will be id_of_the_test + value_of_environment.
In this way, you will get a separate notification for each environment the test fails in: for example, you will receive start/end incidents for test123 in the production environment, and start/end incidents for test123 in the staging environment, as a separate flow of events.
Assume that in the variable scope of your test, you have a variable called env that contains your environment string (production, staging, qa etc.).
By configuring a Fact in the following way, you can add the environment value to the incident signature:
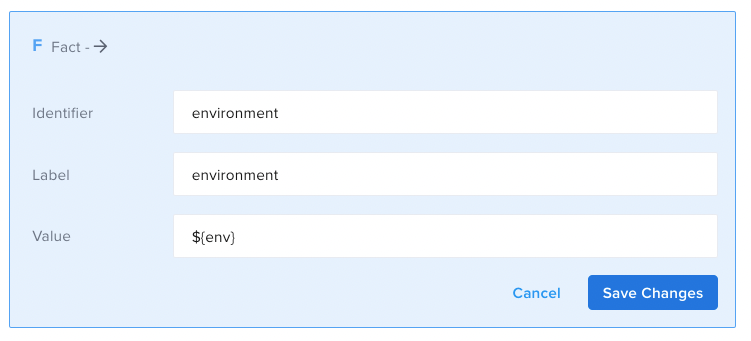
- id: fact
  identifier: environment
  label: environment
  value: ${env}
Use Case: Setting Alert Environments
-
In Composer, in the Input Set, set the default environment as
staging.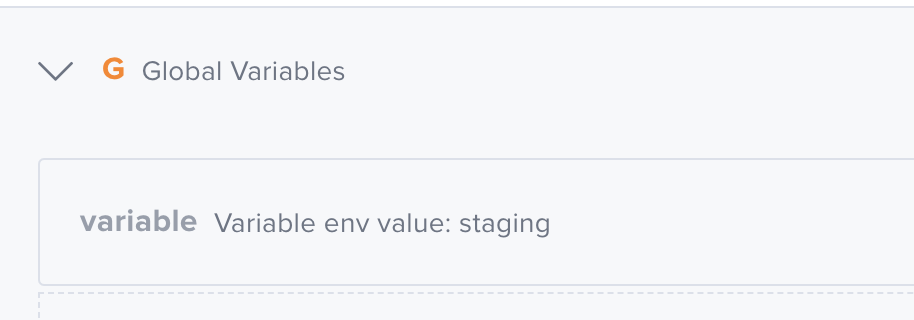
  - id: global
    children:
      - id: variable
        name: env
        value: staging
With this setting, the test will be executed against the
stagingenvironment by default. -
In the Unit, set the Fact component to add the environment value to the incident signature.
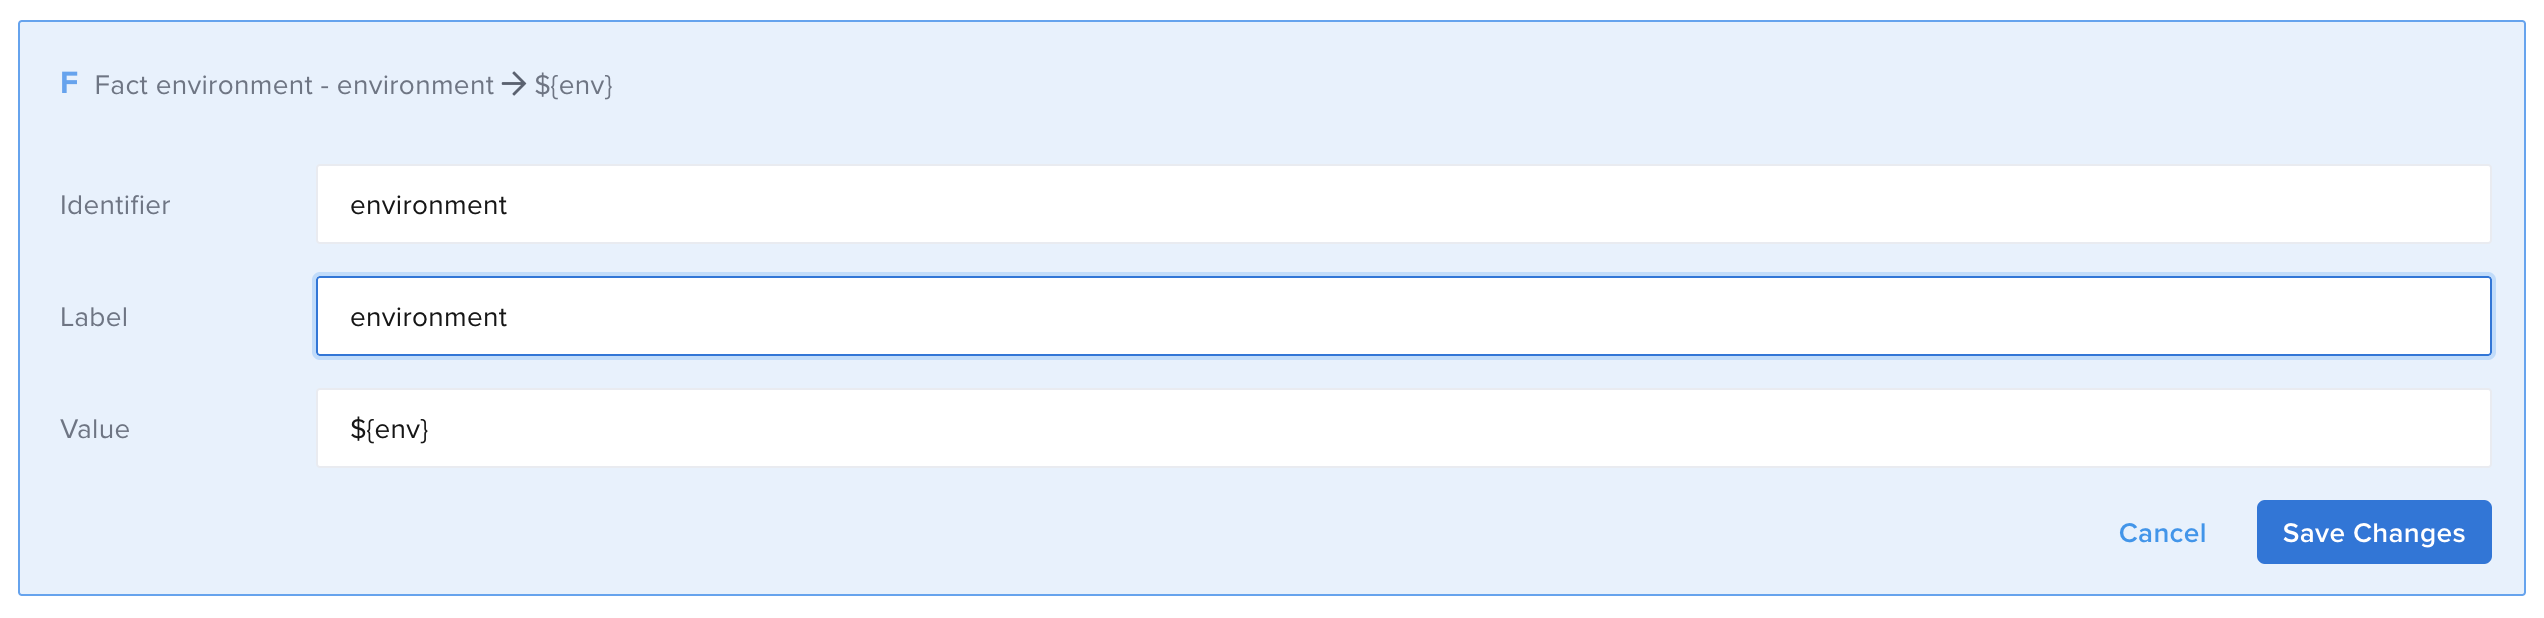
  - id: fact
    identifier: environment
    label: environment
value: ${env} -
Add Tag component to set the environment as tag in the email notifications.

  - id: tag
value: ${env} -
Add the GET request.
- Url - for example
http://demoapi.apifortress.com/api/retail/product - Variable - for example
payload - Mode - for example
json
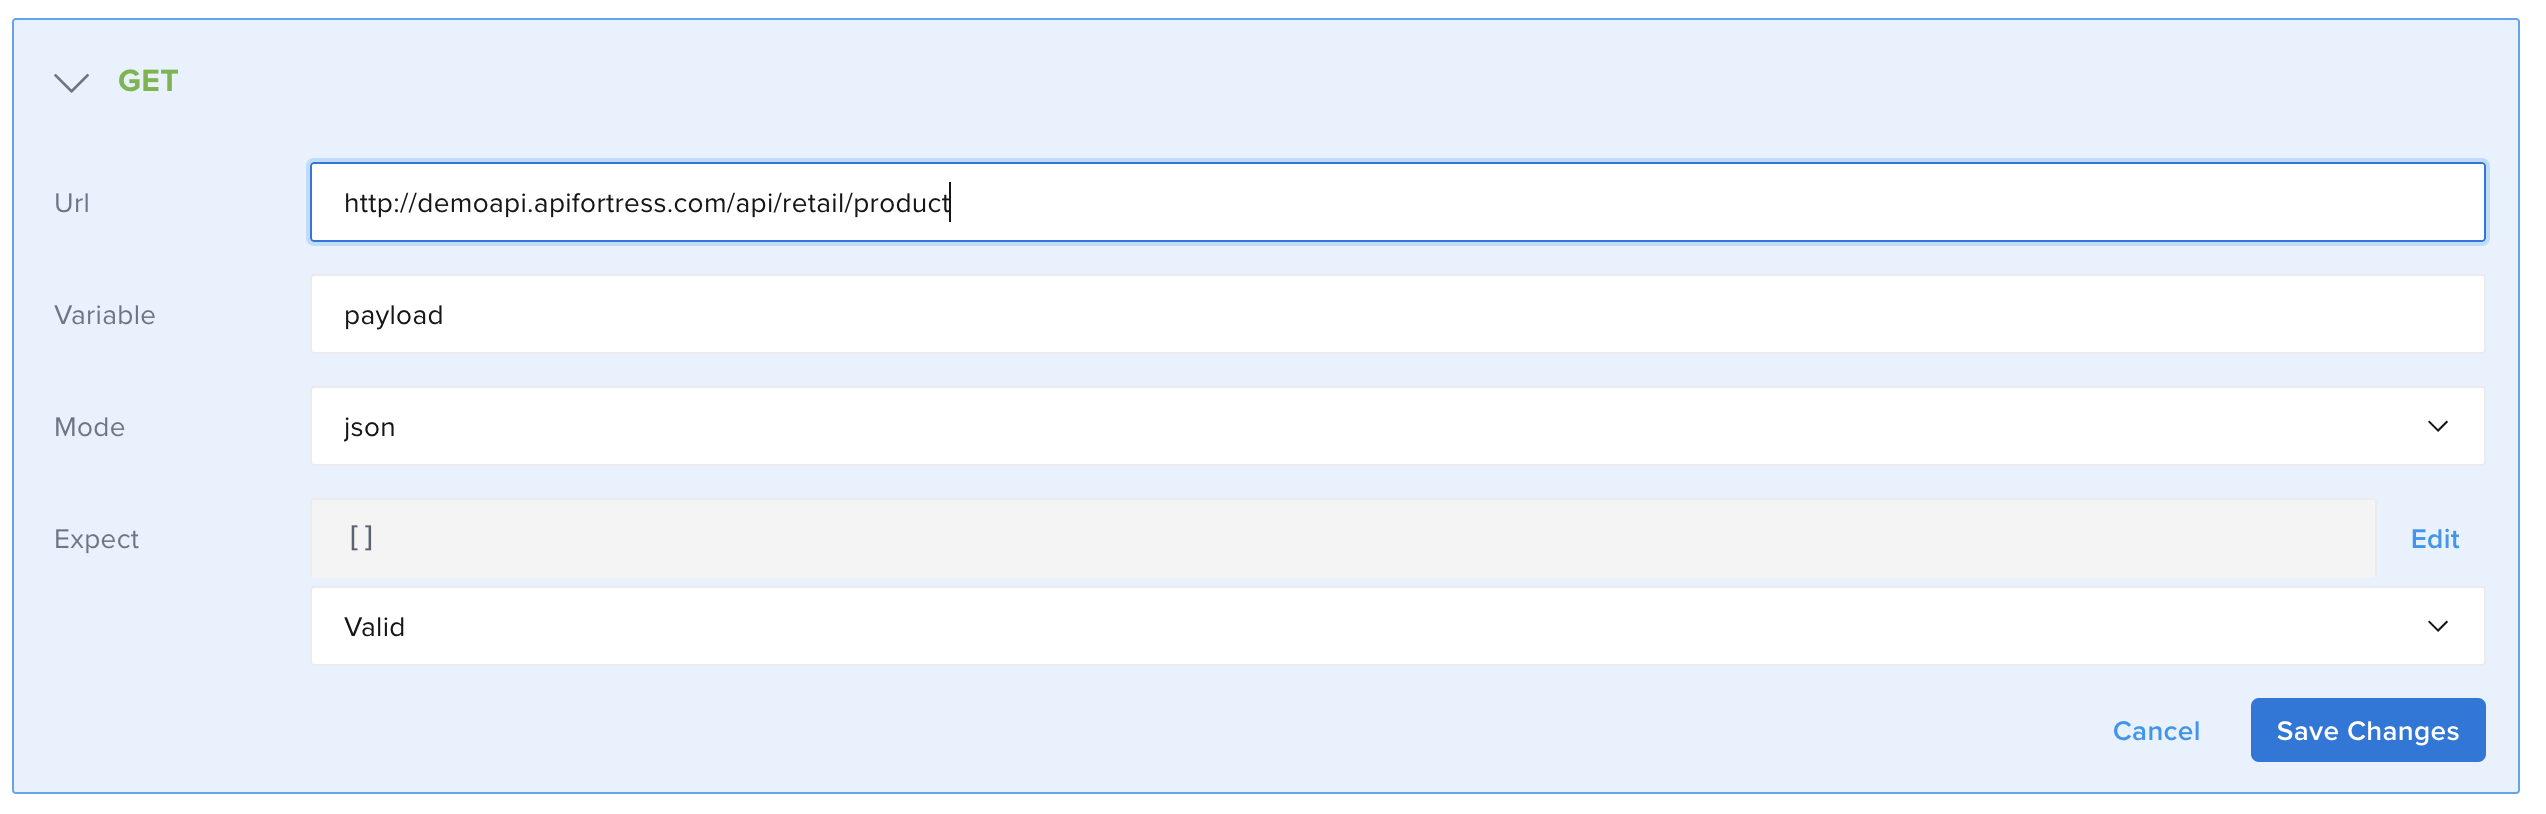
  - id: get
    children: []
    url: http://demoapi.apifortress.com/api/retail/product
    var: payload
mode: json - Url - for example
-
Click Save.
-
Click Publish, then exit the Composer.
-
From the Test list, Run the test.
The test is meant to fail, so you will get the email notification with
stagingtag in the subject. -
Click Environments (defaults to No environment).
-
Select Add item.
-
Enter a name for your environment, for example
production, then click Confirm. -
Click Create variable.
- Key - for example
env - Value - for example
production

- Key - for example
-
Click Confirm.
-
Run the test with the environment active: you will get the email notification with the
productiontag in the subject. -
Double-click on the test to edit it.
-
Select Add Child Component below the GET component.
-
Add Request Header.
- Name - for example
key - Value - for example
ABC123

- Name - for example
-
Click Save.
-
Click Publish, then exit the Composer.
-
From the Test list, Run the test without any environment.
This time the test will pass, so you will get the email notification that resolves the incident with
stagingtag in the subject. -
Select the
productionenvironment. -
Click Run.
The test will pass and you will get the email notification that resolves the incident with the
productiontag in the subject.
In the example test was run manually, but it works in the same way when you schedule it:
- Add one schedule without adding any variable in the Overrides: the test will be executed with
stagingvalue as the environment. - Create a second schedule adding
envas key andproductionas value in Overrides: the test will be executed withproductionvalue as the environment.
Disabling Email Notifications
The Fact component can also be used to disable email notifications:
  - id: fact
    identifier: disable_alerts
    label: alerts disabled
    value: "true"
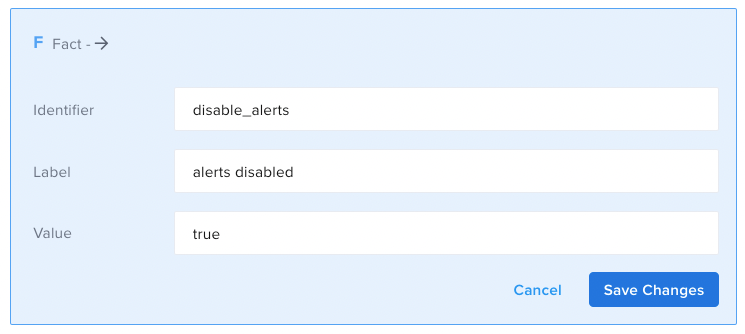
You can use logic in the test to set the Fact component and use that to alter the email notification.
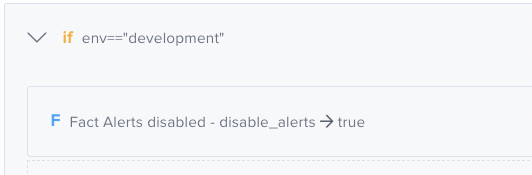
As an example, you could say "IF the env is development, then disable emails for this test":
Identifier must be equal to disable_alerts.
Use Case: Disabling Email Notifications
-
In Composer, add the Fact component.
  - id: fact
    identifier: disable_alerts
    label: alerts disabled
value: "true" -
Add the GET request.
- Url - for example
http://demoapi.apifortress.com/api/retail/product - Variable - for example
payload - Mode - for example
json
  - id: get
    children: []
    url: http://demoapi.apifortress.com/api/retail/product
    var: payload
mode: json - Url - for example
-
Click Save.
-
Click Publish, then exit the Composer.
-
From the Test list, Run the test. The notifications are disabled, so you won't receive an email notification.
-
Double-click on the test to edit it and change the value for Fact from
truetofalse.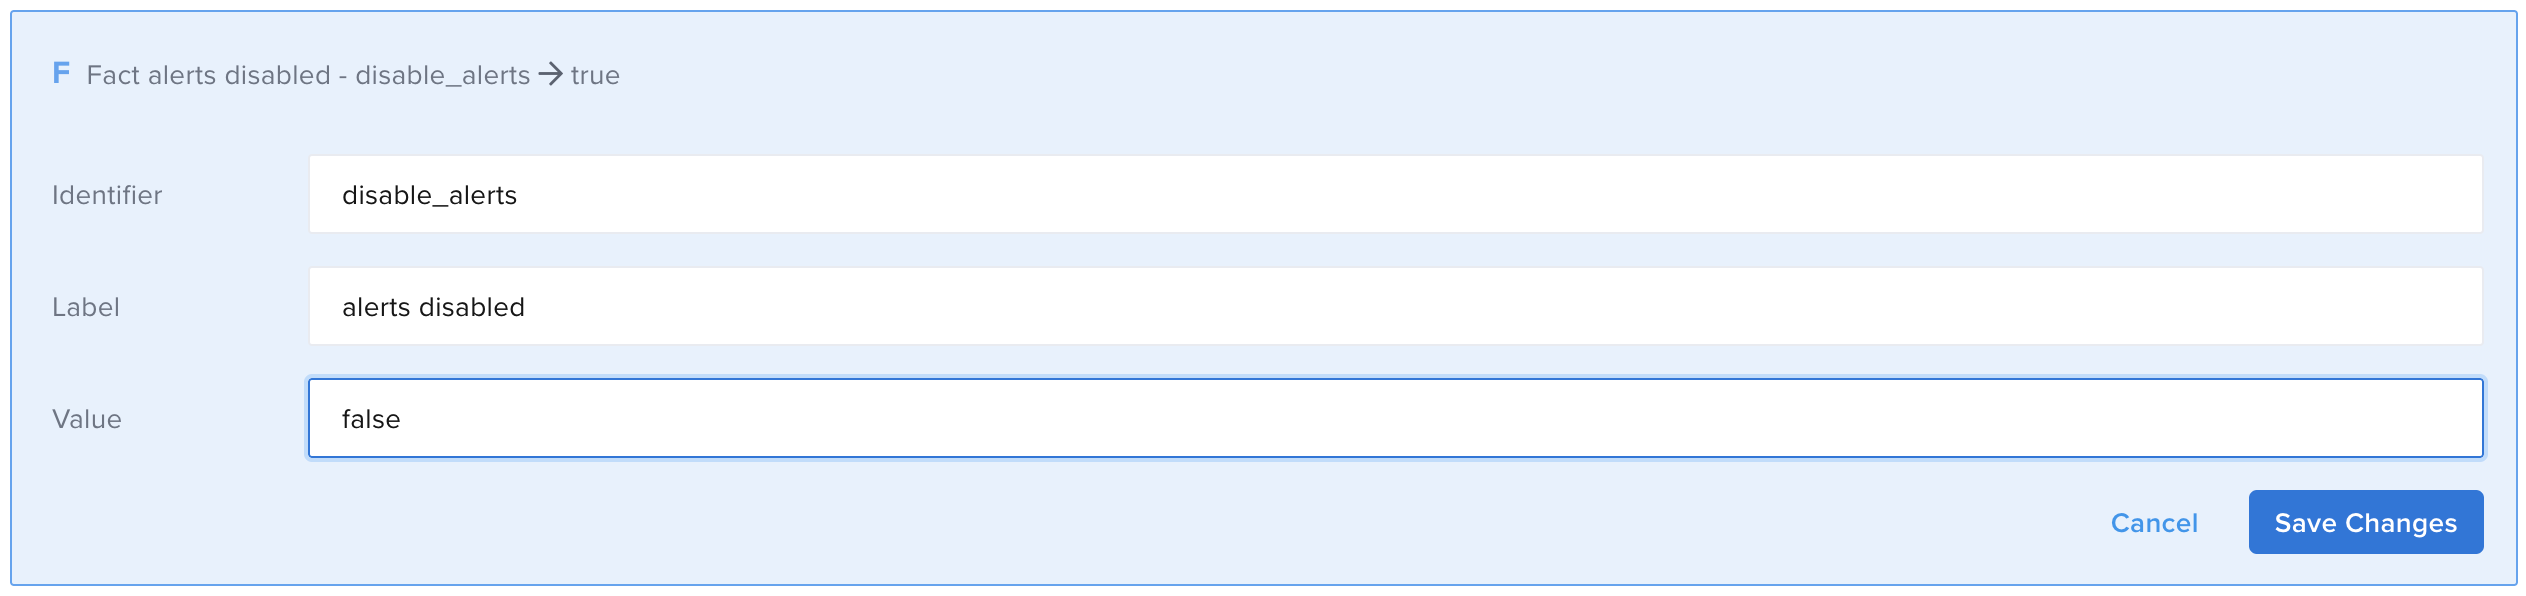
  - id: fact
    identifier: disable_alerts
    label: alerts disabled
value: "false" -
Click Save.
-
Click Publish, then exit the Composer.
-
From the Test list, Run the test.
The notifications are now activated, so you will receive an email notification.
In the example we ran the test manually, but the behavior is the same when you schedule it.
Setting Email Notification Thresholds
You can use the Fact component to set the email alert threshold: if you want a test to fail more than once before an email is sent, a Fact called mail_threshold can be set in the test:
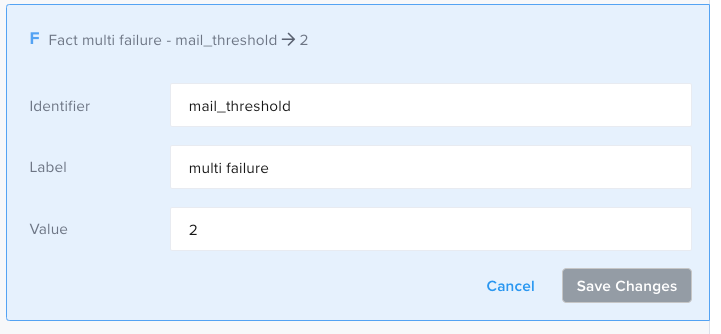
- id: fact
  identifier: mail_threshold
  label: multi failure
  value: "2"
The above example means the test will need to fail twice in a row before an email alert is sent.
Given that this can be configured in the test, it offers all the flexibility provided by conditional statements, such as an If condition on the environment the test is running upon:

- id: if
  children:
    - id: fact
      identifier: mail_threshold
      label: multi failure
      value: "2"
  expression: env=="development"
Use Case: Setting Email Notification Thresholds
-
In the Composer, add the Fact component.
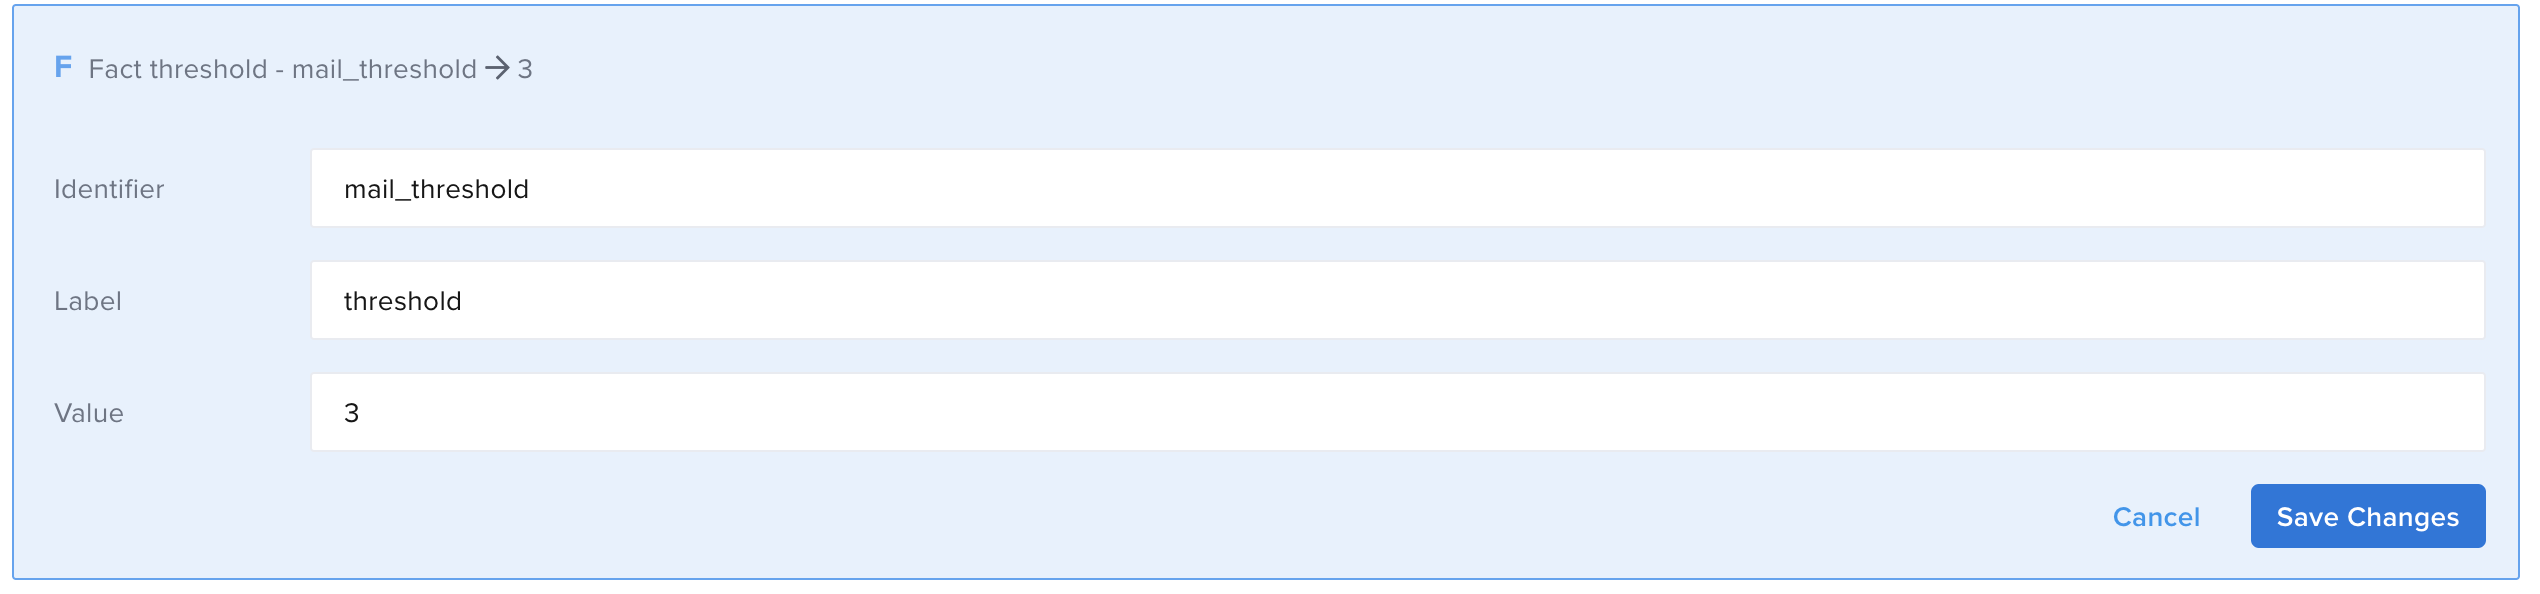
  - id: fact
    identifier: mail_threshold
    label: threshold
value: "3" -
Add the GET request.
- Url - for example
http://demoapi.apifortress.com/api/retail/product - Variable - for example
payload - Mode - for example
json
  - id: get
    children: []
    url: http://demoapi.apifortress.com/api/retail/product
    var: payload
mode: json - Url - for example
-
Click Save.
-
Click Publish, then exit the Composer.
-
From the Test list, Run the test twice in a row: you will not receive any email notification.
-
Run the test one more time: you reached the threshold value therefore you will receive the email notification.
The example considers a scenario where you run the test manually, but you can accomplish the same results by scheduling the test.